Viewing entries tagged
Light-emitting diode

Comment

Arduino Final Project: Distance LEDs

Well, I hope this will take care of it for now. I have completed (what I hope is) my final project for my independent studies class in Arduino. The idea behind this project is simple. I wanted to use both a sensor and an actuator of some kind (i.e., both physical input and physical output) and I wanted to use something that could, in a very rudimentary way, lay the groundwork for using Arduino on stage during dance performances as a way of manipulating some aspect of the set. In order to keep things simple and transportable, I decided to use a distance sensor – an Ultrasonic Module HC-SR04 Distance Sensor For Arduino from Amazon, in this case – for input and plain old LED lights as my output.

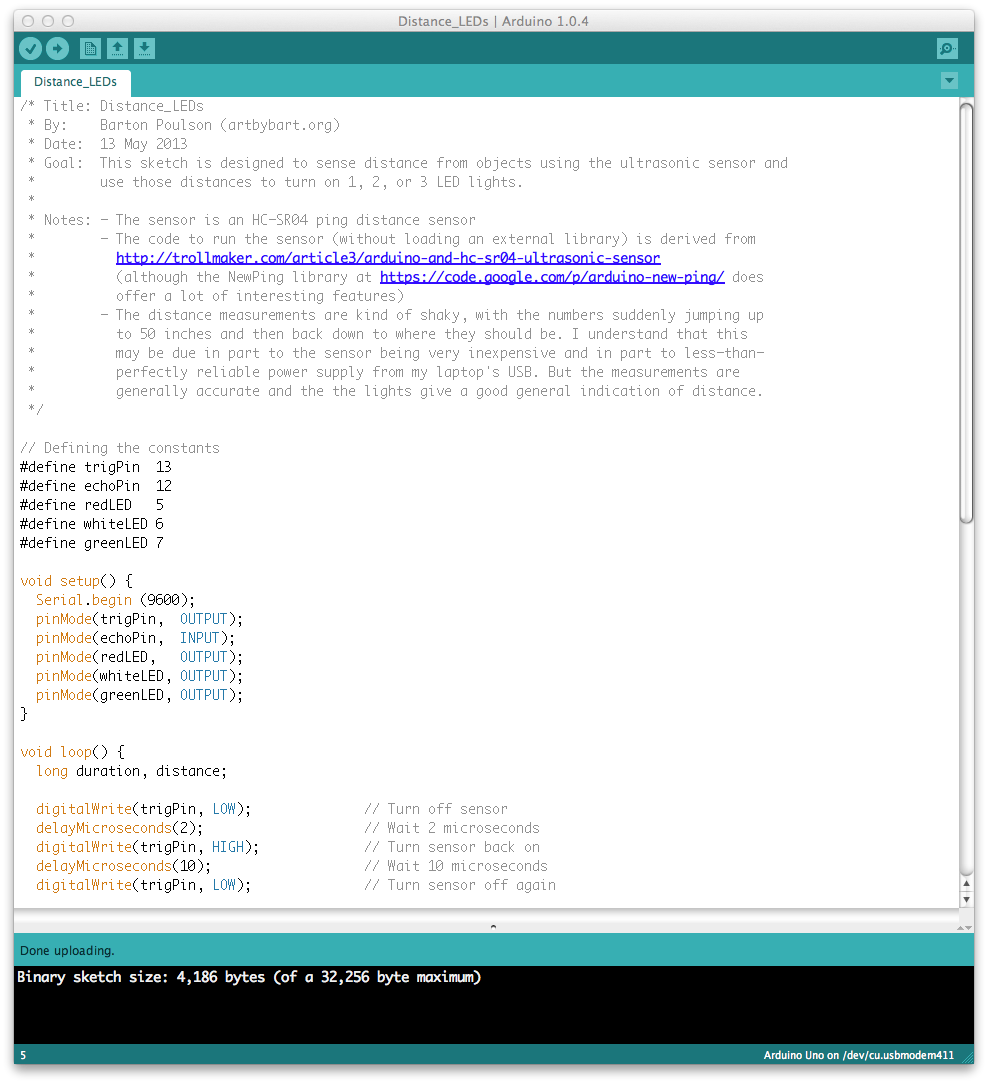
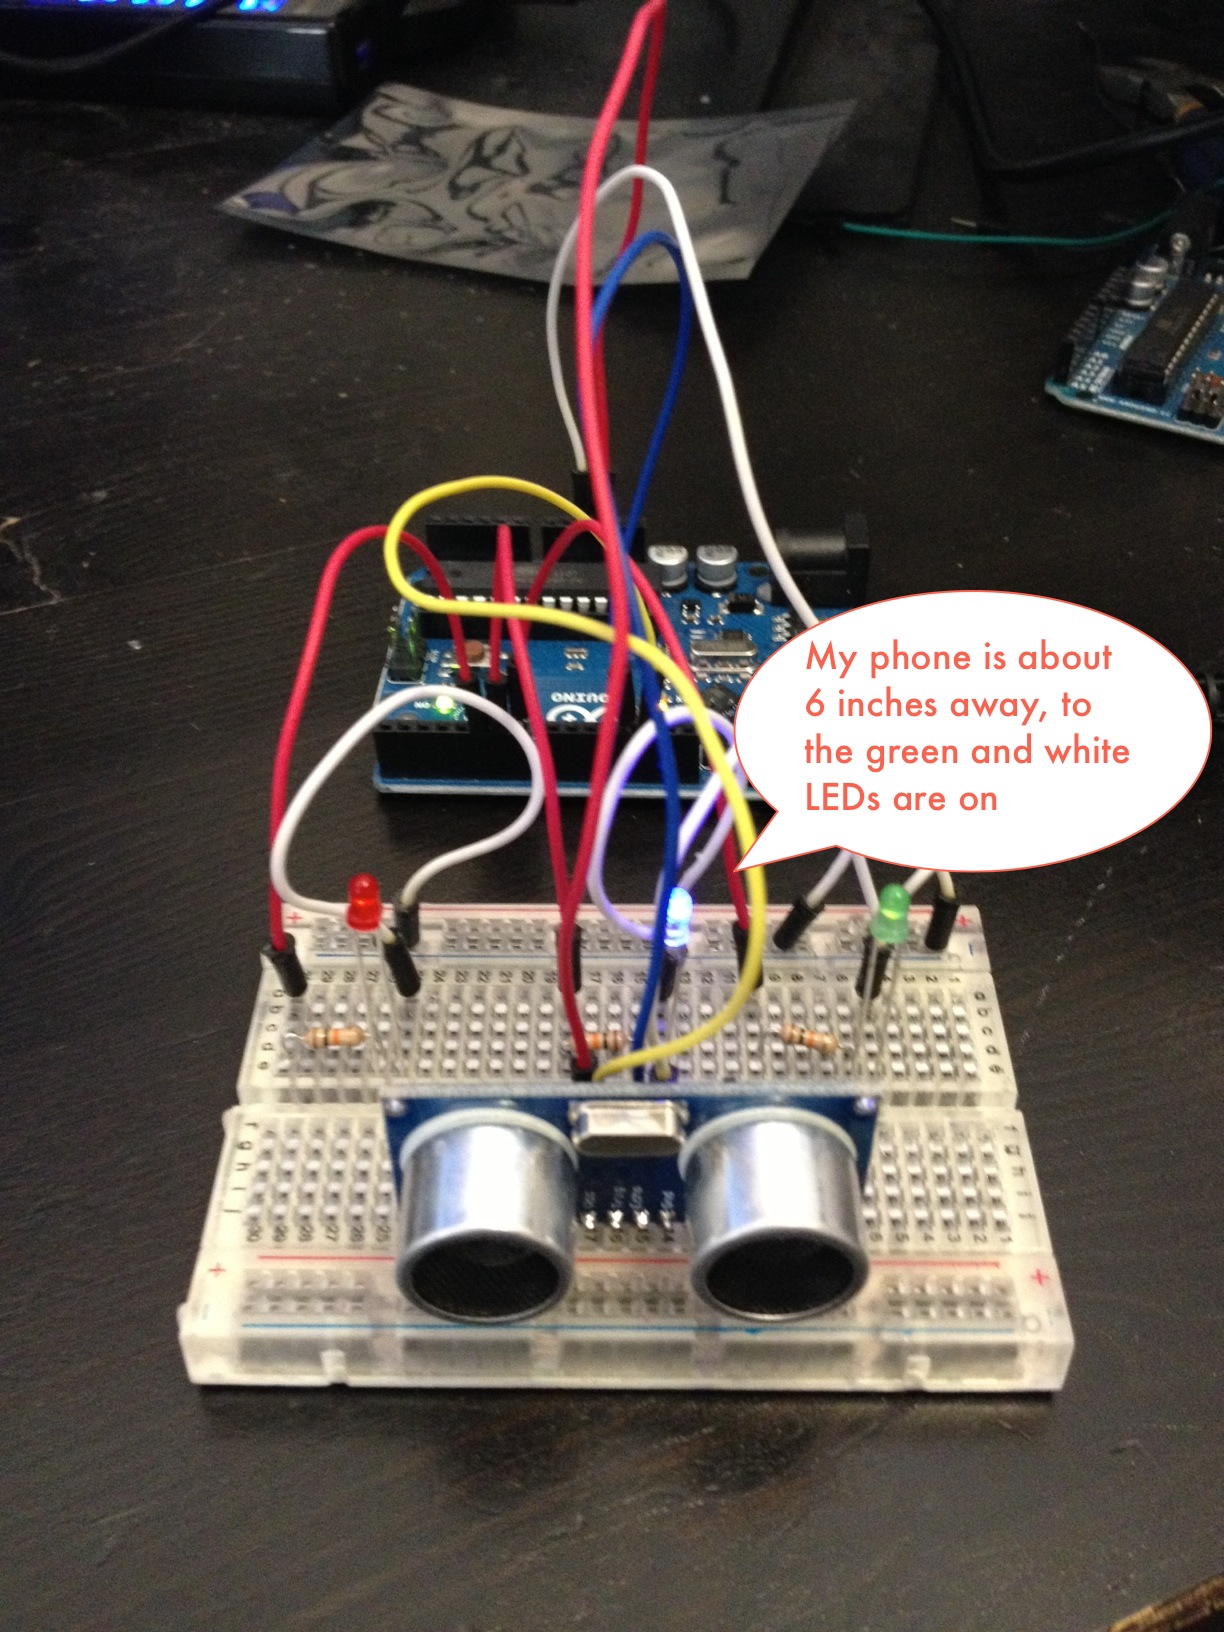
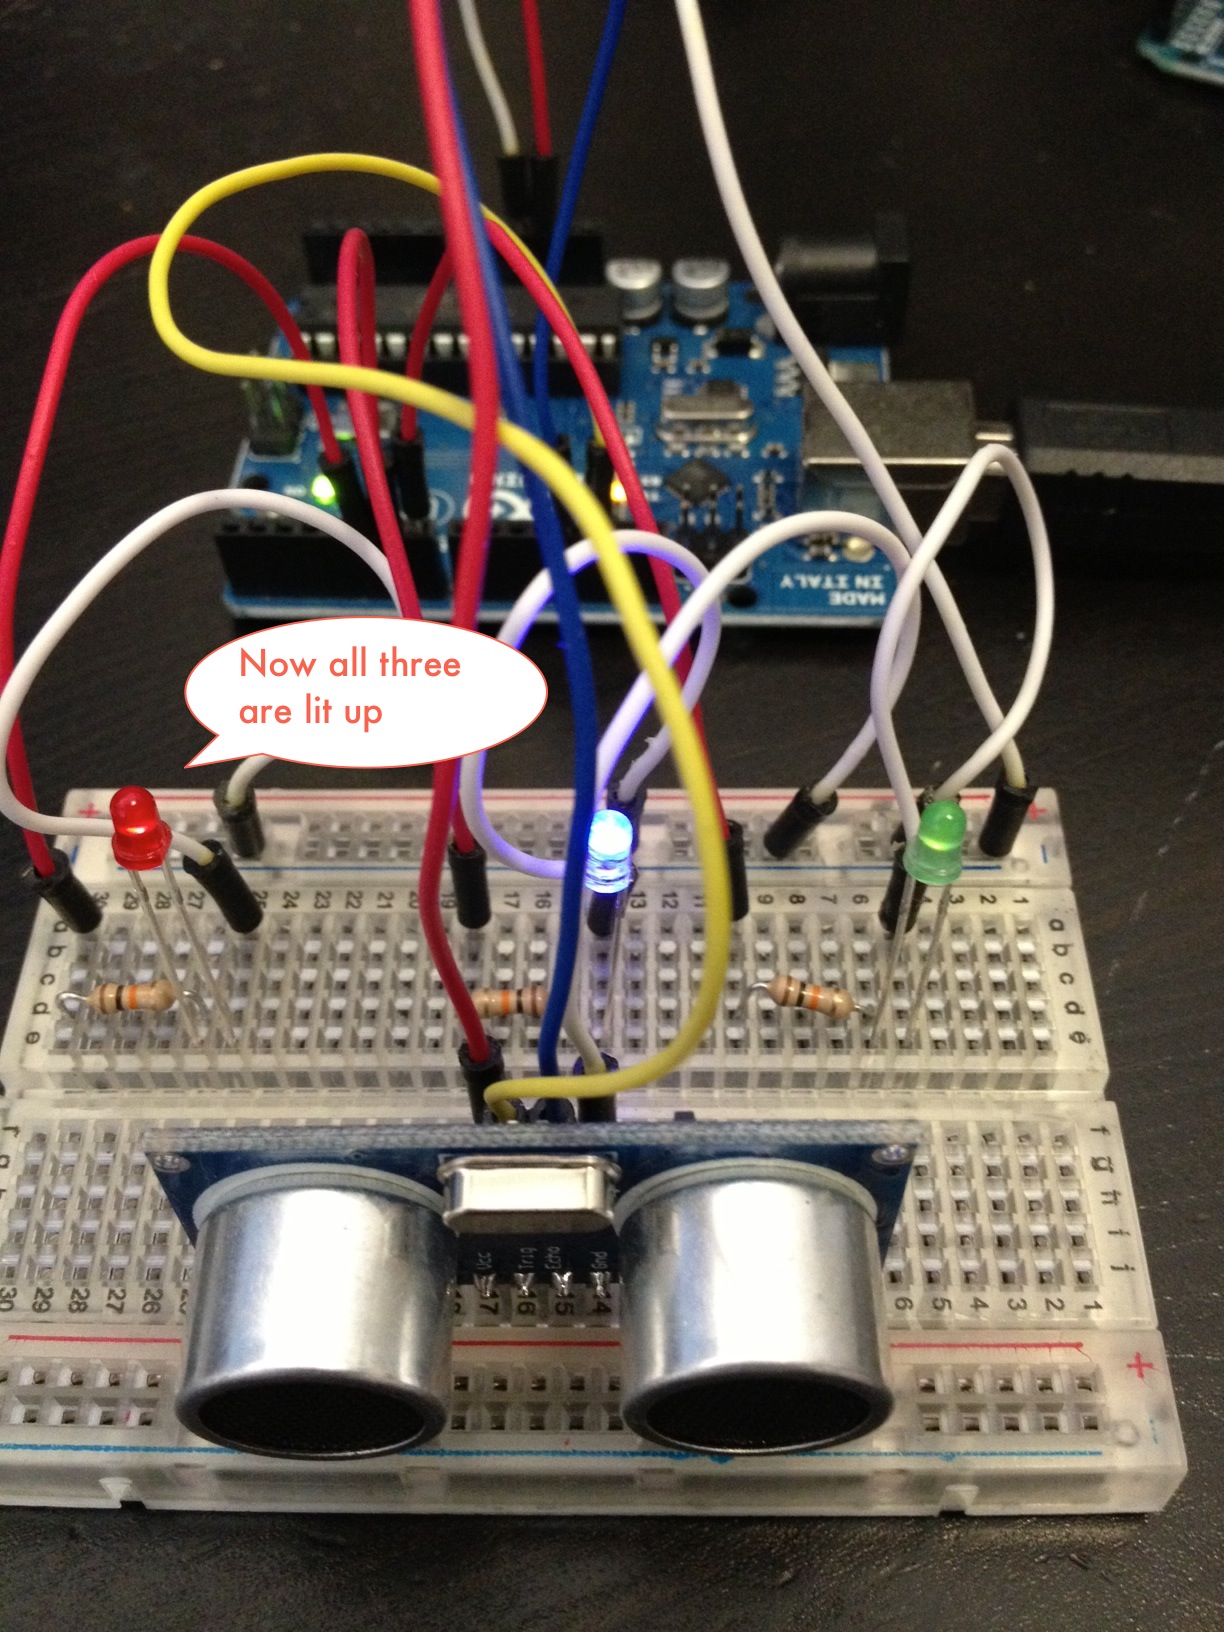
The sensor reads the distance of objects in front of it and converts those measurements to inches. If the serial monitor in open, the distances are shown, although they jump around a lot. I understand that such fluctuation could be the results of a $5 sensor but could also have to do with fluctuating power supply from my laptop USB. It could also have to do with the actual code that I used, as I decided to forgo the use of a library in this one to keep things simple. Anyway, the measurements are generally accurate. If the object is less than 72" (6 feet) from the sensor, the green LED lights up. If the object is less than 12" away, the white LED also lights up. Finally, if the object is less than 4" from the sensor, then the red LED joins in. Simple but it works.

As with all of the exercises that I completed for the book Getting Started with Arduino, the code for this sketch can be downloaded from http://db.tt/f6x9Q4NA (you'll want the "Distance_LEDs" folder, in this case).

And with that, I think I have finally finished all of the work to get the Art Technology Certificate from the University of Utah Department of Art and Art History that was the purpose for my 2011-2012 sabbatical. Woo hoo!

Comment

Comment

GSWA 5: Advanced Input and Output

Chapter 5 of Getting Started with Arduino is  "Advanced Input and Output." The topics covered in this chapter are:
  • Analogue input and output to allow continuous (or at least many-valued) values as opposed to just digital on/off
  • The use of a photoelectric sensor to provide continuous input and an LED to provide continuous output
  • Serial communication to permit data exchange between different programs and different hardware

All of this is really used to lay the groundwork for the extended example in Chapter 6. And this is where I have my first movie examples to show things changing gradually. (Always glad to have the iPhone handy....)

[youtube=http://www.youtube.com/watch?v=3PsUrpE3t7c]

[youtube=http://www.youtube.com/watch?v=WEm37pCNDbU]

[youtube=http://www.youtube.com/watch?v=RNSP-XF5N9U]

Completed:

  • Getting Started with Arduino, 2e, Ch. 5: Advanced Input and Output (5 exercises)
  • Sketches (i.e., code) can be downloaded from http://db.tt/f6x9Q4NA


Comment

Comment

GSWA 4: Really Getting Started with Arduino

Chapter 4 of Getting Started with Arduino is appropriately entitled "Really Getting Started with Arduino," because this is the first chapter where we actually start hooking up wires and writing code. The goals of this chapter are relatively simple:
  • Hook up an LED to the Arduino
  • Put a pushbutton on the breadboard
  • Connect the wires and write the code so the pushbutton can turn on the LED, first as a momentary switch (i.e., the LED only lights up as long as you hold the button) and then as a toggle switch (i.e., click it once to have the LED turn on and stay on, then click it again to have it turn off and stay off)

Simple concept and an excellent introduction to the entire system. I'm much more accustomed to working with Processing and, while the two are very closely related, they're not identical and the differences are acutely obvious to me. Still, I'm trying to adapt.  Some of the differences include:

  • Explicitly declaring constants
  • Setting pins as input or output (obviously, this doesn't happen in the software-only world of Processing)
  • "digitalRead" and "digitalWrite" as functions (again, because this is hardware now)
  • The use of "HIGH" and "LOW" as "ON" and "OFF" (I know the latter work but there is a strong institutional preference for the former)

On the other hand, much of the building and troubleshooting procedure is the same: go one tiny step at a time, when something goes wrong, take a closer look at how the machine is making sense of your code, and working through possible solutions one at a time, perhaps through commenting lines in and out. And save versions of your sketch!

So, the fact that I am now able to turn a small light on and off may not seem like much to most people, but it's a significant journey from the virtual to the physical world for me. Onward and upward!

Completed:

  • Getting Started with Arduino, 2e, Ch. 4: Really Getting Started with Arduino (5 exercises)
  • Sketches (i.e., code) can be downloaded from http://db.tt/f6x9Q4NA

Comment