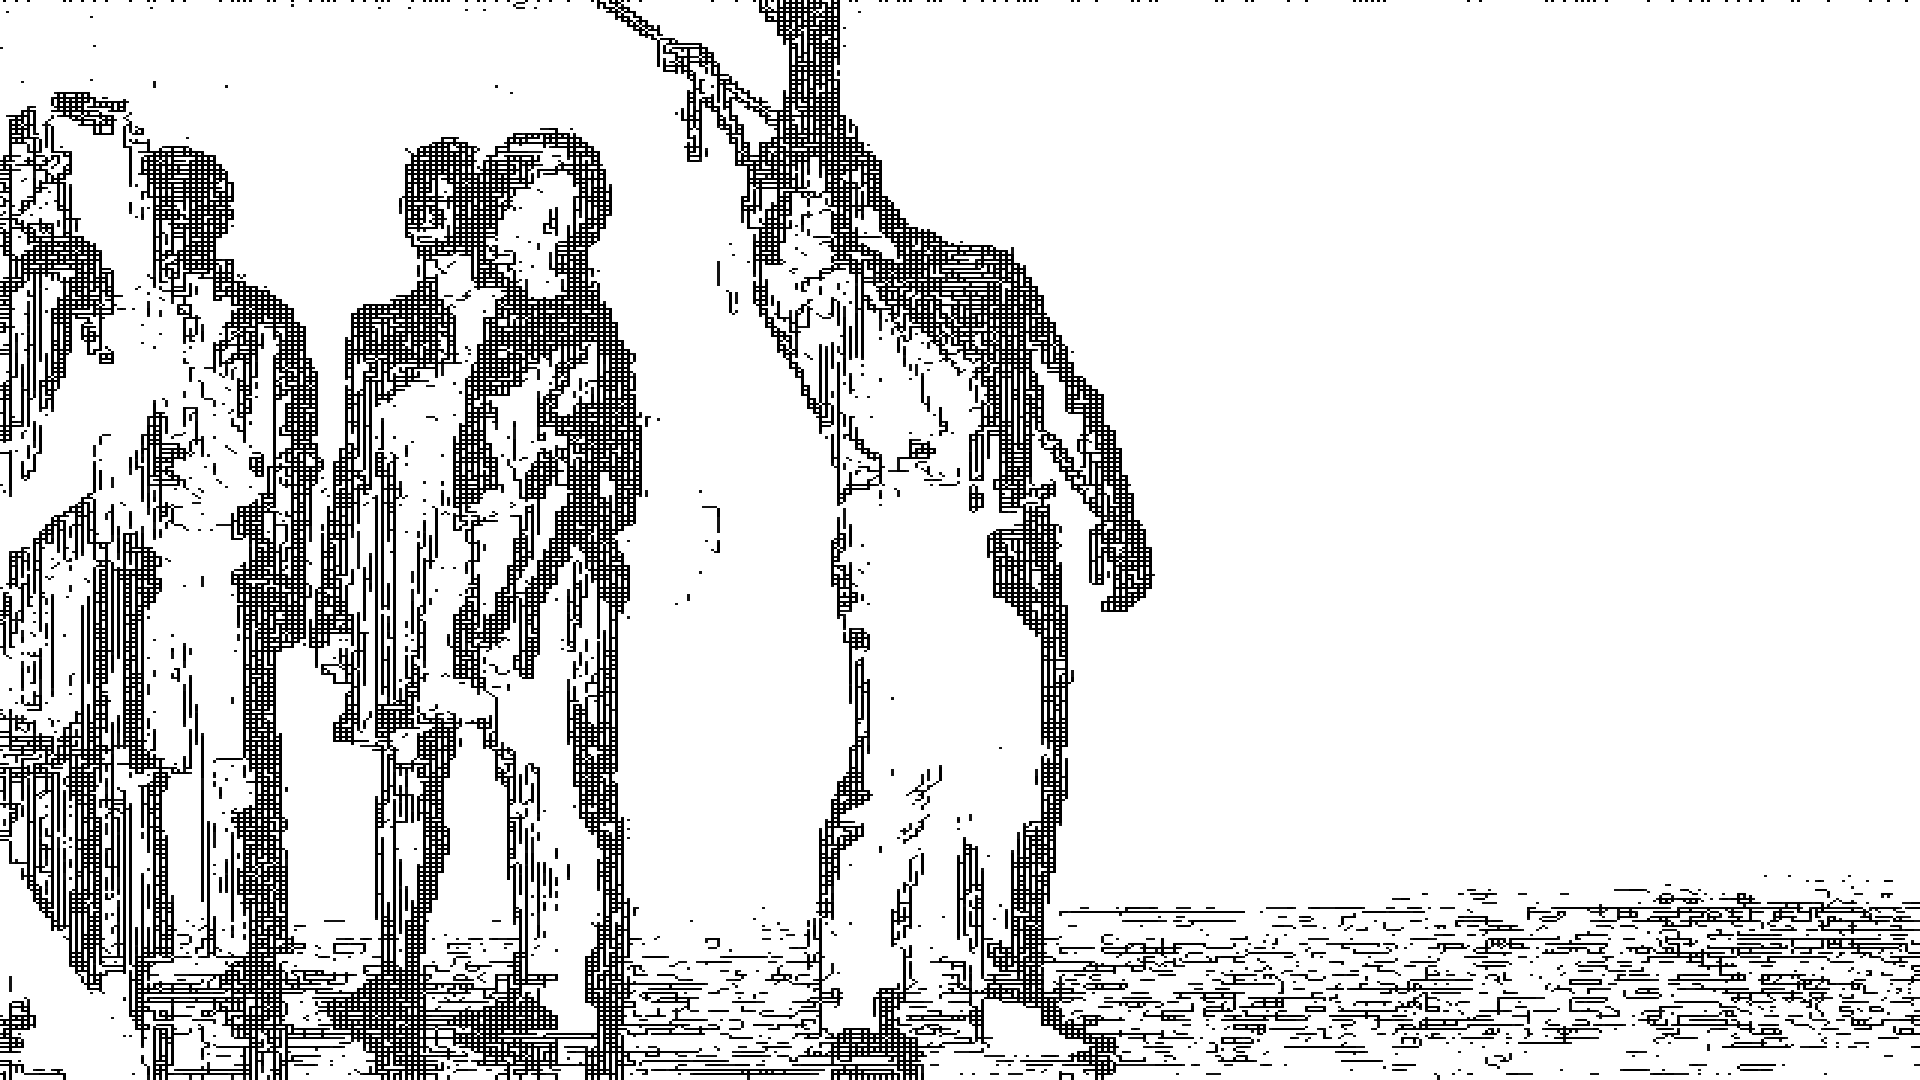
I just thought I should mention that I’m not dead but, rather, I’ve had to devote nearly all of my time to my academic/statistical/startup projects for the last year (and for the foreseeable future). I’d love to get back to creative work but my hair is on fire and I must tend to other things. (Sigh...) I did, however, produce a lovely little graphic for an event I have coming up next week, the Utah Data Dive (now the Data Charrette)
Sometimes it feels like I spend hours and hours and hours programming, usually trying to do something that seems like it should take two minutes, only to have it all blow up in my face. At least now that I realize my blow-ups are at a more advanced stage. I take great comfort in these words from Jake the Dog on Adventure Time:
Words to live by. Thank you, Jake.
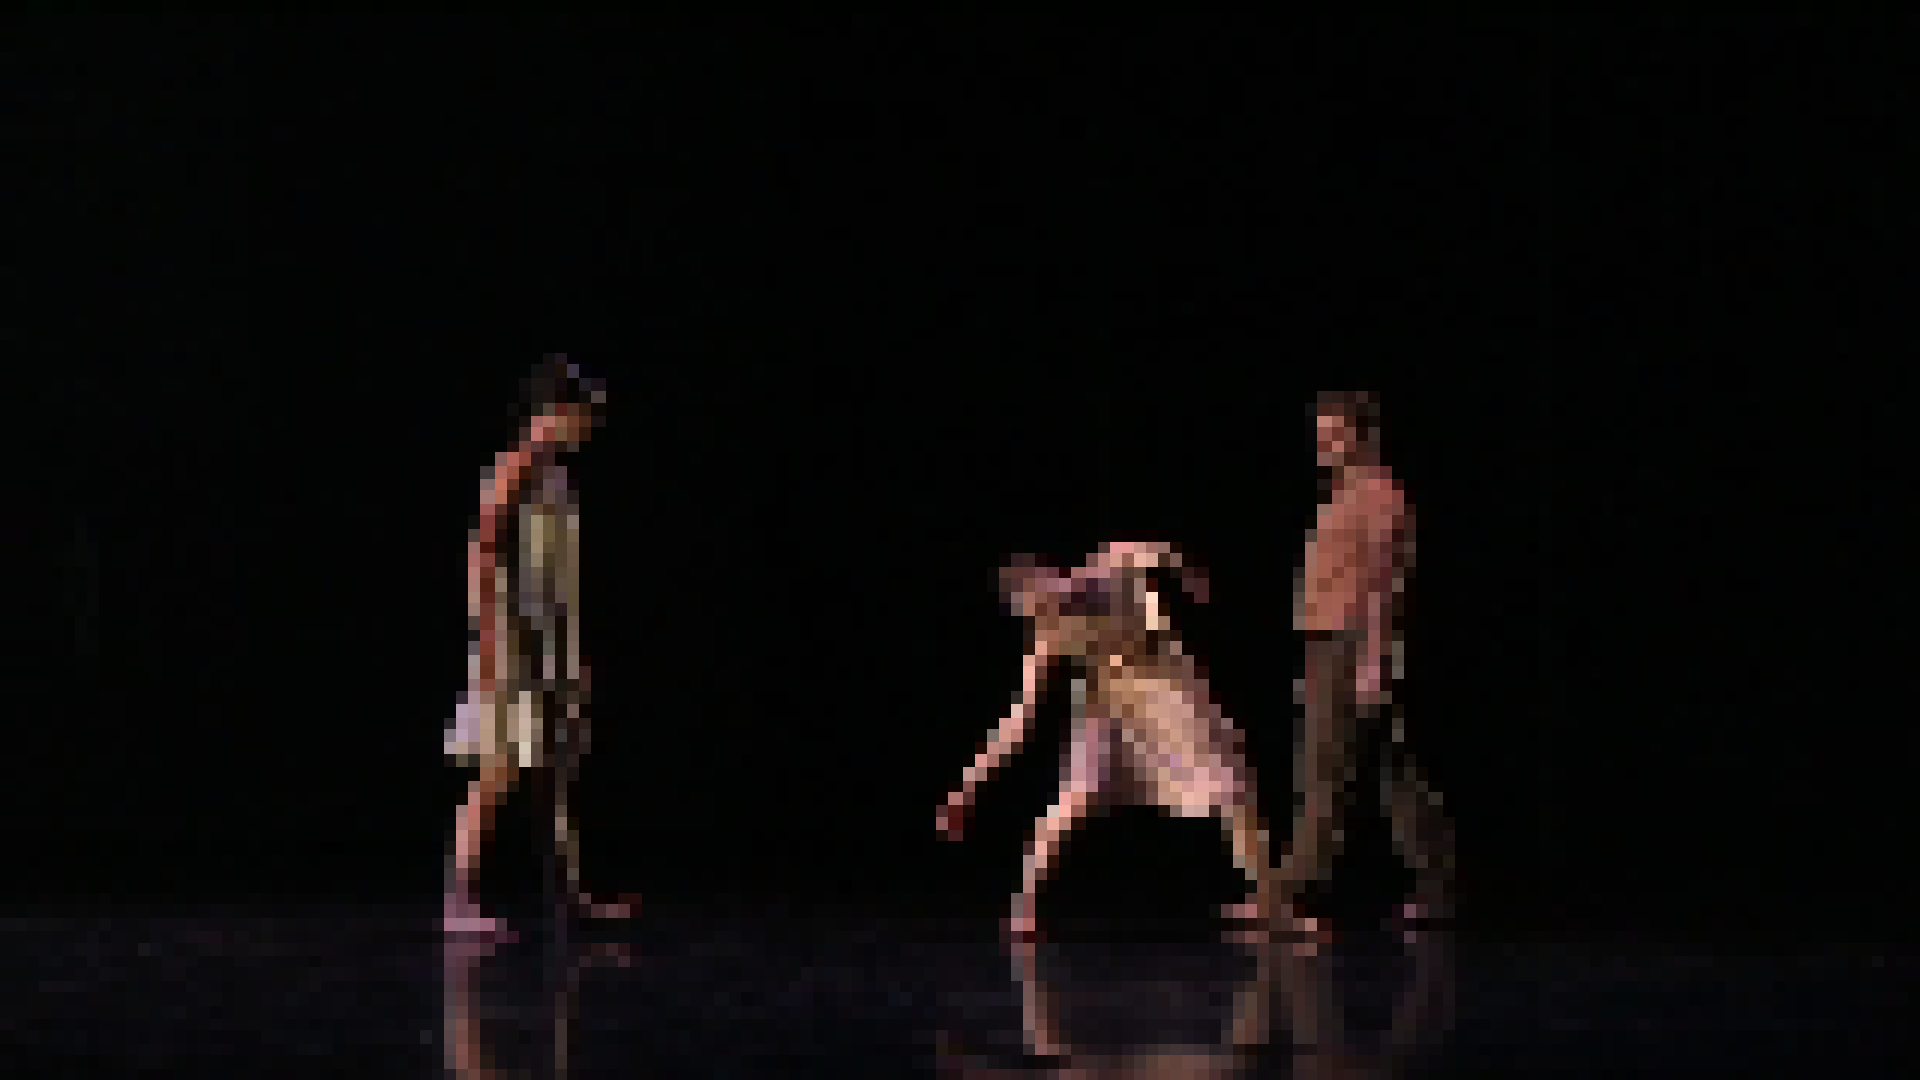
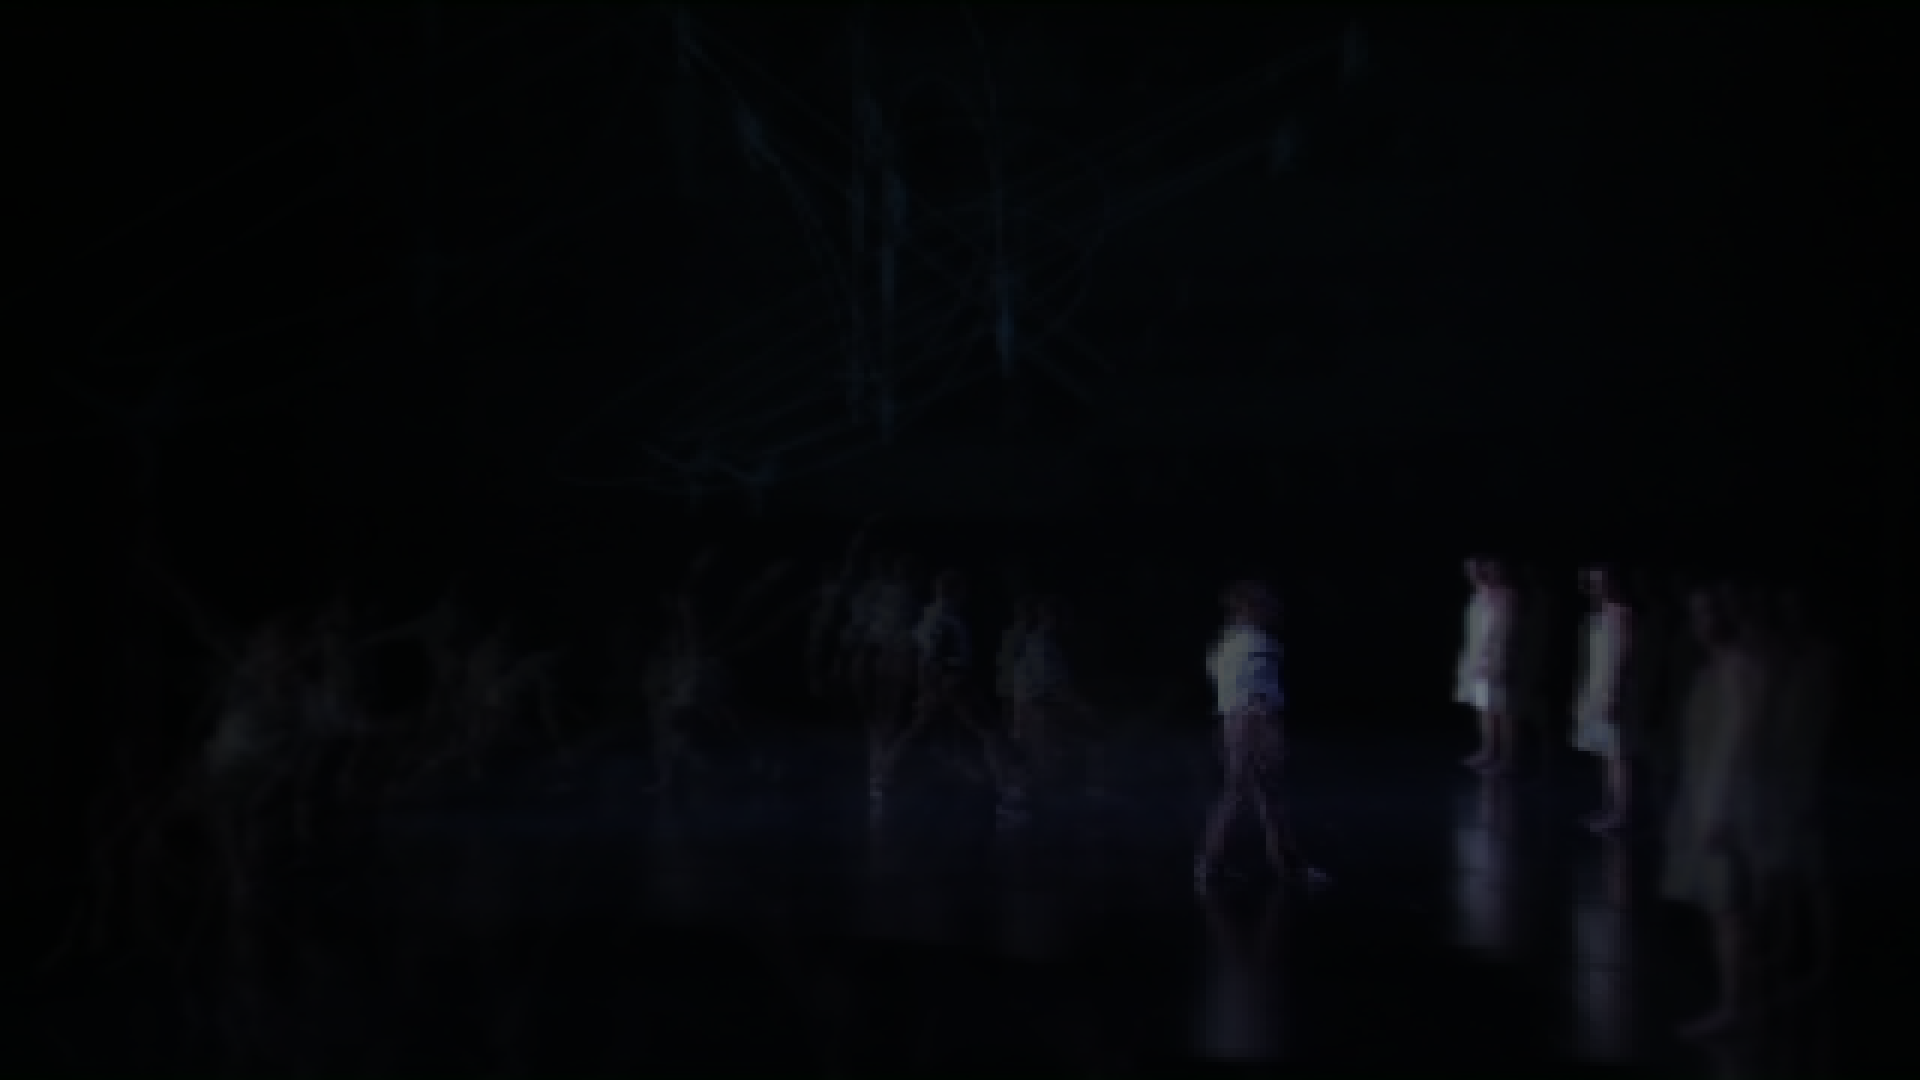
The National Conference on Undergraduate Education (NCUR) is, as its name suggests, the country’s premiere outlet for scholarly and creative work by undergraduates. UVU dance student Molly Buonforte, who participated at the Utah Conference on Undergraduate Research (UCUR), and I were able to make the trip to the University of Kentucky to present a reworked version of Dance Loops. Following the nomenclature from software releases, this version was the “Golden Master],” which refers to the production-ready version of software. This was our largest audience by far, as well as the first performance on an actual theatre stage (yay!). It was also the first performance with original music, as I created two pieces in GarageBand for the performance.
Despite the “Golden Master” nomenclature, there was a string of technical difficulties that nearly prevented the performance: the extension cable for the Kinect didn’t work, then the extension cable for the USB web cam didn’t work, then I couldn’t set up the Mira app with wi-fi to control the effects, then I couldn’t set it up over a private connection. Eventually we moved the entire performance about six feet downstage so I could sit at the edge and control the laptop manually. Sub-optimal, but it worked. Always nice to know that if Plans A, B, C, and D don’t work, there is still a Plan E.
The video for this performance, while still amateurish, is better than the others. Enjoy!
After learning a little more about what to do and what NOT to do with your first rendition of Dance Loops (i.e., the “alpha release” @ UCUR), we had a chance to do a few things over for our “open beta” (AKA the “nearly there” version). This time, we were at the Scholarship of Teaching and Engagement Conference (SoTE) at my home school, Utah Valley University, in Orem, Utah. Superstar UVU dancer Hannah Braegger McKeachnie reprised her role from Dance Loops and performed the first section, to the music of Julia Kent (with an edited version of “Gardermoen”). We still performed in a sub-optimal environment – a partitioned meeting room, in this case – and we still have abominable video but, otherwise, things went beautifully. We also got to meet some wondeful people from other schools who were interested in the piece and may be able to contribute in some way in the future. Very exciting! But, for now, here is our monkeywrench video:
Wonder of Wonder, Miracle of Miracles! Dance Loops was accepted for ISEA2014! That is, the 20th International Symposium on Electronic Art, which meets in Dubai in November of 2014.
In fact, it was accepted THREE TIMES. The first was the faculty piece, which we are calling “Debauched Kinesthesia: The Proprioceptive Remix.” As I mentioned before, “debauched kinesthesia” has nothing to do with debauchery. Rather, it’s a term from the Alexander Technique, which my wife Jacque Bell teaches, that refers to the disconnect that many people have between what they think their body is doing and what it actually is doing. And “proprioceptive” because that refers to the sense of where your own body is and what it’s doing, and “remix” because the dancers will be able to rearrange and replay videos of their own dancing while they themselves are dancing.
We also had two student proposals accepted. The first, which will have Mindy Houston, is called “The Triple Fool + 2: A Performance for Poetry, Dance, and Data Visualization” and is based on John Donne’s poem “The Triple Fool.” The second is “The Dance and the Meta-Dance: Live Performance and Live Visualization,” and were finding a dancer for that piece right now.
The tricky part, of course, is that now we have to find money to get there. I’ve submitted a grant application that would pay for most of it, but we’ll see what happens. Maybe it’s time to go on Kickstarter!
In the software world, the “alpha release” is the “not-quite-ready-for-primetime” version. It is usually circulated internally so the bugs can be worked out, although there are occasionally public alpha releases by very daring (or foolish) companies. I’m not totally sure which of the two camps we fall into, but here is an extremely non-professional video – we like to call it the “bootleg version” – of our first public performance of Dance Loops.
The full name of this particular piece is “Dance Loops, Alpha Release: Trio with Live, Interactive Video Looping.” It was performed at the Utah Conference on Undergraduate Research at Brigham Young University in Provo, Utah. The dancers, in order of appearance, are Hannah Braegger McKeachnie, Izzy Arrieta-Silva, and Molly Buonforte, all of whom are undergraduate dance majors at Utah Valley University, where I teach. I designed the visuals and did the programming in Max/MSP/Jitter, while Jacque Lynn Bell (my wife and professional choreographer) and Nichole Ortega (chair of the UVU Department of Dance) provided choreographic input. The music is by Julia Kent (with an edited version of “Gardermoen” in the first piece and the complete version of “A Spire” in the last) and Zoë Keating (with an edited version of “Legions (War)” in the middle piece). By the way, those are live links to their websites where you can buy each piece of music, along with everything else they make! (I have all of their music and you should, too.)
Now, a few alpha release issues with this performance.
The video is shot way off to the side and aimed wrong. The primary video camera didn’t work and, well, this is what we have. Better than nothing (but maybe not by much).
It’s in a classroom auditorium with a very shallow stage and no theatre lighting, but that’s the nature of this event.
The projections are way too fuzzy for this situation; we wanted them a little fuzzy but on this shiny surface it was really exaggerated.
The videos are projected too high; we wanted to avoid the wood rail but learned that the videos need to be on the same level as the dancer and the same size to work best, wood rail be damned.
We though that there was too much synchronization in the projections during the last rehearsal, so I removed a bunch of unity from the programming for this. Big mistake; it just looked jumbled. Never change things without rehearsing first!
We also told the dancers that they didn’t need to follow their phrases so closely and to just play around with. They did exactly what we told them to but, again, it looked to mushy. Again, never change things without rehearsing!
So, we learned some important lessons. Nevertheless, it was a good experience. Hannah will get to her part again in a few weeks and Molly will do a variation on hers (and another) a week after that. We’re learning!
Well, now. Google is sponsoring an event they call “DevArt” – as in “Developer Art” – that will lead to one artist being chosen to join a major exhibition at The Barbican in London. One of these days, one of these days....
Mac Launchpad acting up
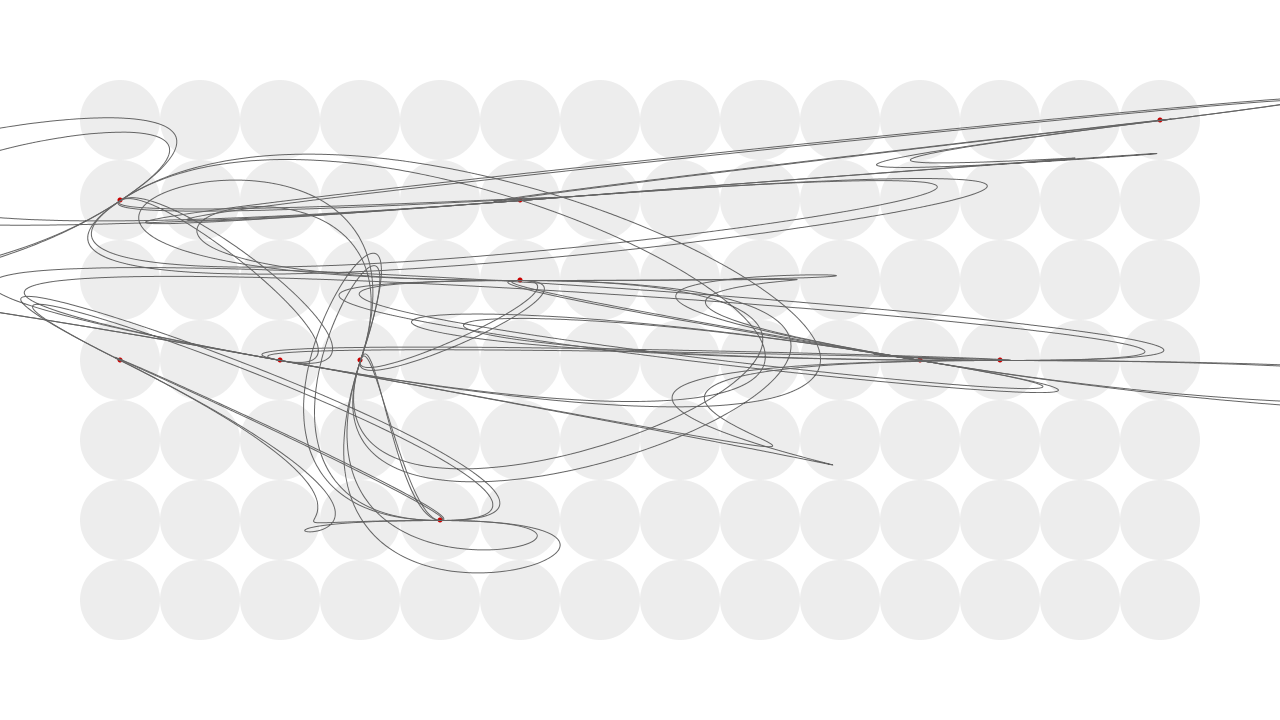
This happened a few months ago and I have no idea what caused it, but one day my Mac’s Launchpad – you know, the hidden application launcher that makes your Mac look more like an iPhone – freaked out. The result was actually rather pretty. That’s it above, along with a picture below of what it’s basically supposed to look like. I consider it an example of found generative art (if there is such a thing.) Now I just have to figure out a way to do this kind of thing on purpose.
Bart's Launch Pad 1
I mentioned in the last post that I had sent proposals from the Dance Loops project off to a few conferences, such as the Utah Conference on Undergraduate Research. We got accepted at both (!) and even at another one as an added bonus: UVU‘s Scholarship of Teaching and Engagement Conference (SoTE)!
And so we have three performances scheduled:
UCUR on 28 February 2014
SoTE on 28 March 2014
NCUR on 03-05 April 2014
Yay! More info as we prepare.
Well, I’ve sent out conference applications for Dance Loops... finally. I’ve added a couple of extremely amateurish videos as vaguely supportive material. Mostly, they both just show that it’s possible to use the Kinect and Jitter to do some video recording and effects. I’d much rather have actual demonstration videos with the looping in place but, well, that takes more time and we’re still working on things. The first application is for the National Conference on Undergraduate Research (NCUR), which will meet at the University of Kentucky in April of 2014. That application uses the very exciting title of “Dance Loops: A Dance Performance with Live, Interactive Video Looping.” (At least it’s self-descriptive.) Here's the video:
The other application is for ISEA2014, the 20th International Symposium on Electronic Art, which meets in Dubai (!) in November of 2014. That one gets a much more interesting title: “Debauched Kinesthesia: The Proprioceptive Remix.” Woo hoo! By the way, “debauched kinesthesia” has nothing to do with debauchery. Rather, it’s a term from the Alexander Technique, which my wife Jacque Bell teaches, that refers to the disconnect that many people have between what they think their body is doing and what it actually is doing. And “proprioceptive” because that refers to the sense of where your own body is and what it’s doing, and “remix” because the dancers will be able to rearrange and replay videos of their own dancing while they themselves are dancing. Very exciting! Anyhow, here’s the not-very-helpful video that accompanied that application:
So, we’ll see what happens. It may be that I get to travel across the country with a few students in April, and maybe even around the world later that year. I’ll let you know what happens!
Related articles
Sensing your own body is more complicated than you realize (io9.com)
Proprioceptive Art (zvembira.com)
What is Proprioception and Kinesthetic Awareness? (danceconnectionsproject.com)
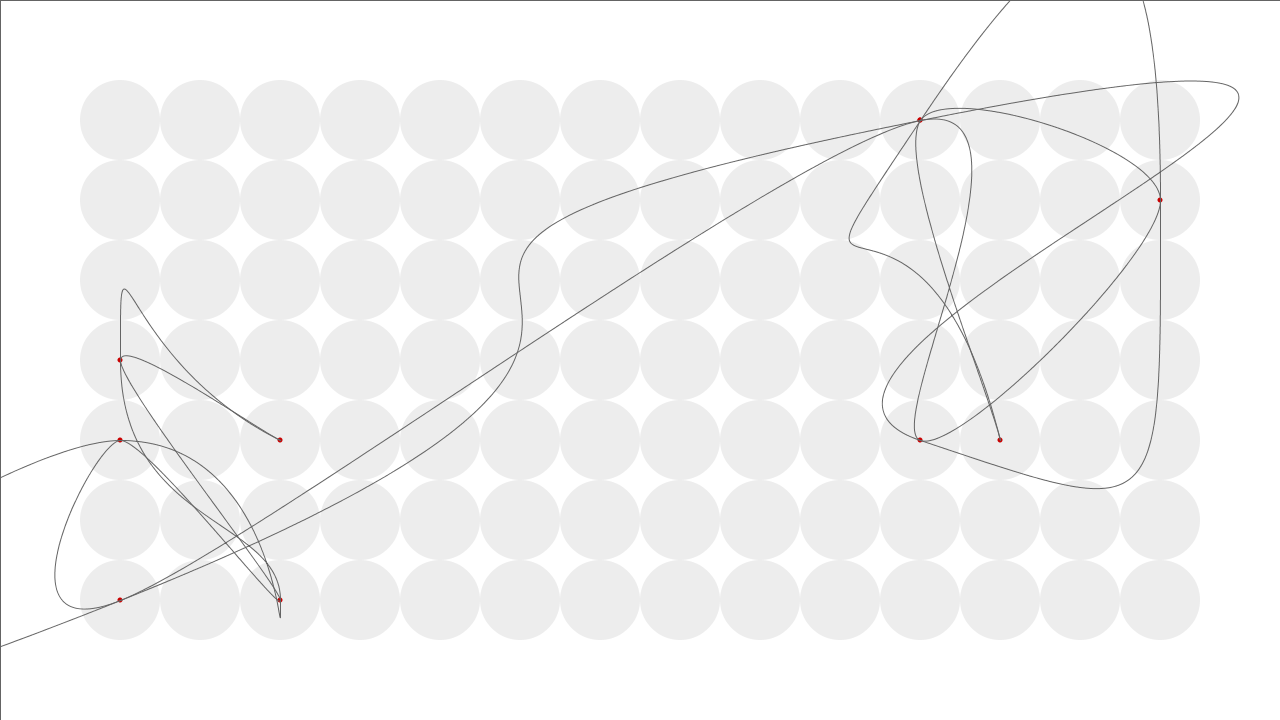
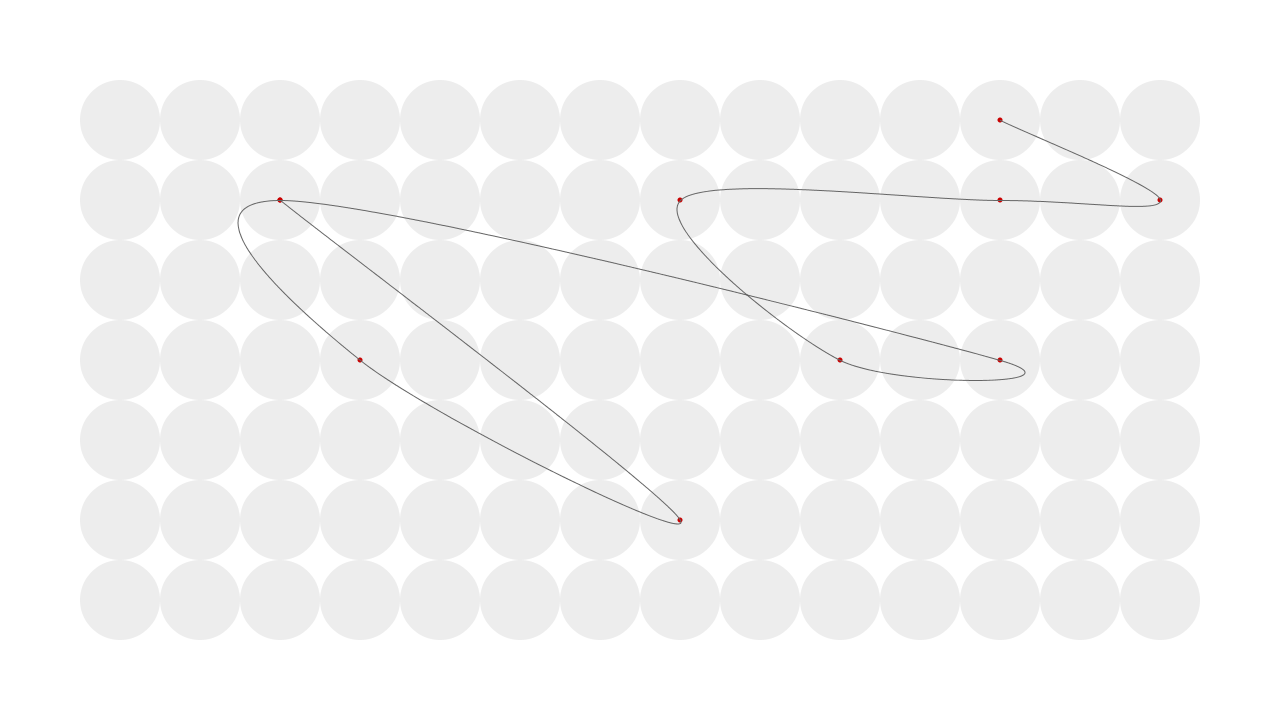
I did these a little while ago in Processing but I love them. It’s just a grid of circles and splines that connect the centers at random. (These are Catmull-Rom splines, to be precise. They’re the same thing that I used for the projections in “Hello World.”)
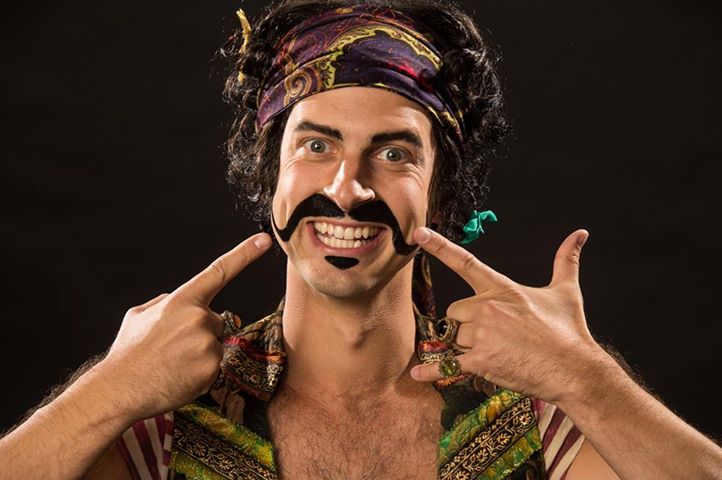 On our way down to California for a few weeks, we stopped in Cedar City, Utah, for the super-fabulous Utah Shakespeare Festival. (It really is fabulous: a few years ago they received the "Tony Award for Outstanding Regional Theatre." Then, more recently, the founding director, Fred Adams, received the "Burbage Award for lifetime service to the international Shakespearean theatre community" - quite a mouthful.)
While we were there we saw Love's Labour's Lost, which was lovely, but their production of Peter and the Starcatcher completely stole the show. It was possibly the funniest show I've ever seen, with a standout performance by Quinn Mattfeld as The Black Stache (i.e., He-who-will-later-be-known-as-Captain-Hook; as shown above). Here's a review of the festival's production in the Salt Lake Tribune and the official trailer below. If you like in Utah, the production runs until mid-October and absolutely justifies the 250 mile drive to Cedar City. Here the link for tickets.
[youtube=http://www.youtube.com/watch?v=A3WJM1_RViw]
 I'm thrilled to say that I was able to attend our friend Ellen Bromberg's biennial (more or less) screendance workshop at the University of Utah. The was my first real introduction to making screendance – also known as dance for camera, dance for video, video dance, cinédance, et cetera, et cetera, et cetera. This workshop focused on editing as a form of choreography – something I had never considered – and was taught by the fabulous Simon Fildes (that's him in the top right frame).
[The last time the Screendance festival convened, it was Simon's wife, the extraordinary videographer Katrina McPherson who led the event. The collectively constitute Goat Media.]
The basic idea is to take lots and lots of random footage of dance and then create the order, transitions, and meaning by selecting, cutting, placing, repeating, and so on. I had always assumed that the choreography was created, the filming/video was blocked out, and things essentially went in a linear order. Oh, silly me; nothing of the sort. Film here, film there, throw it all in a big pile and then start mixing and matching. Amazing things can emerge.
Take a look at anything by Simon for stellar examples:
http://www.youtube.com/watch?v=DicA-jC1gS8
http://www.youtube.com/watch?v=rFdZ71K7XQU
Or my masterpiece, built using random bits and pieces of footage that Simon provided for our experimentation:
http://www.youtube.com/watch?v=rOWf9KOvwSY
 When I was in junior high school, my parents bought me a lovely alto saxophone and I started playing in the junior high and then high school bands. Mostly it was a lot of honking and such, but I had fun. I tried playing a little more in college but quickly gave up on that. I essentially put my horn away more than 20 years ago.
Then, for Christmas last year, Jacque (you know, my wife) took my horn to a repair person. Over the decades it had become torqued (a natural thing for saxophones to do, what with all the holes on one side) and essentially unplayable. It got completely disassembled, straightened out, tightened up, and made fabulous all over again!
A few months after that, I decided that I needed to take lessons again. And so, on 29 May 2013, at 2:00 PM, I met with David Hall – the same man who resurrected my horn – and recommenced my musical training.
The good news is that I could actually play a little. I could even get a reasonable tone out of it. Woo hoo! And now, I could say much more, but I have to go practice.
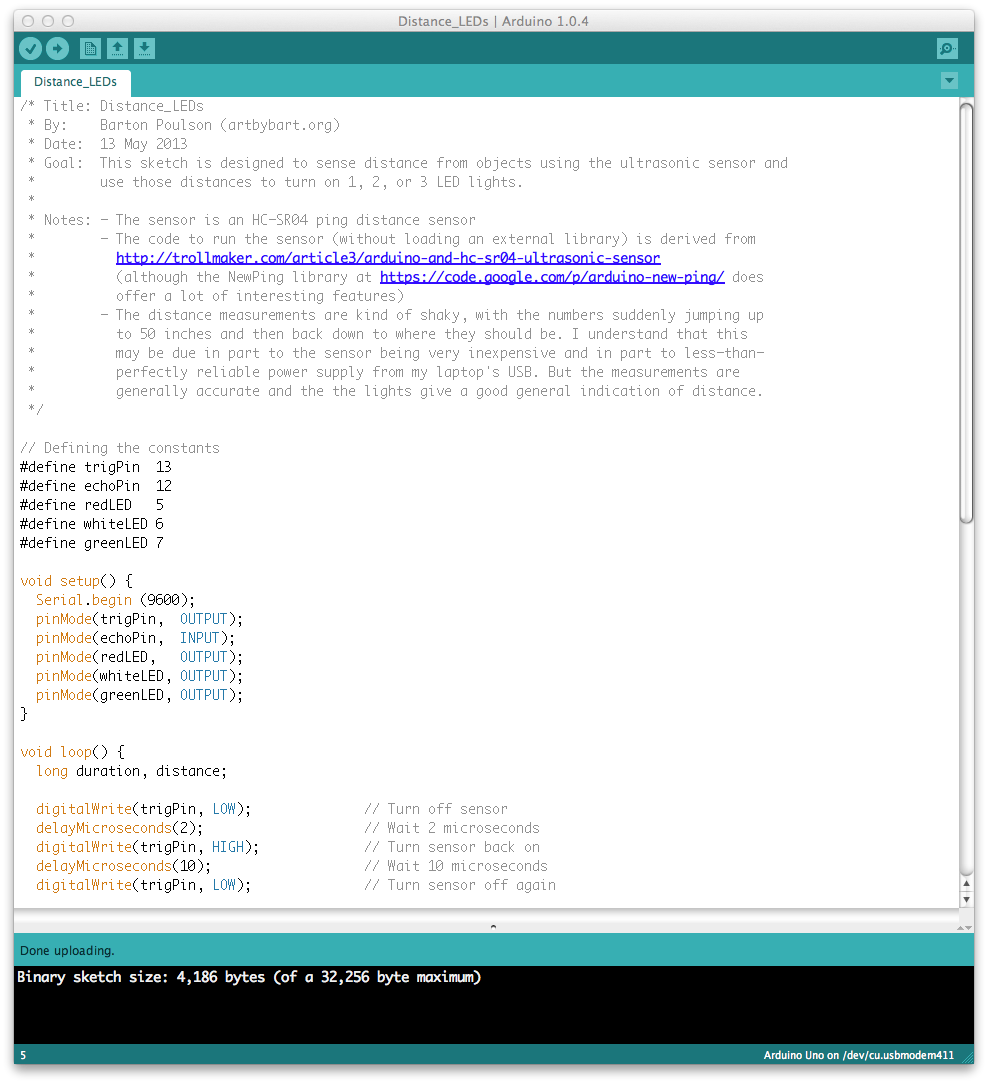
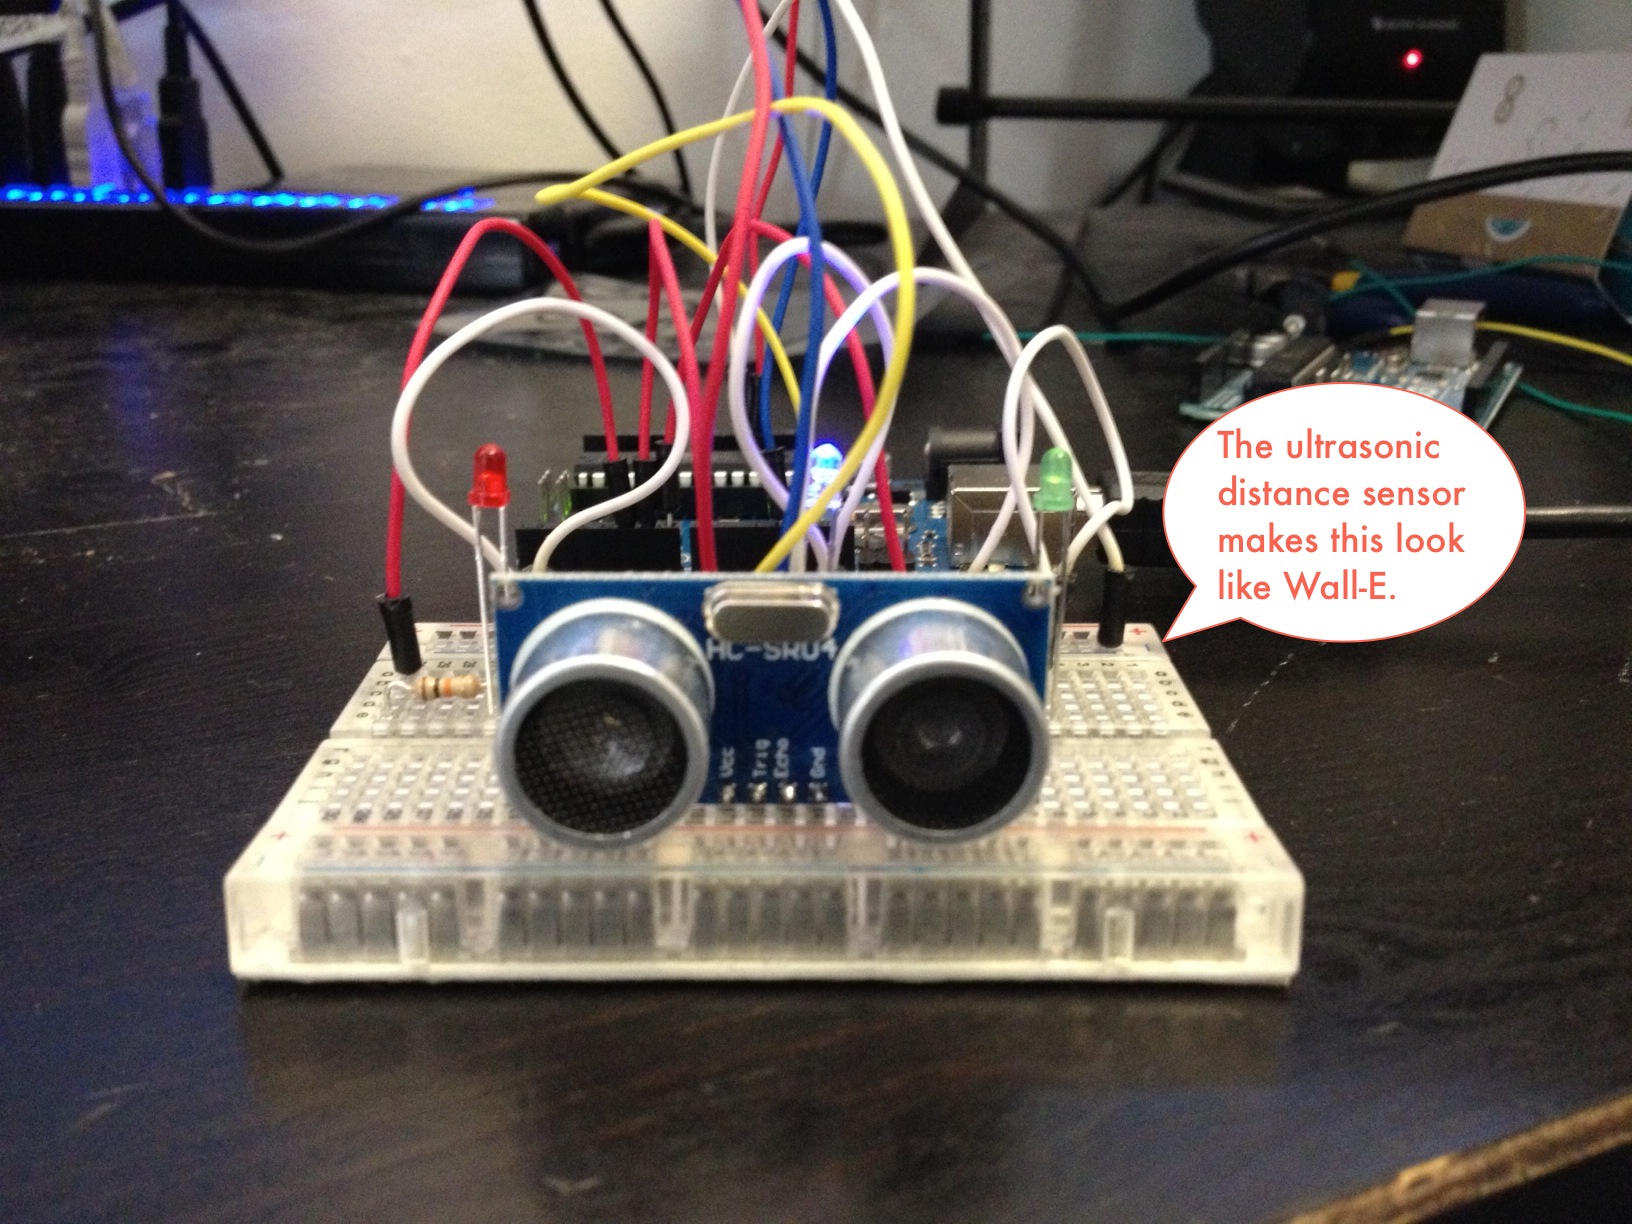
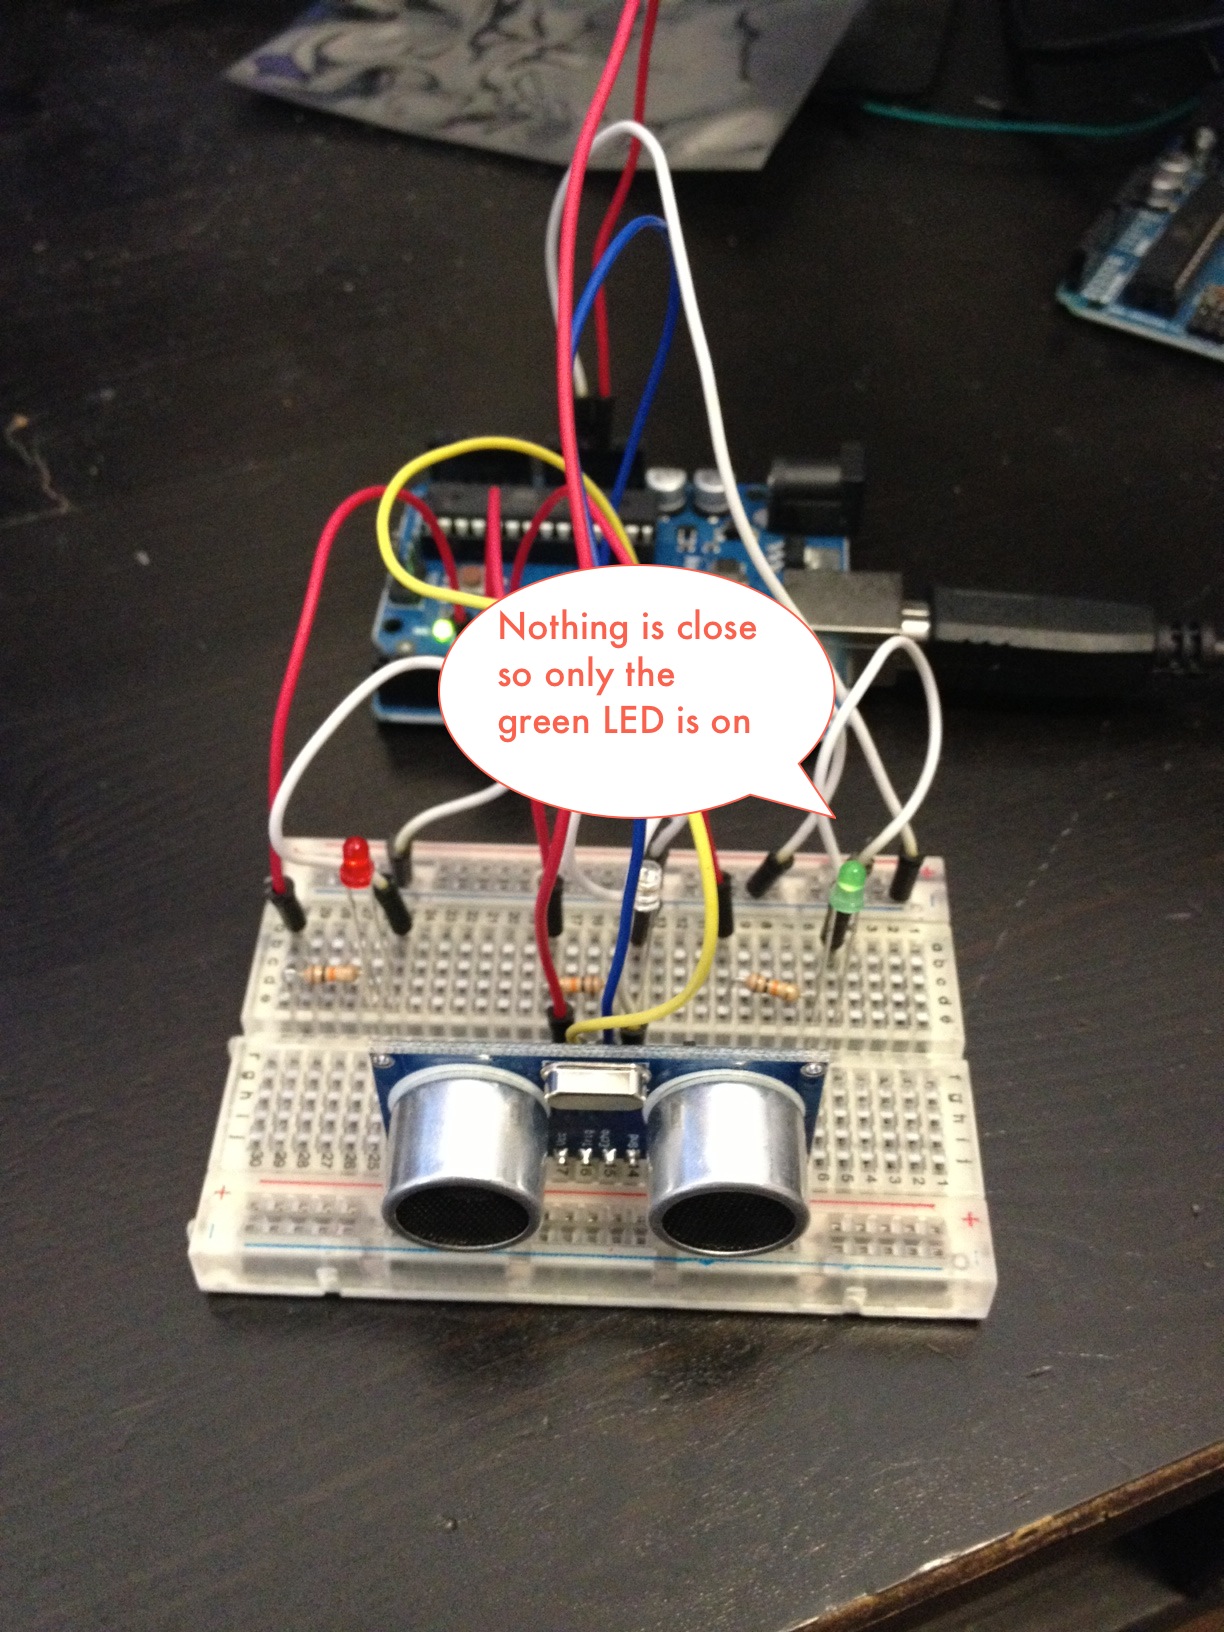
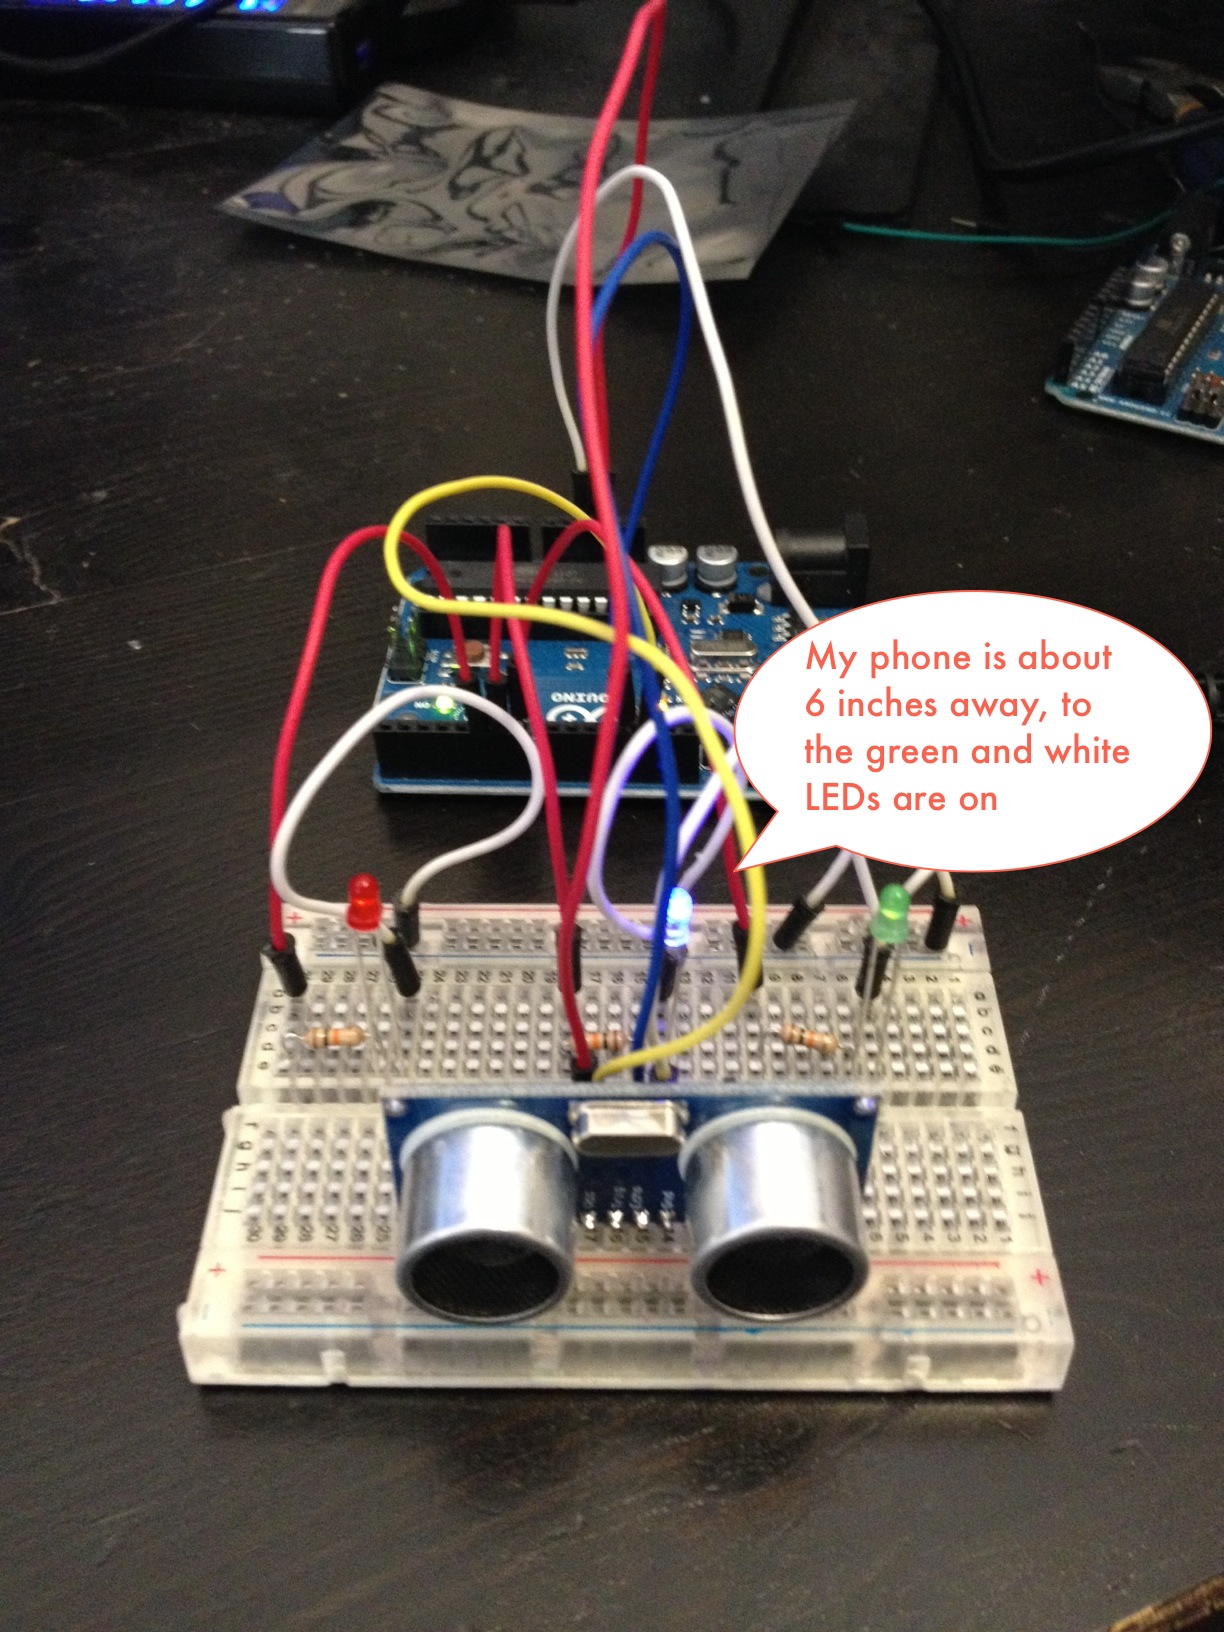
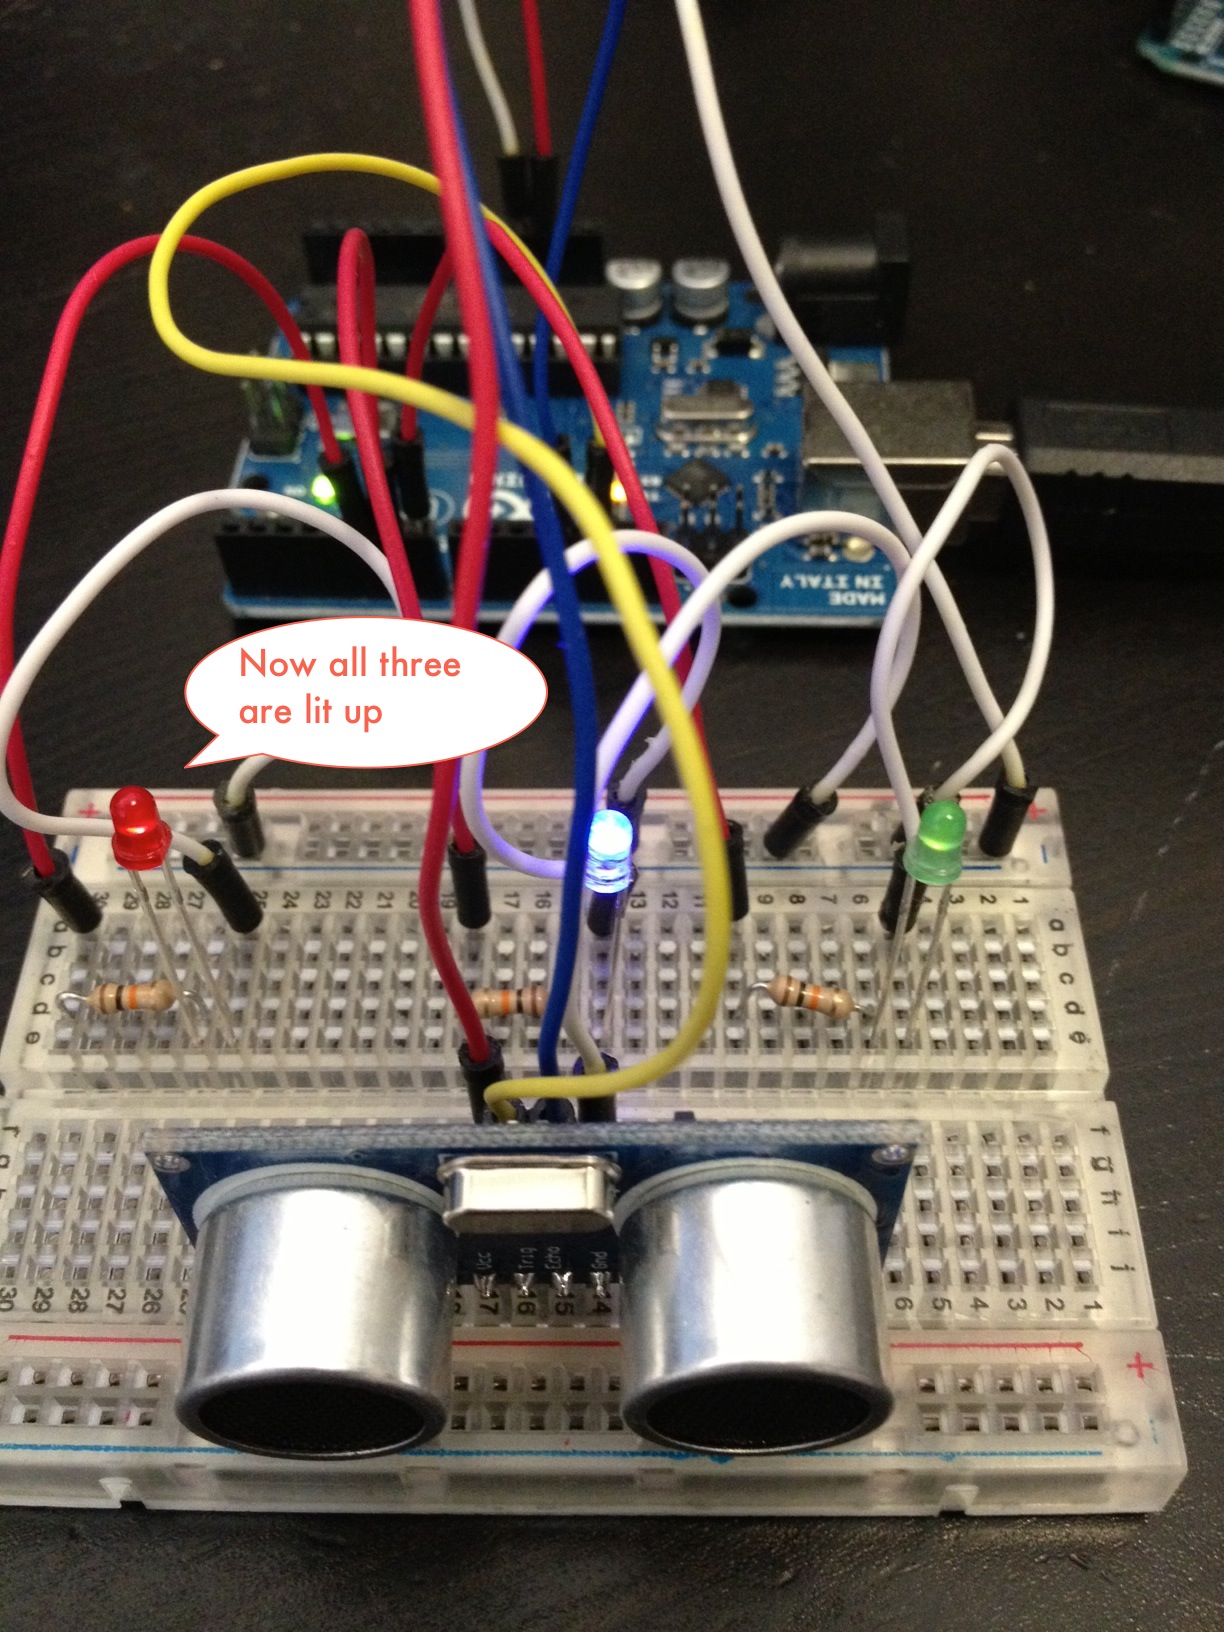
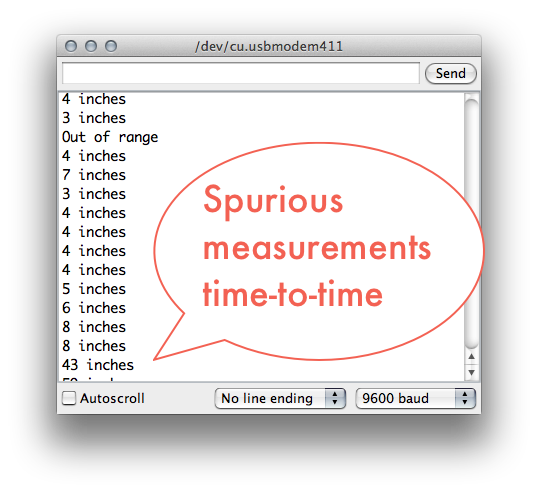
The sensor reads the distance of objects in front of it and converts those measurements to inches. If the serial monitor in open, the distances are shown, although they jump around a lot. I understand that such fluctuation could be the results of a $5 sensor but could also have to do with fluctuating power supply from my laptop USB. It could also have to do with the actual code that I used, as I decided to forgo the use of a library in this one to keep things simple. Anyway, the measurements are generally accurate. If the object is less than 72" (6 feet) from the sensor, the green LED lights up. If the object is less than 12" away, the white LED also lights up. Finally, if the object is less than 4" from the sensor, then the red LED joins in. Simple but it works.
As with all of the exercises that I completed for the book Getting Started with Arduino, the code for this sketch can be downloaded from http://db.tt/f6x9Q4NA (you'll want the "Distance_LEDs" folder, in this case).
And with that, I think I have finally finished all of the work to get the Art Technology Certificate from the University of Utah Department of Art and Art History that was the purpose for my 2011-2012 sabbatical. Woo hoo!
- Chapter 1: No real information
- Chapter 2: A tiny bit of information but no practical work
- Chapter 3: A tiny bit more information but still no practical work
- Chapter 4: A tiny bit of practical work
- Chapter 5: A little bit more practical work
- Chapter 6 (this chapter): About 1000% more complicated than all the rest of the book put together
- Chapter 7: A tiny bit of information to wrap things up
It really felt like getting thrown into the deep end. However, I finally got it to work. Here is the chronicle of my adventure:
- Copy and paste code into Arduino and Processing IDEs (because this one uses both).
- Get intractable errors in Processing because the code was written for v. 1 and we're now in v. 2
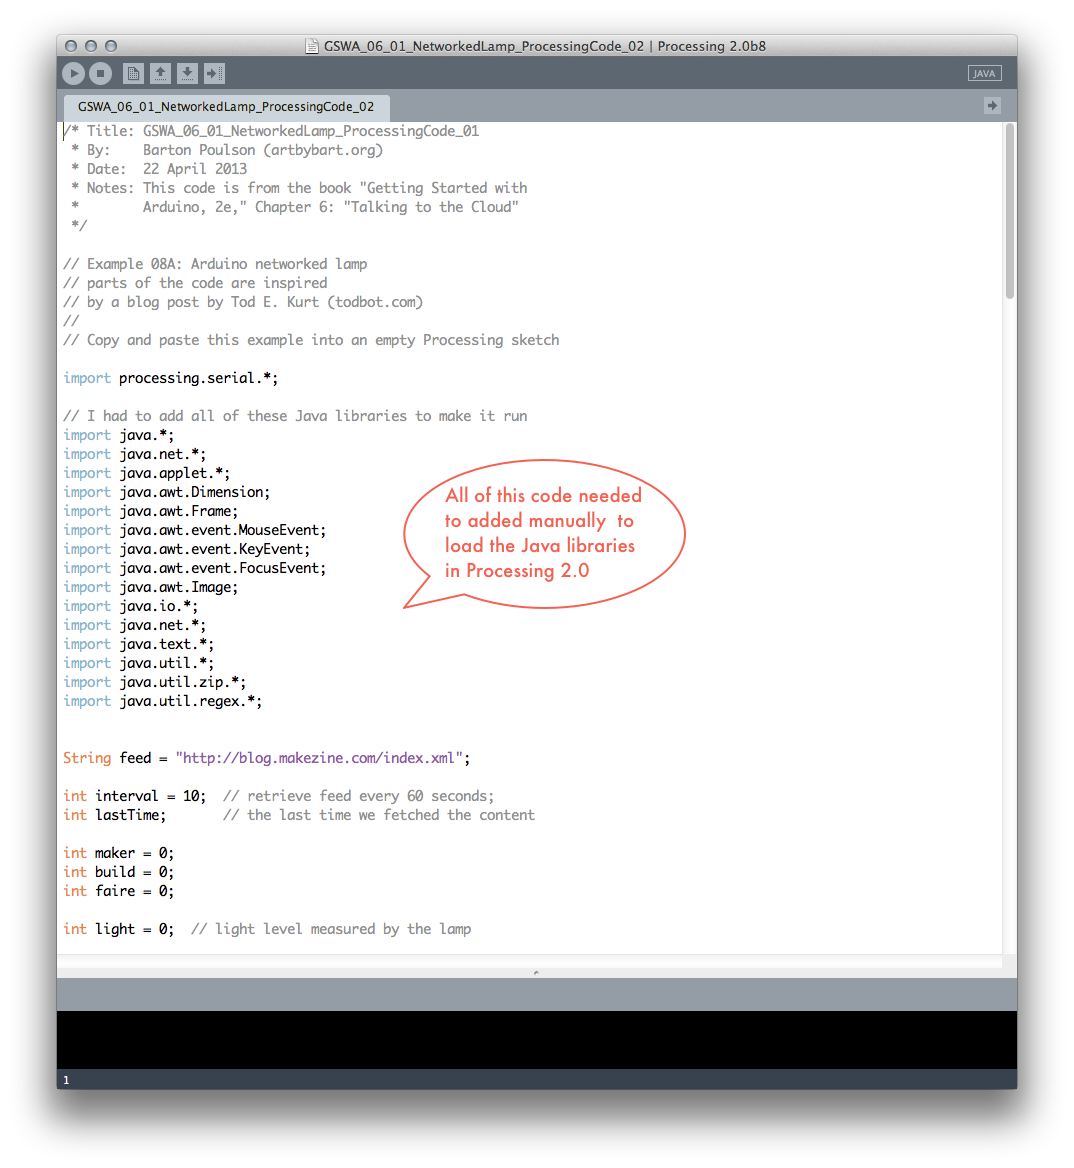
- Spend much time searching the web, determine that all of the Java libraries must be installed manually
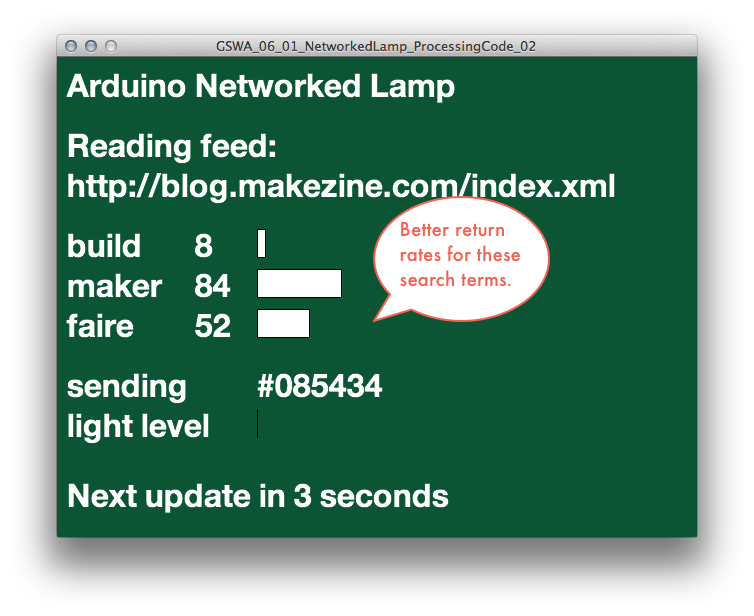
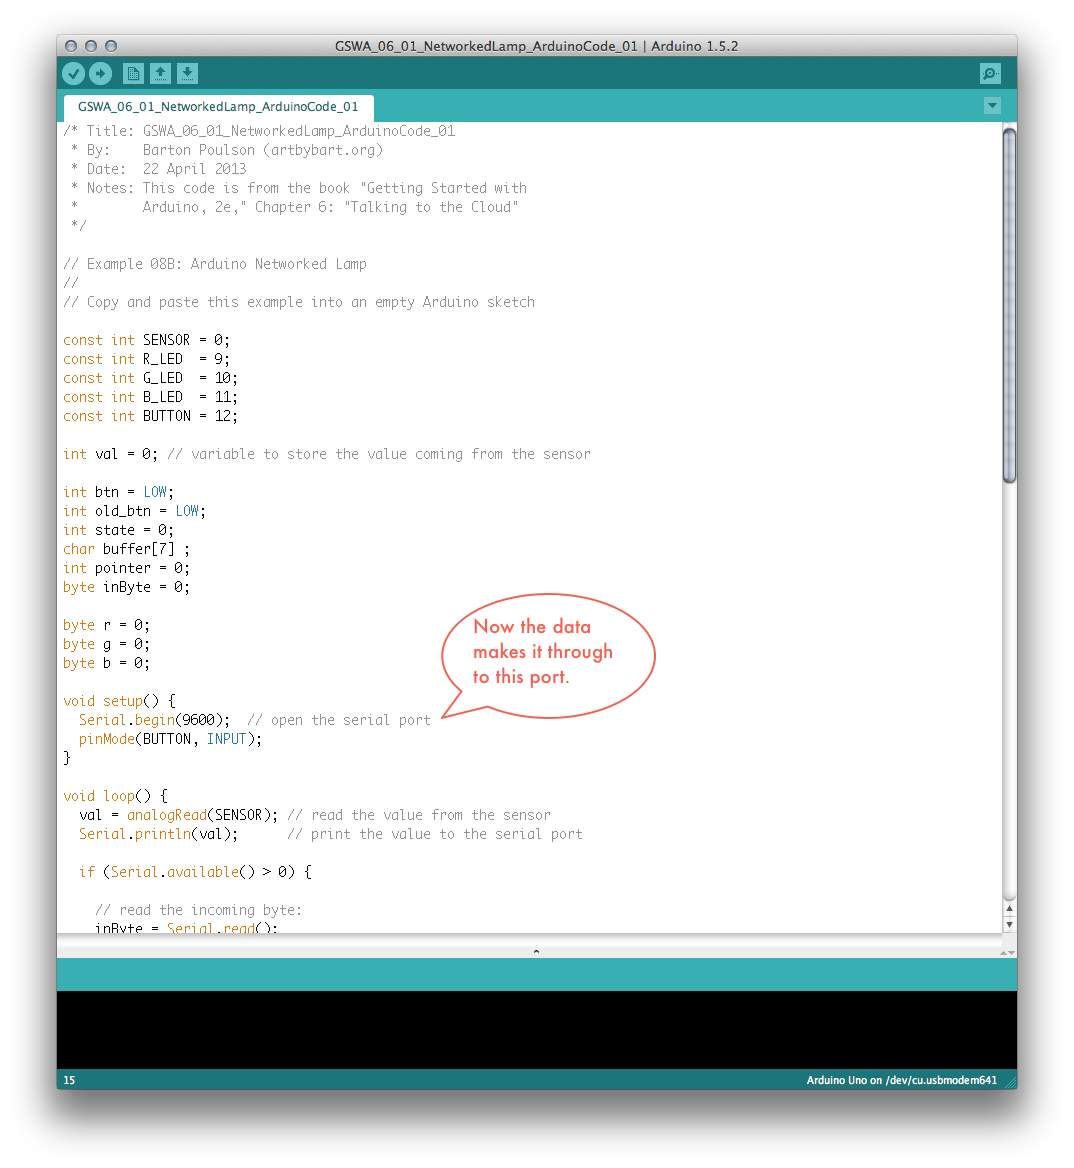
- Get the Processing code running (see first photo above) but get such miserably low numbers for output that no light would be detectable
- Revise Processing code to search for more common terms with the hope to being able to see things (see second photo)
- With Processing apparently working right, turn to physical components of Arduino
- Reconstruct the physical circuit because I took it apart after three weeks (having even schlepped it around with me in a box on the bus and train from Salt Lake City to Orem)
- Plug the Arduino board in to my computer
- Have the Arduino shut off and get alarming error message from computer (see third photo)
- Spend much time fiddling with USB connection, pull out brand new, back-up Arduino board, plug it in and see that it works, recreate circuit on new board, get same problems, notice lots of heat on bottom of first board, think that I have destroyed things, fret much
- Search web for help and learn that there may be a short-circuit (without even really knowing what this would mean)
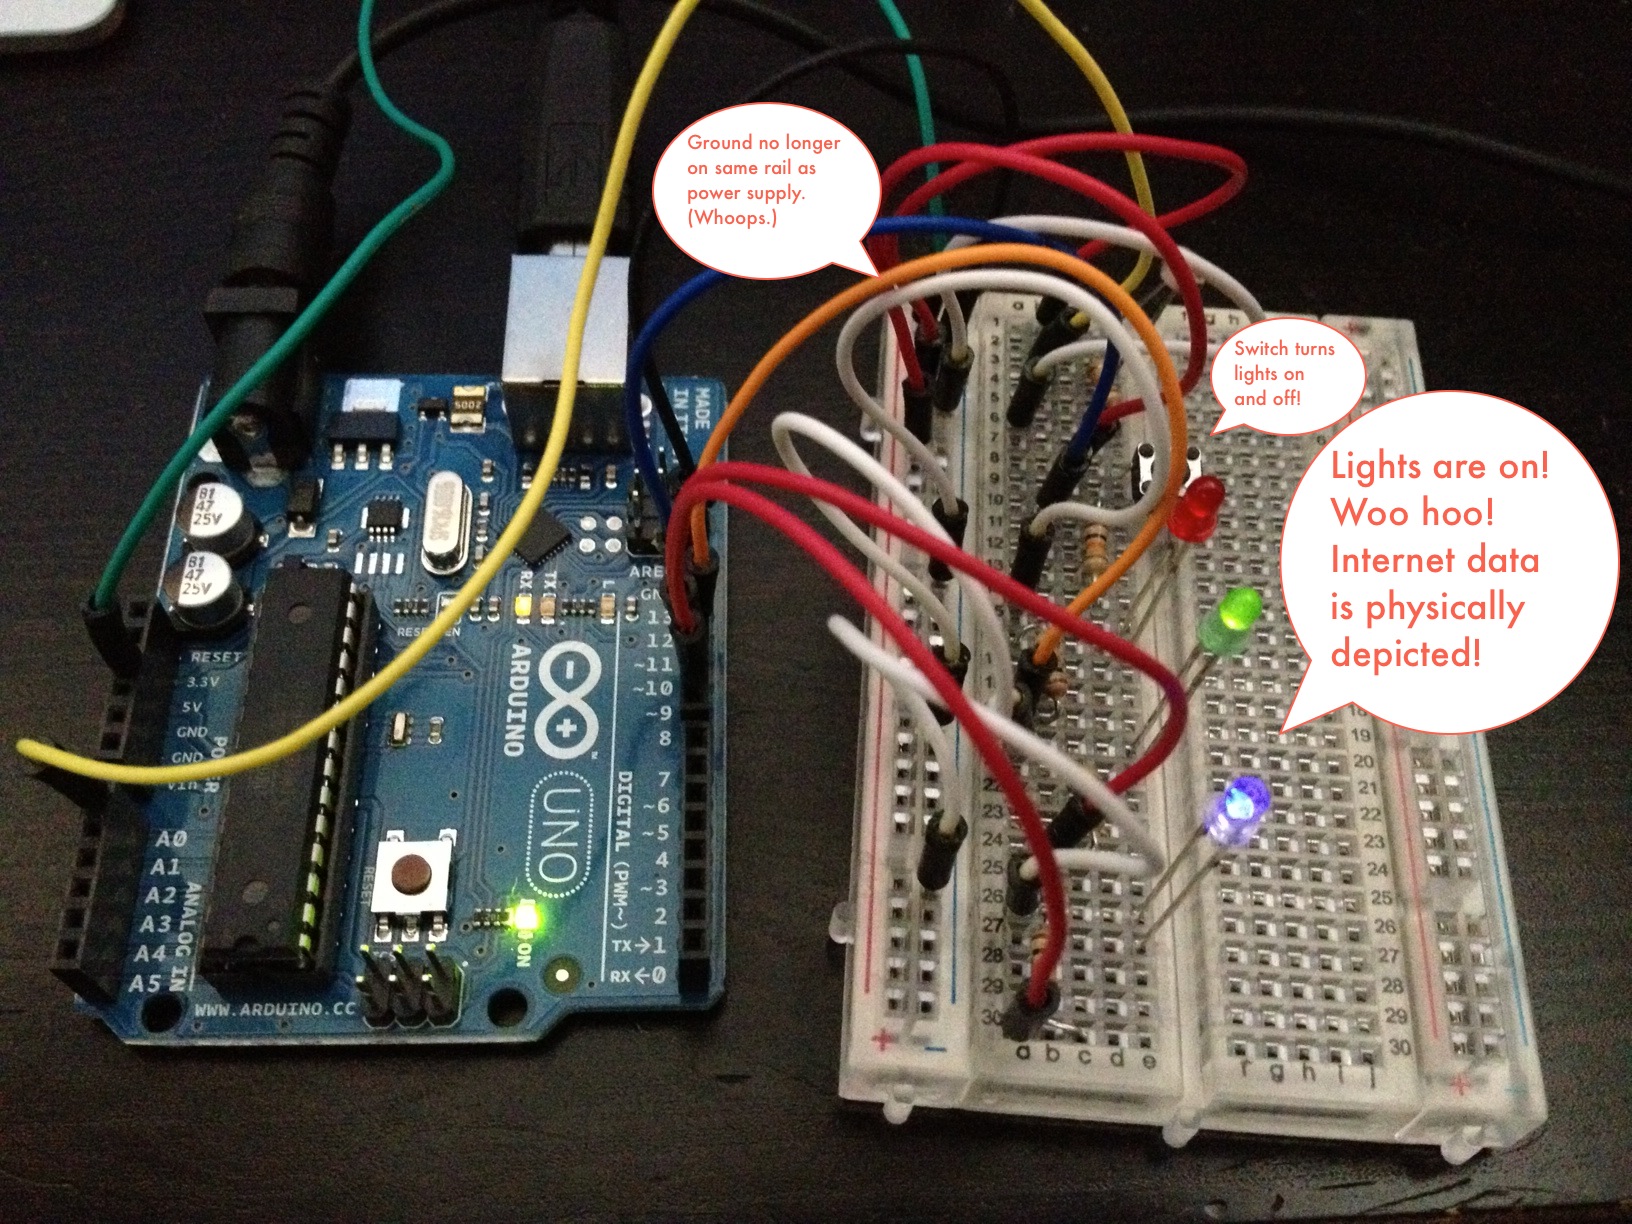
- Eventually discover that I put the ground wire on the same positive rail of the breadboard as the power. Oops.
- Put the ground wire on the negative rail (the way the illustration told me to do it in the first place), board powers up, problem solved.
- Back to Arduino IDE, compile and upload sketch, have lights blink to indicate successful upload, but see nothing happening with LEDs
- Mess around with light sensor and the button on the breadboard to no effect
- Check the serial monitor in Arduino and see a steady stream of strange data that is absolutely not in the right format
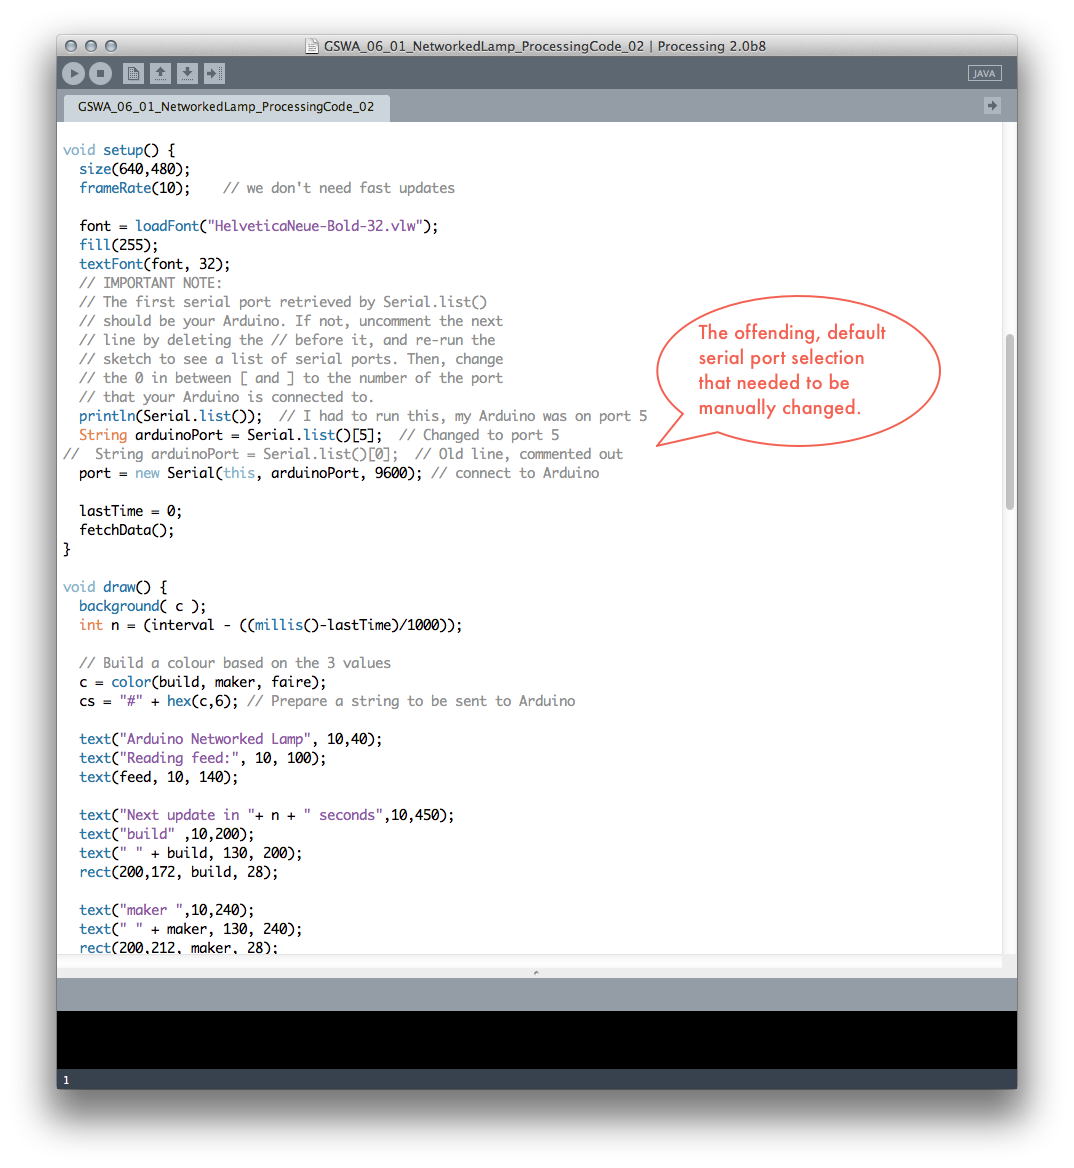
- Read book again, see "important message" about serial port selection
- Go back to Processing, uncomment code that lists serial port connects and find that my Arduino is connected to port 5 and not the expected port 0
- Change port in Processing, rerun sketch, and suddenly see much blinking on Arduino board
- LEDs light up! Button turns them on and off! Success! (See last, triumphant photo above)
Okay, that was not fun but I was convinced that I would never make it work so I feel very, very happy now. And I already finished chapter 7 (although I haven't yet posted it to this web page because I'm an extremely linear guy), so I'll post this chapter, post that one, and then try to do a small, creative project (which I have been planning – more or less – for a few weeks), and call it quits. But here we go for now!
Completed:
- Getting Started with Arduino, 2e, Ch. 6: Talking to the Cloud (1 exercise – but a really, really big one)
- Sketches (i.e., code) can be downloaded from http://db.tt/f6x9Q4NA
Related articles
- Getting Online with Arduino: Round Up of Devices (hackthings.com)
- Facebook counter - How many Likes to your facebook fanpage? (open-electronics.org)
[youtube=http://www.youtube.com/watch?v=hp2qb6KBQXY]
This second YouTube video provides a technical walkthrough of the project:
[youtube=http://www.youtube.com/watch?v=LtdOBfpWK30]
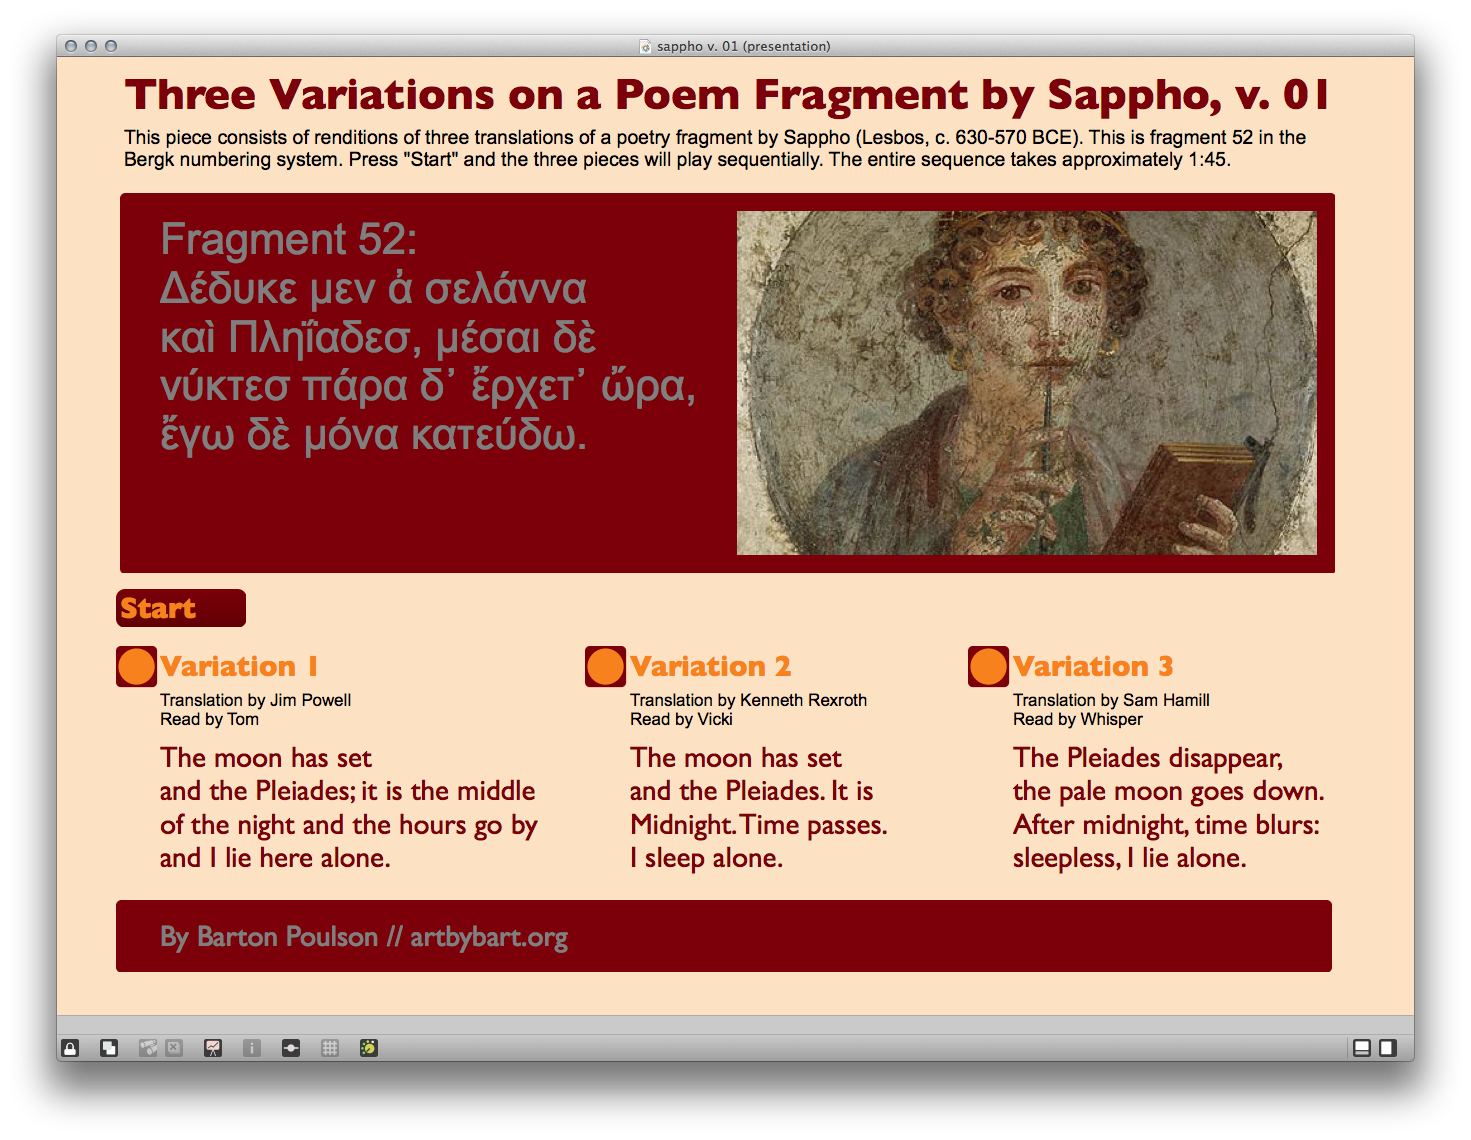
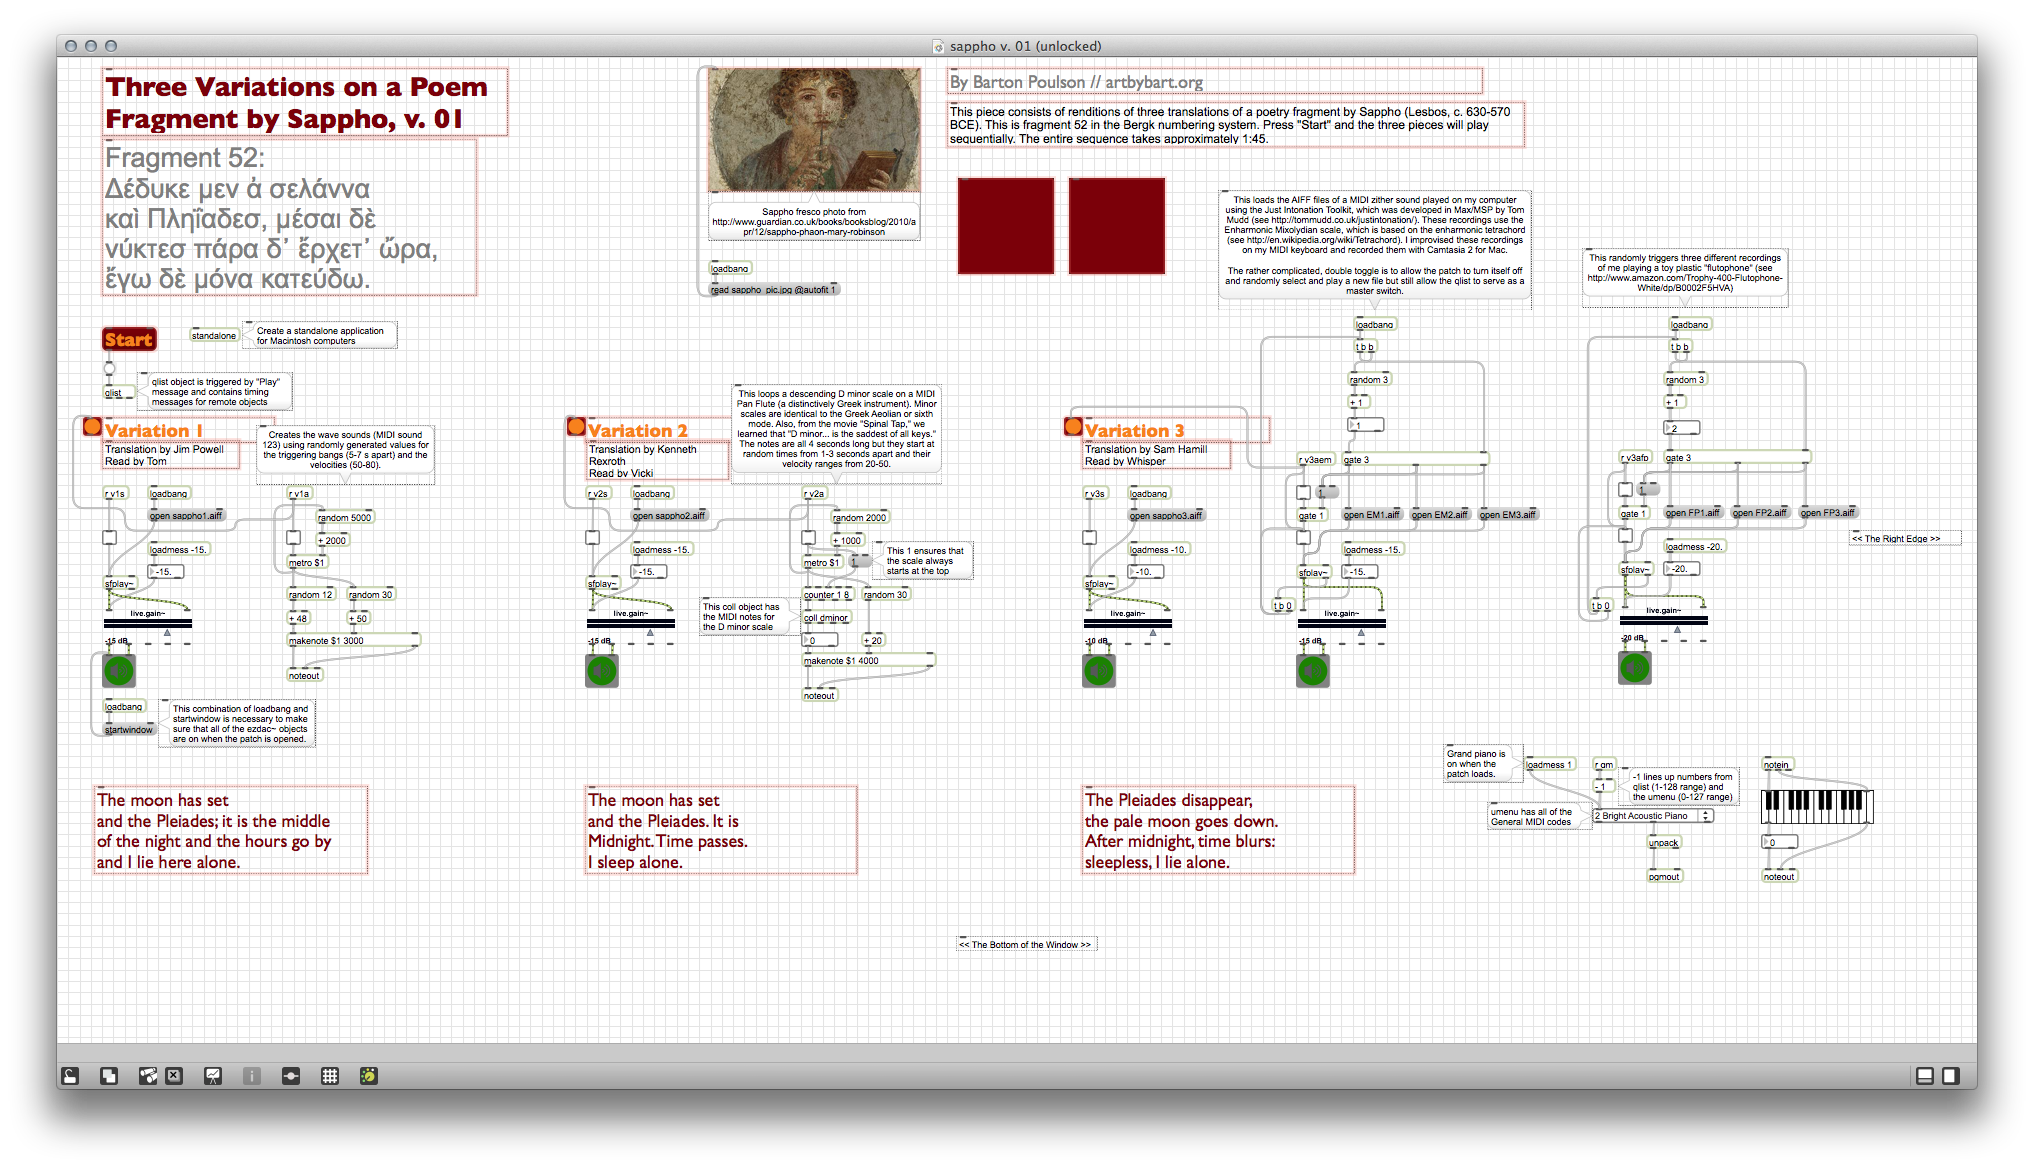
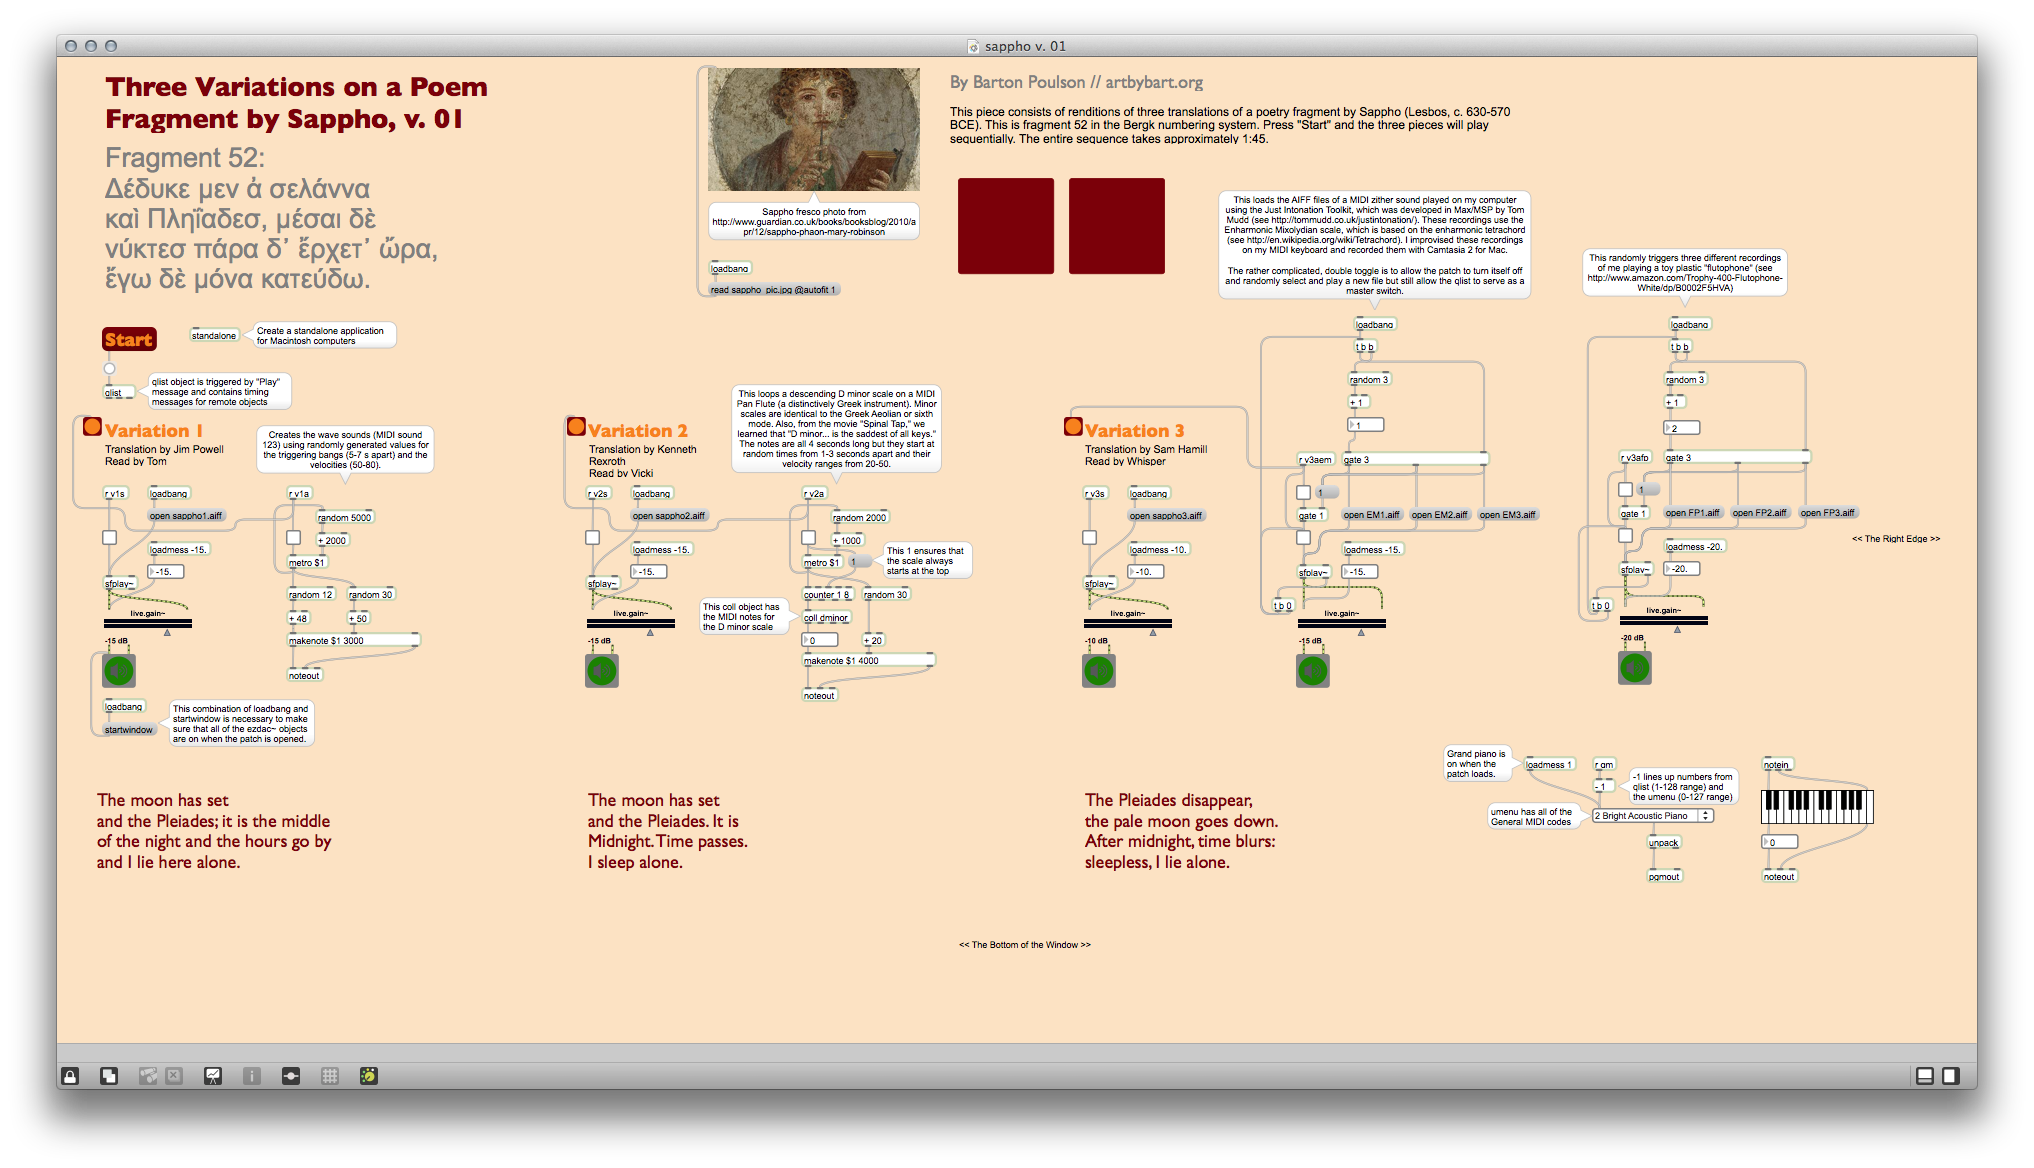
Here's the text version of that explanation (more or less). I wanted to have audio recordings of the three versions of the poem. Because I could and because I thought it would make a nice contrast with the extreme earthiness of the poem, I decided to use computer voices. I chose three of the voices that come with Macintoshes: Tom, Vicki, and Whisper. For each poem, I put the text in TextEdit and, in the TextEdit > Services menu, chose "Add to iTunes as a Spoken Track." (I think I added that function at some point but I can't remember when or from whence it came.) From there I converted each of the computer voice recordings from the default iTunes AAC format to a more-Max-friendly AIFF format and added them to the same folder as the Sappho patch.
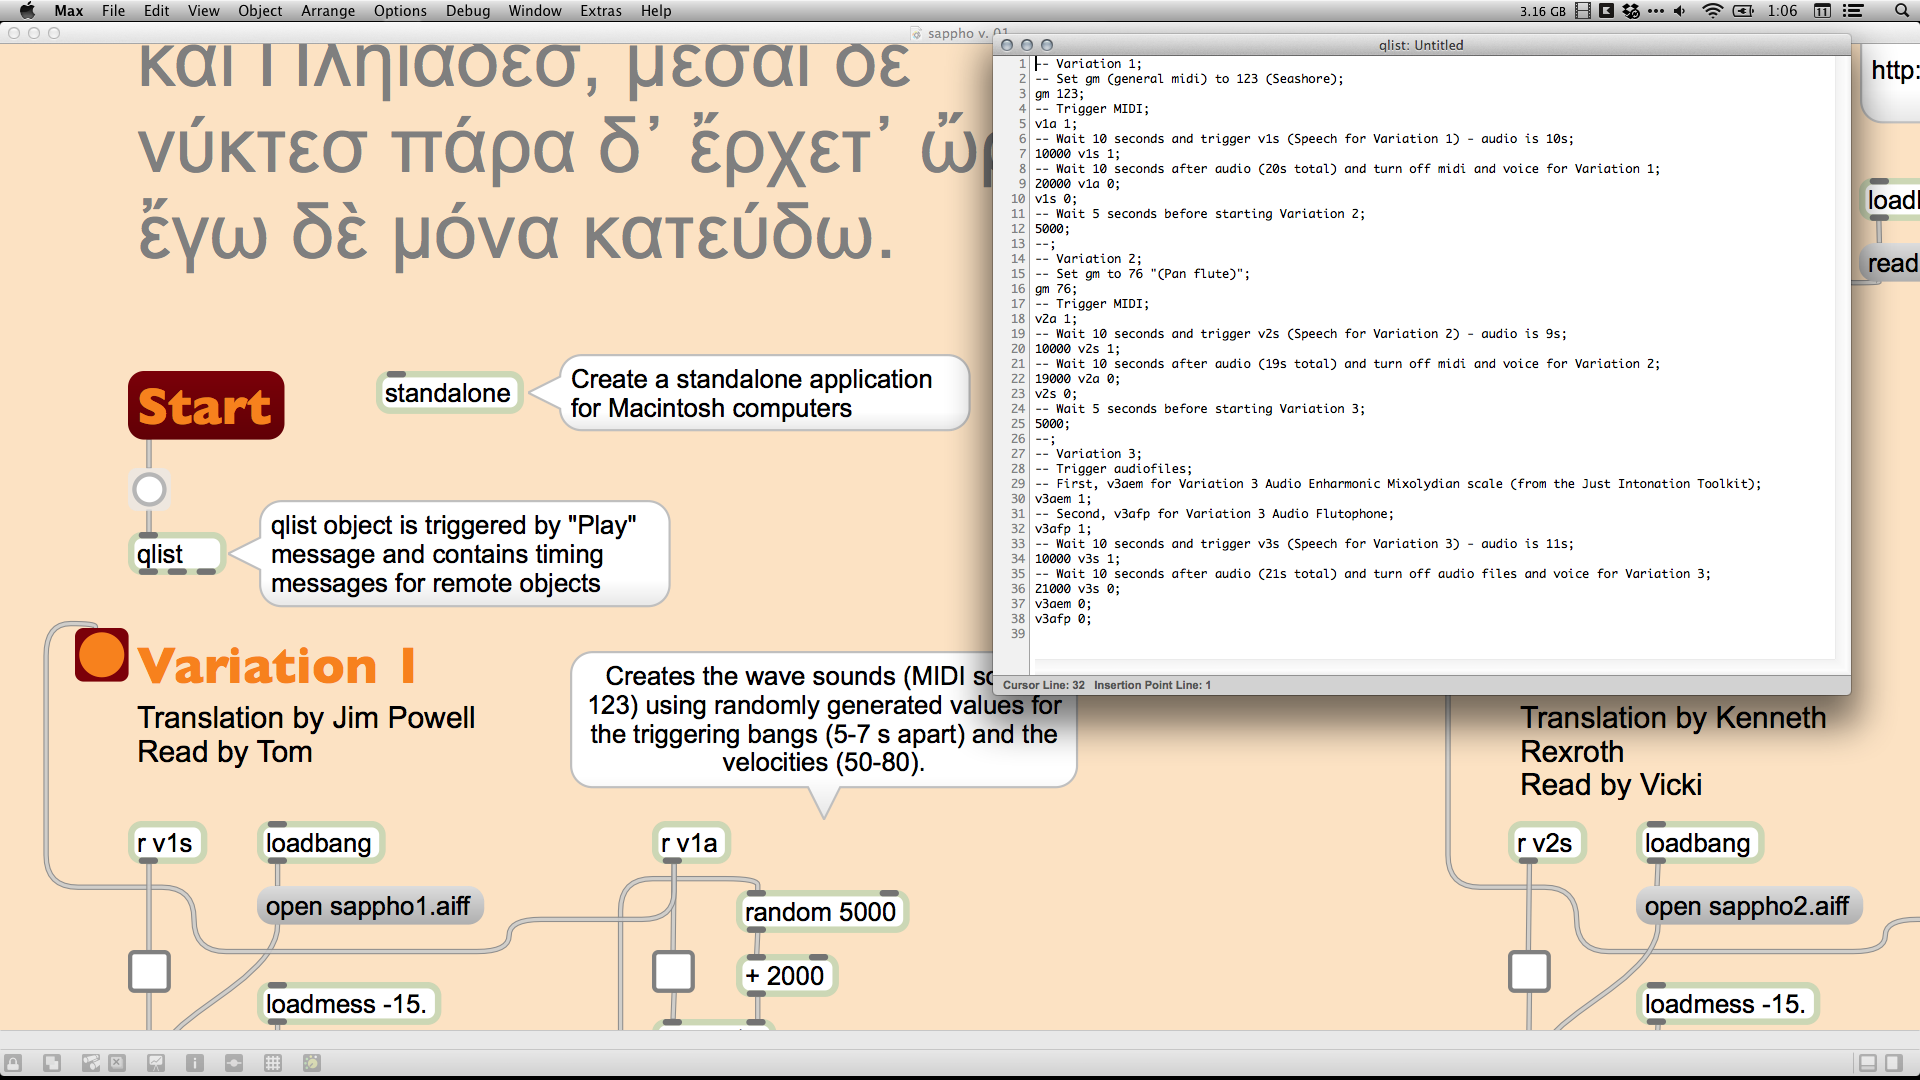
In order to control the playback of the various items, I created a qlist object that would contain all the timing information and remote sends to the various objects. In each case, this started the background sounds first (for 5 seconds) and then the voice recordings (about 10 seconds), with the background continuing for about 10 more seconds after that.
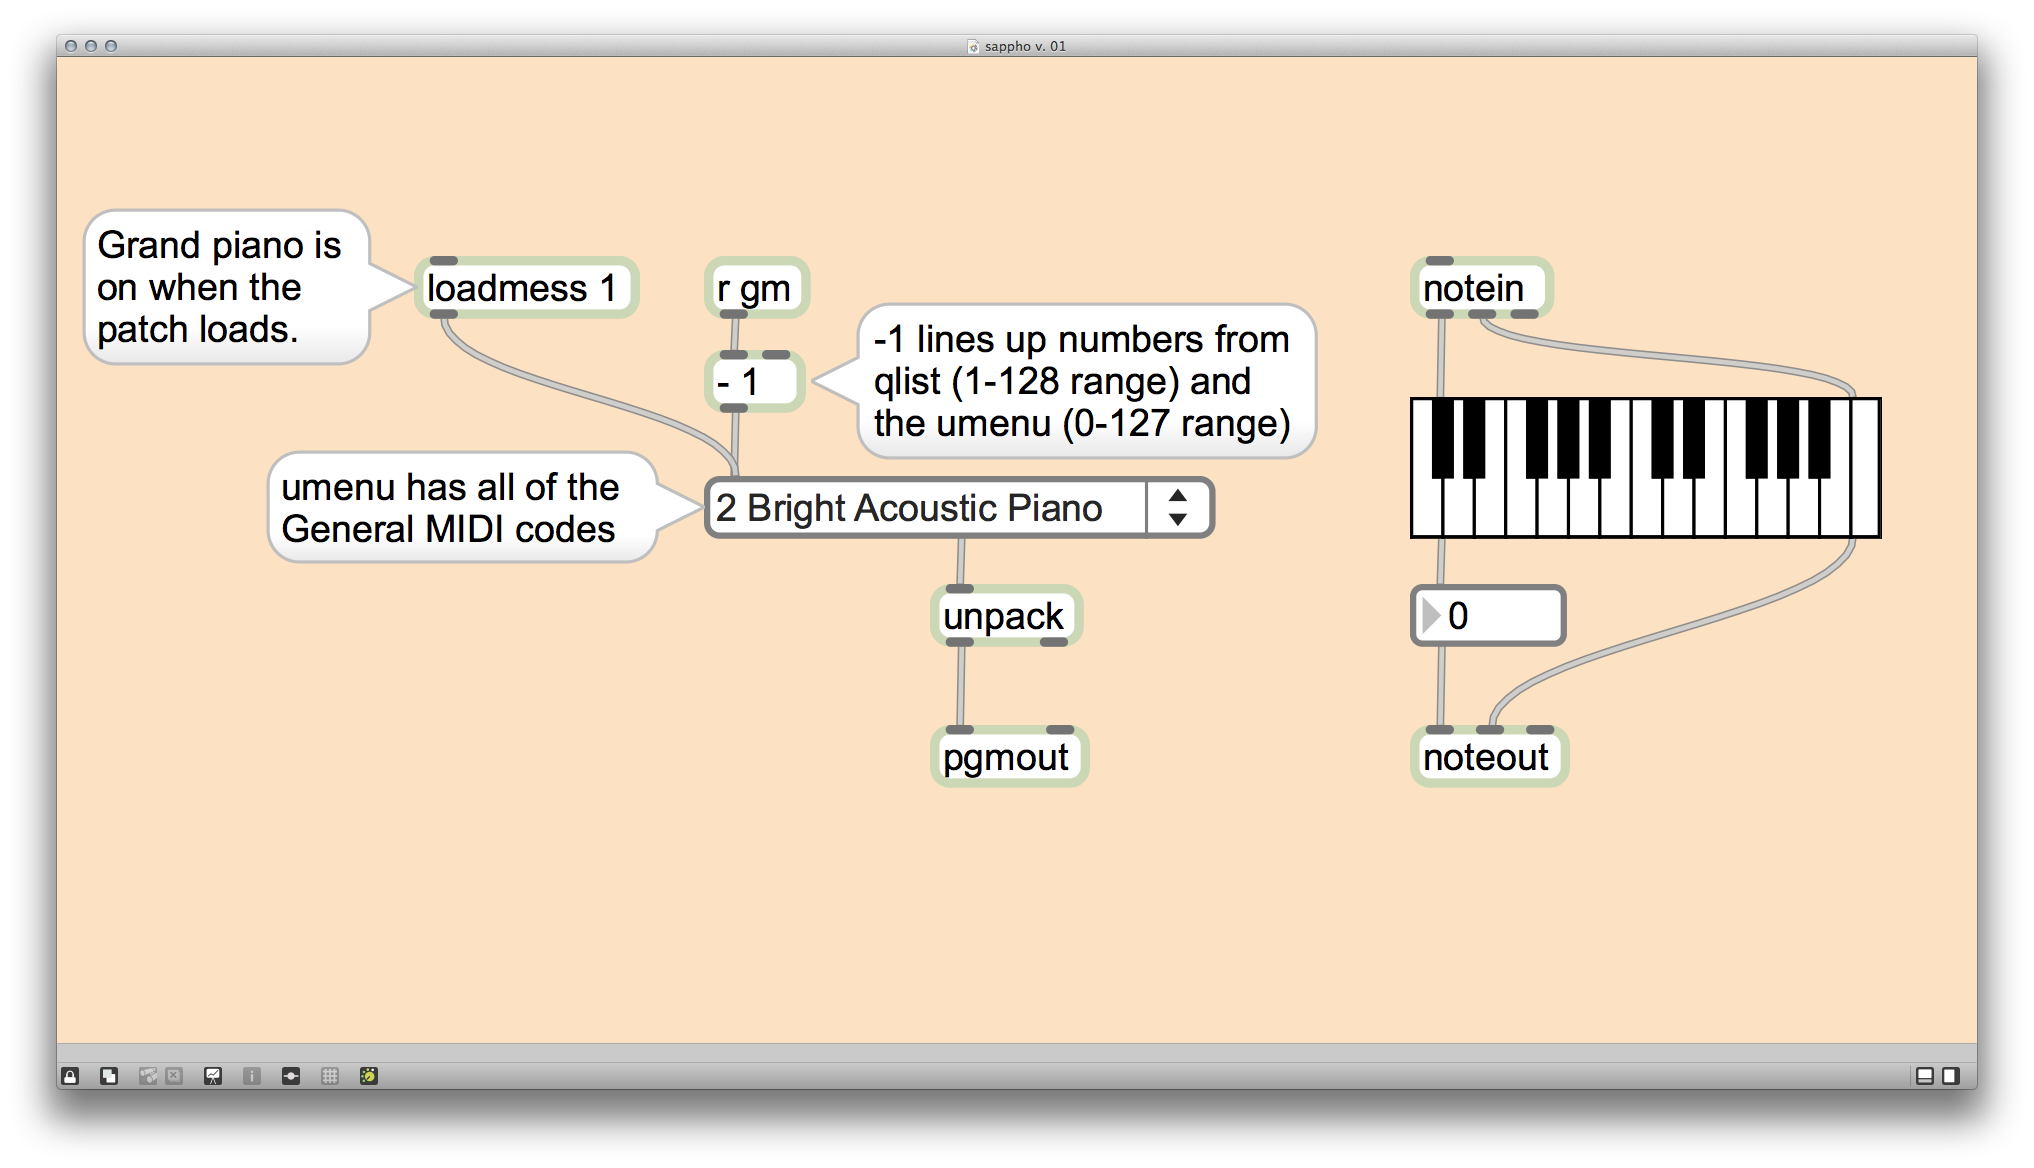
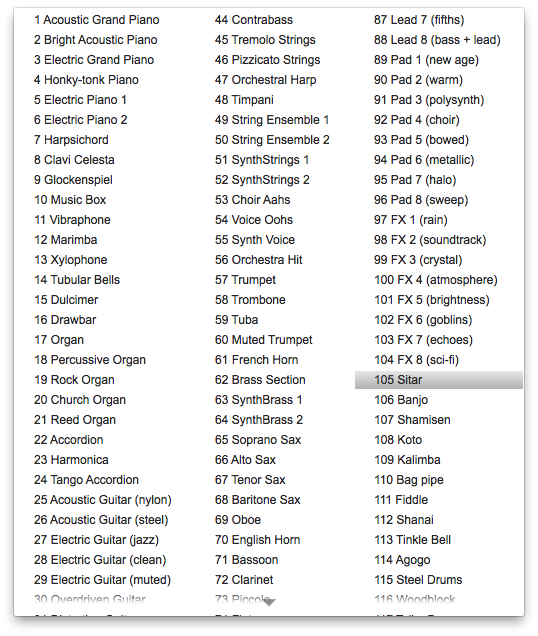
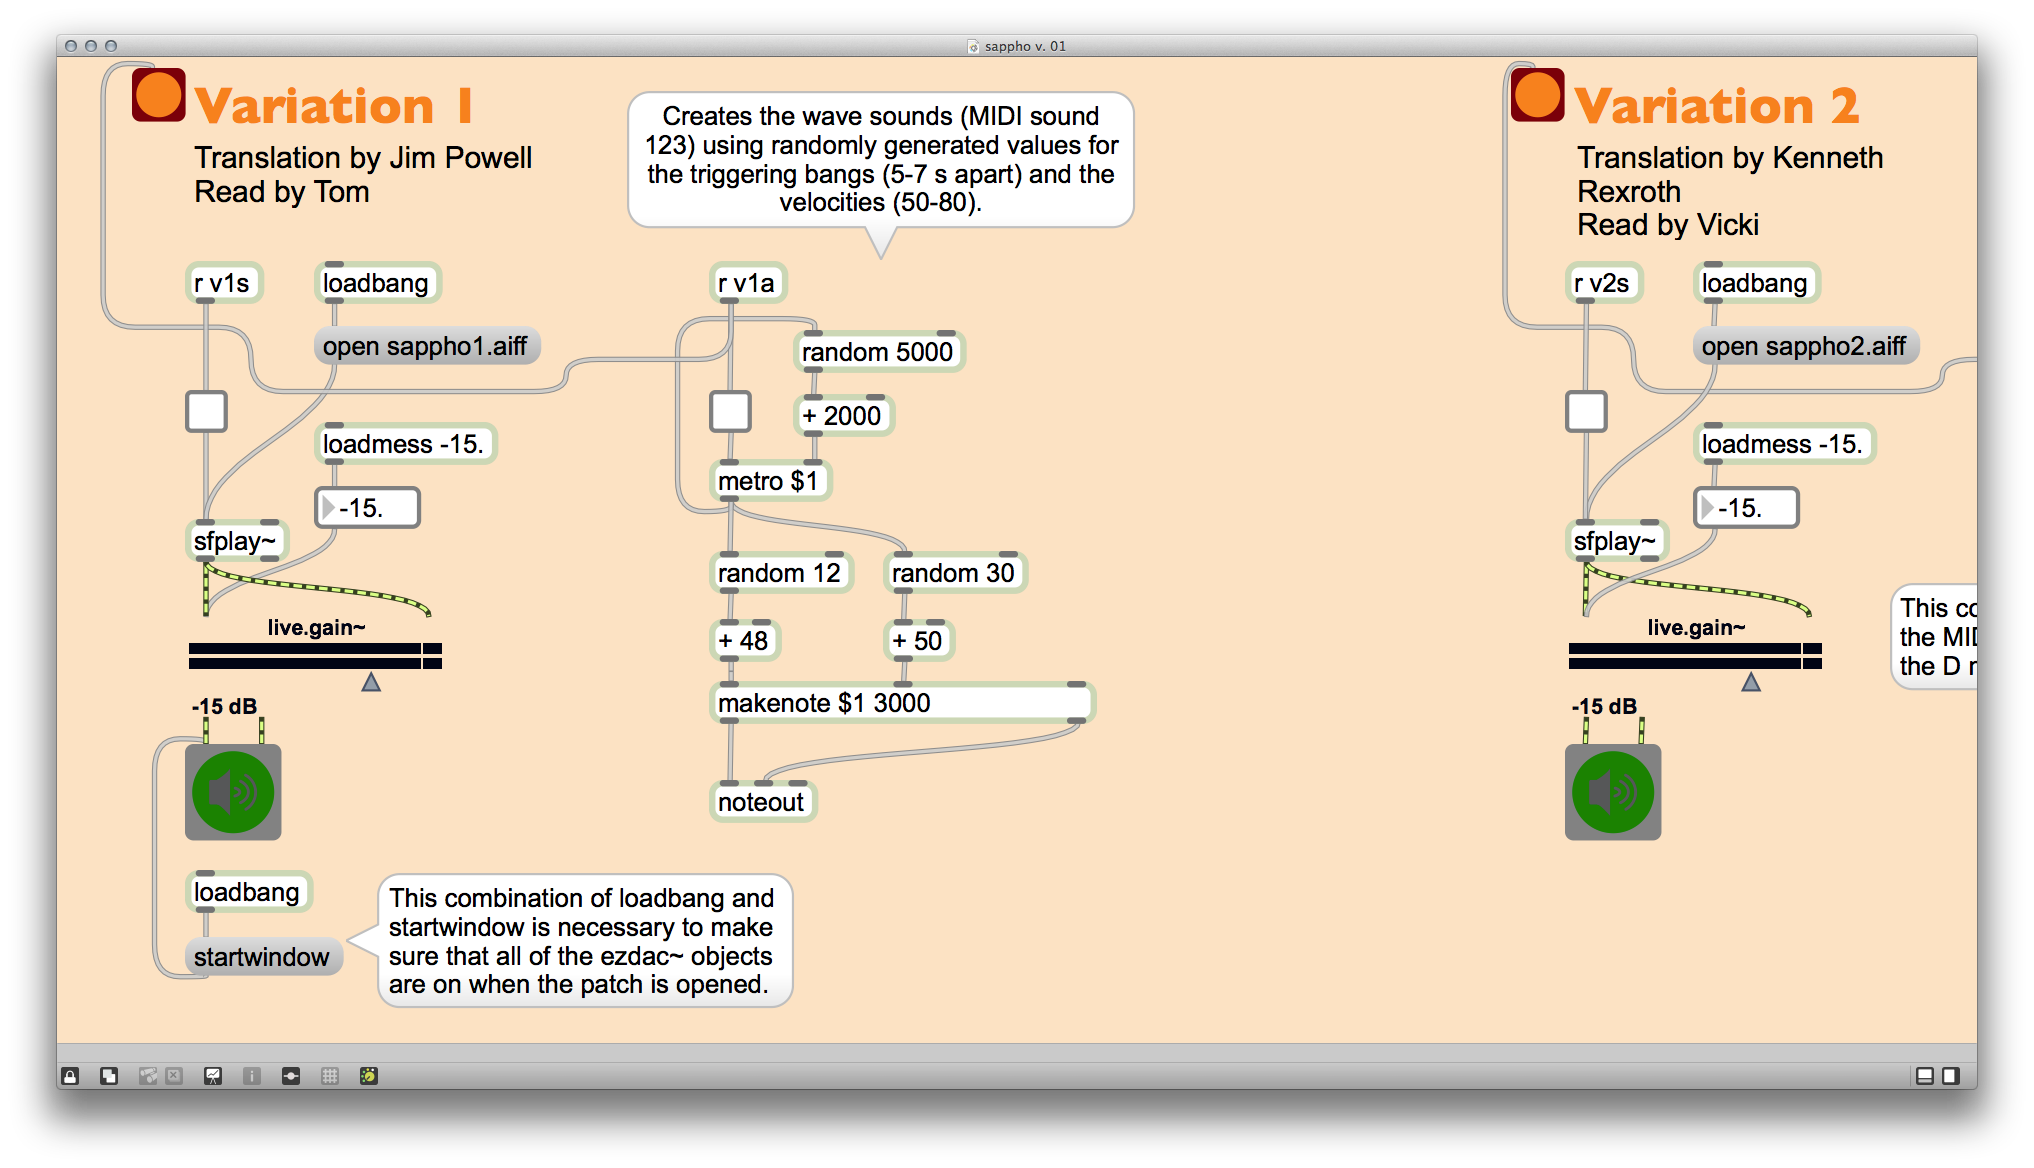
Variation 1 uses Seashore sounds (MIDI 123) because, you know, Sappho lived on an island. These wave sounds are all the same length (3 seconds) but they start at randomized times (2-7 seconds apart) and play with randomized velocities/volumes (50-80 on a 0-127 scale). Those variations make the artificial MIDI waves sound a little more realistic.
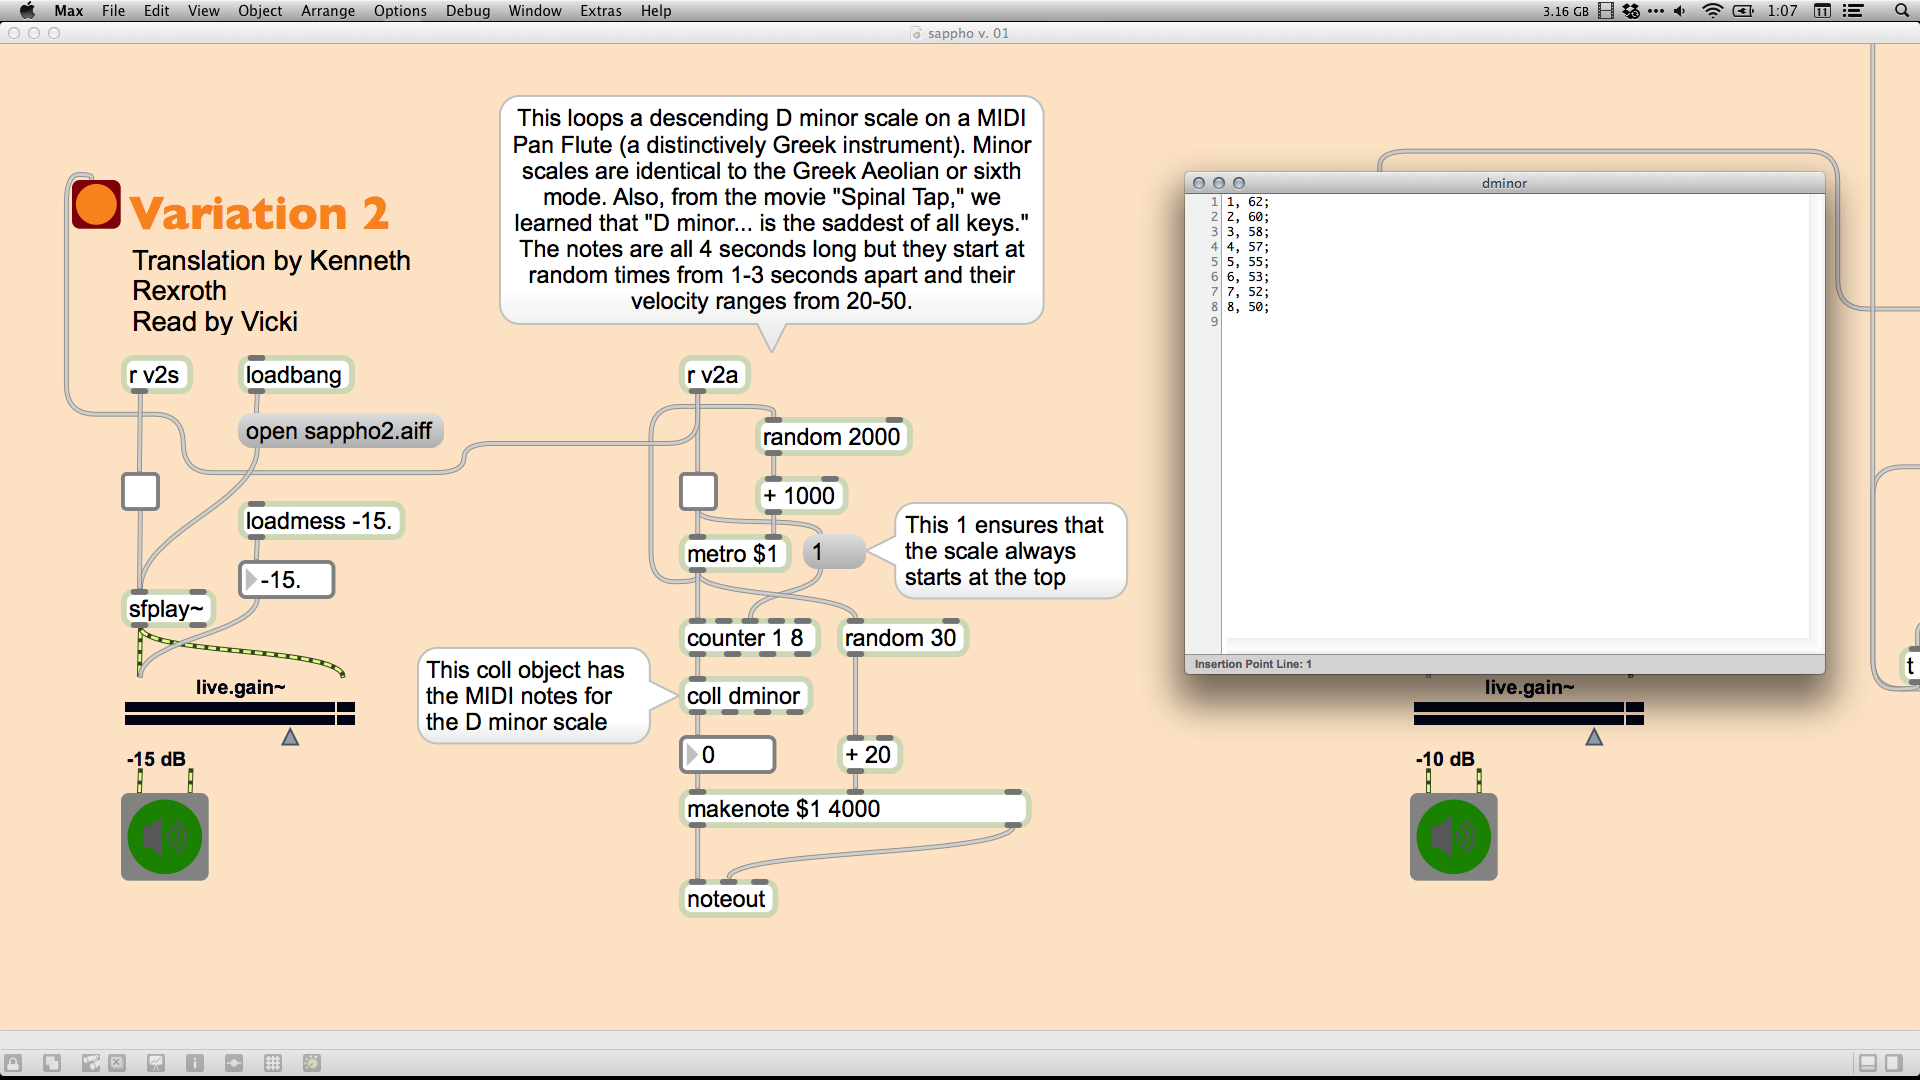
Variation 2 uses a Greek instrument, Pan flutes (MIDI 76), to plays loops of a descending scale, as descending is more in line with the melancholy feel of the poem. The scale is D minor for two reasons: the minor scales are identical to the Greek Aeolian scales and, as we learned from Nigel Tufnel in This Is Spinal Tap, "D minor... is the saddest of all keys, I find. People weep instantly when they hear it, and I don't know why." The MIDI notes for the scale are contained in a coll object and are referenced in a looping manner by a counter object. Like the waves in Variation 1, the notes in the descending scale start at randomized times (1-3 seconds apart) but stay in order and have randomized velocities/volumes (20-50). In addition, a message of "1" that connects the toggle and the counter object makes sure that the scale always starts at the top note.
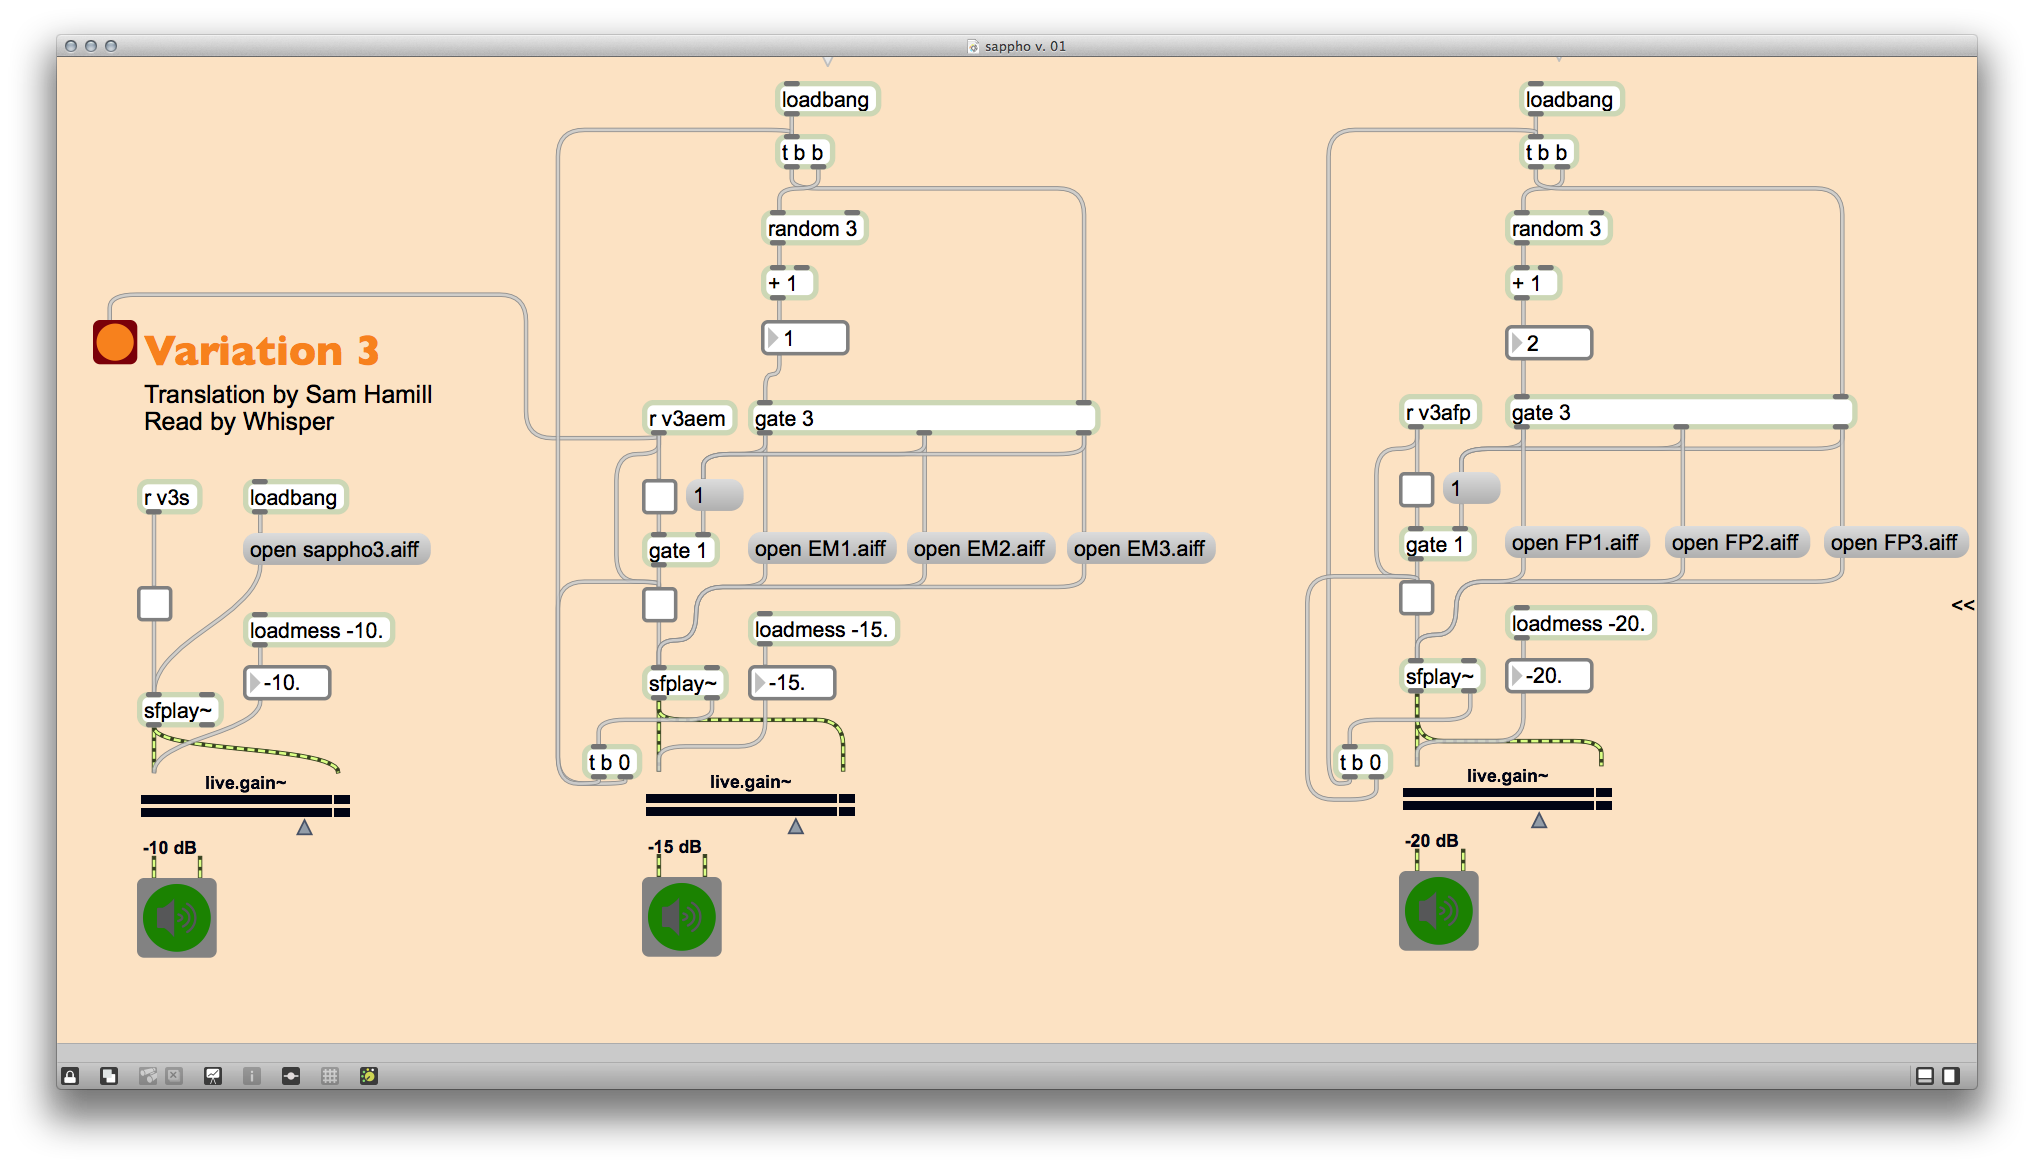
Variation 3 concludes the performance with music that I personally performed and recorded. There are two music elements playing simultaneously: (1) MIDI keyboard of a zither playing in an Enharmonic Mixolydian scale, and (2) an toy plastic flutophone. The most complicated part of this patch was the routing necessary to make it possible to randomly select and start one of the three recordings in each element while still allowing the qlist to serve as a master on/off control. This was accomplished with dual toggles and gates for each element.
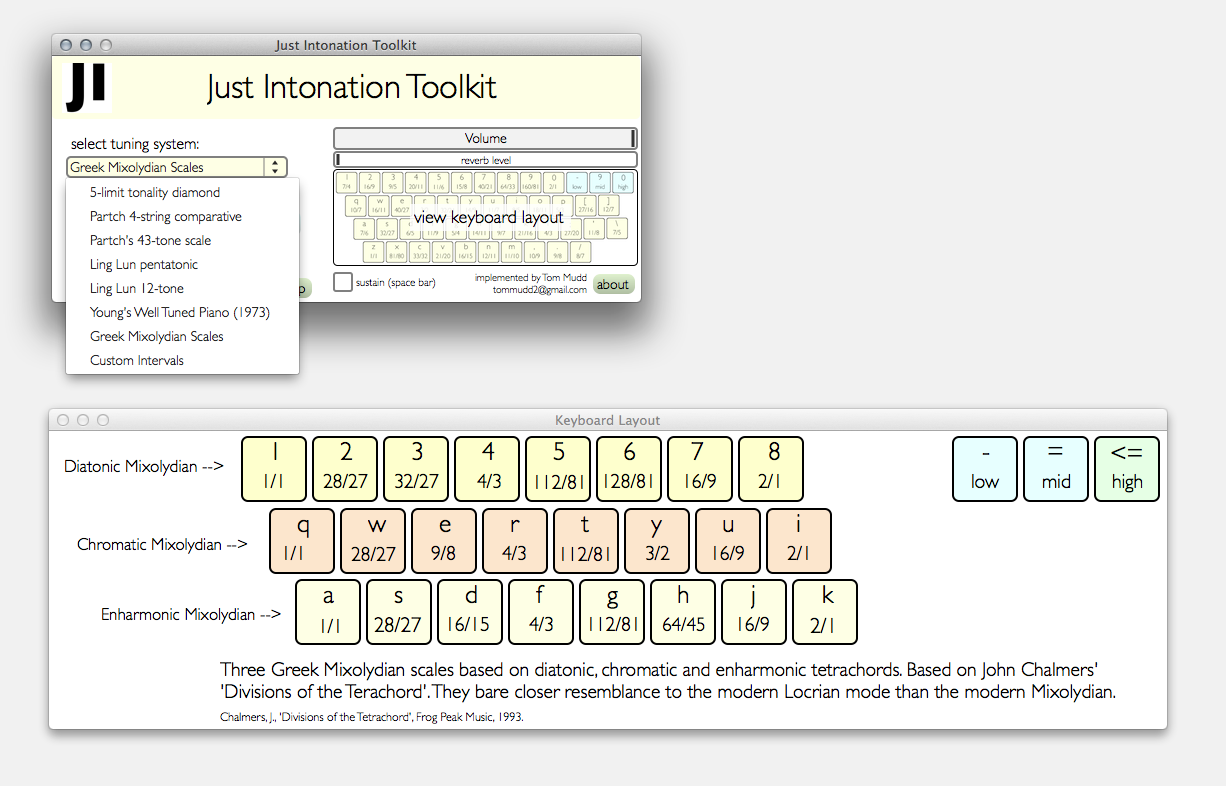
As a note, the keyboard part of Variation 3 was possible using Tom Mudd's Just Intonation Toolkit, which is an application developed in Max/MSP that makes it possible to play several variations of justly tuned scales. (The video below is a short demonstration of this software.)
[youtube=http://www.youtube.com/watch?v=P_9c-MMGmI4]
I have a lot of possibilities for expanding this project in the future, hence the "v. 01" label. Stay tuned for more!
Downloads:
- Zipped folder with Max patch and supporting files [fixed 2015-03-17]
- Zipped standalone application for Mac [fixed 2015-03-17]
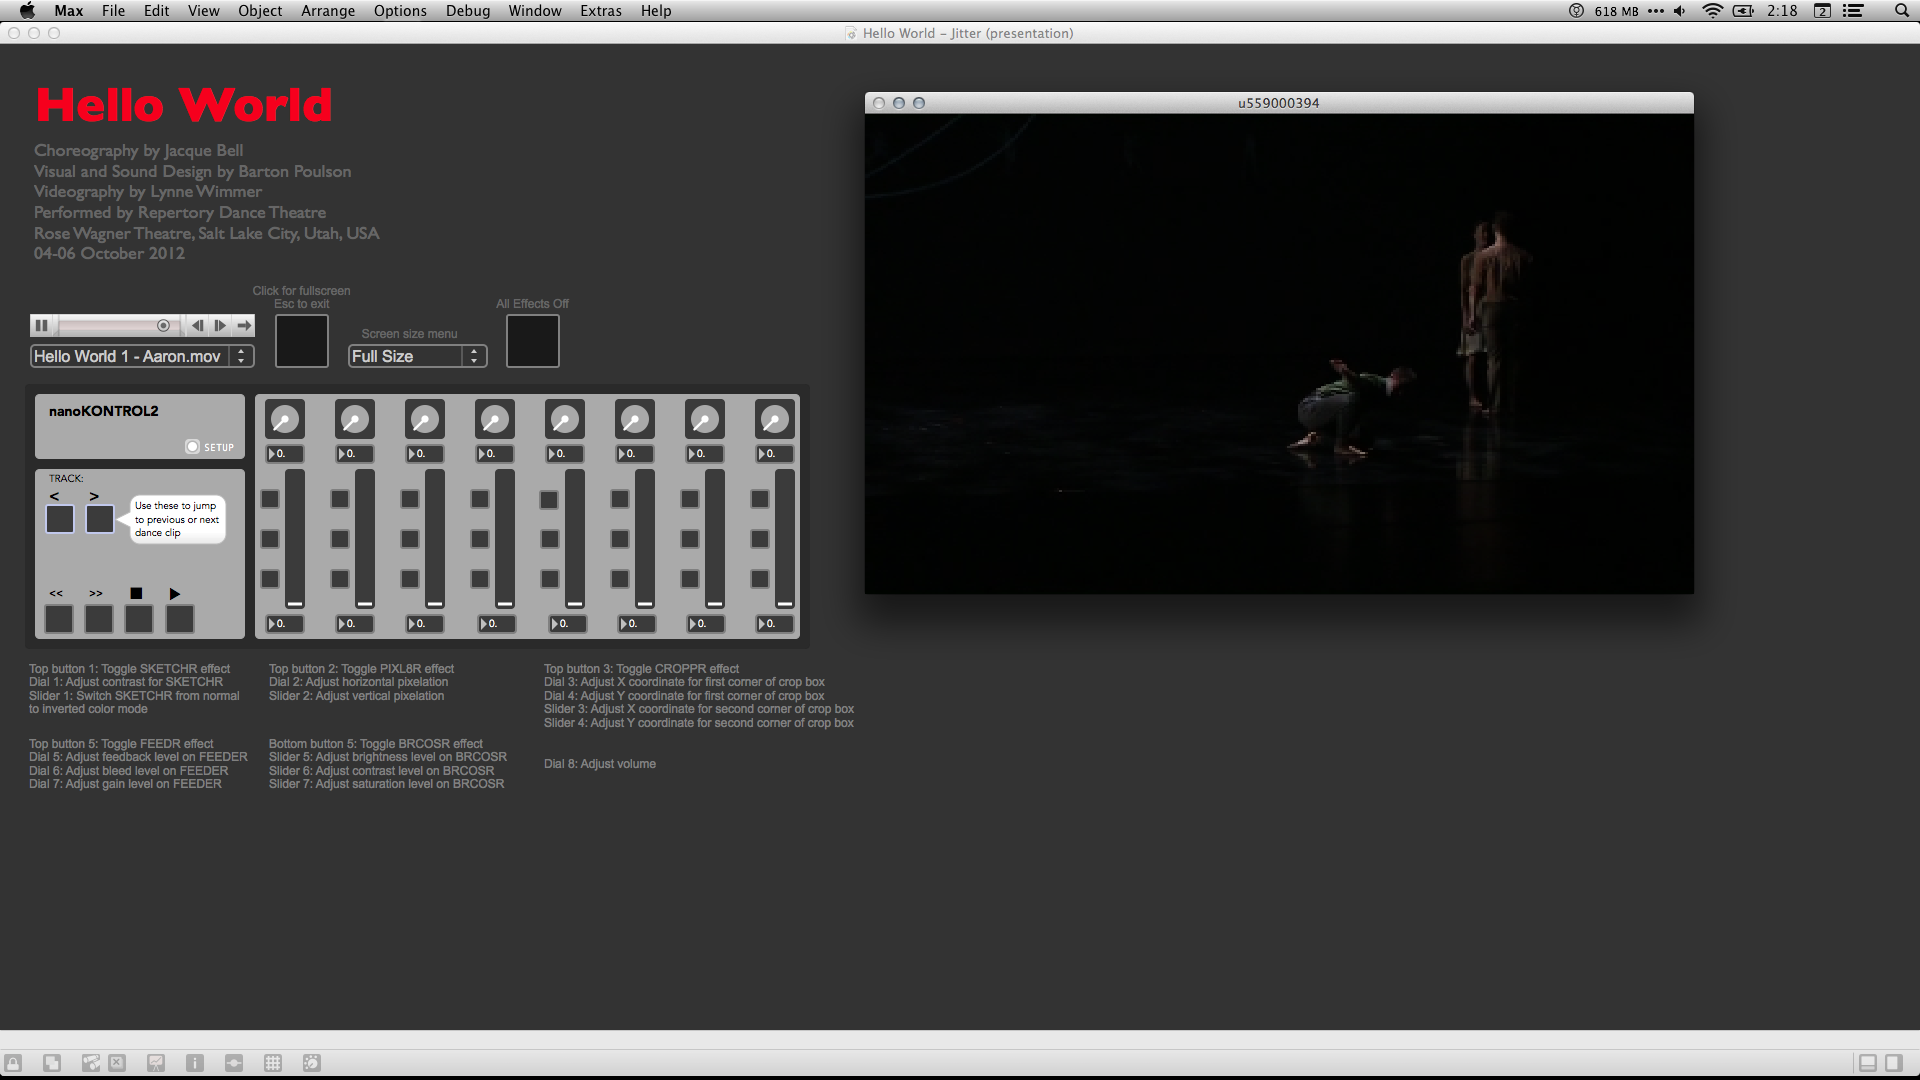
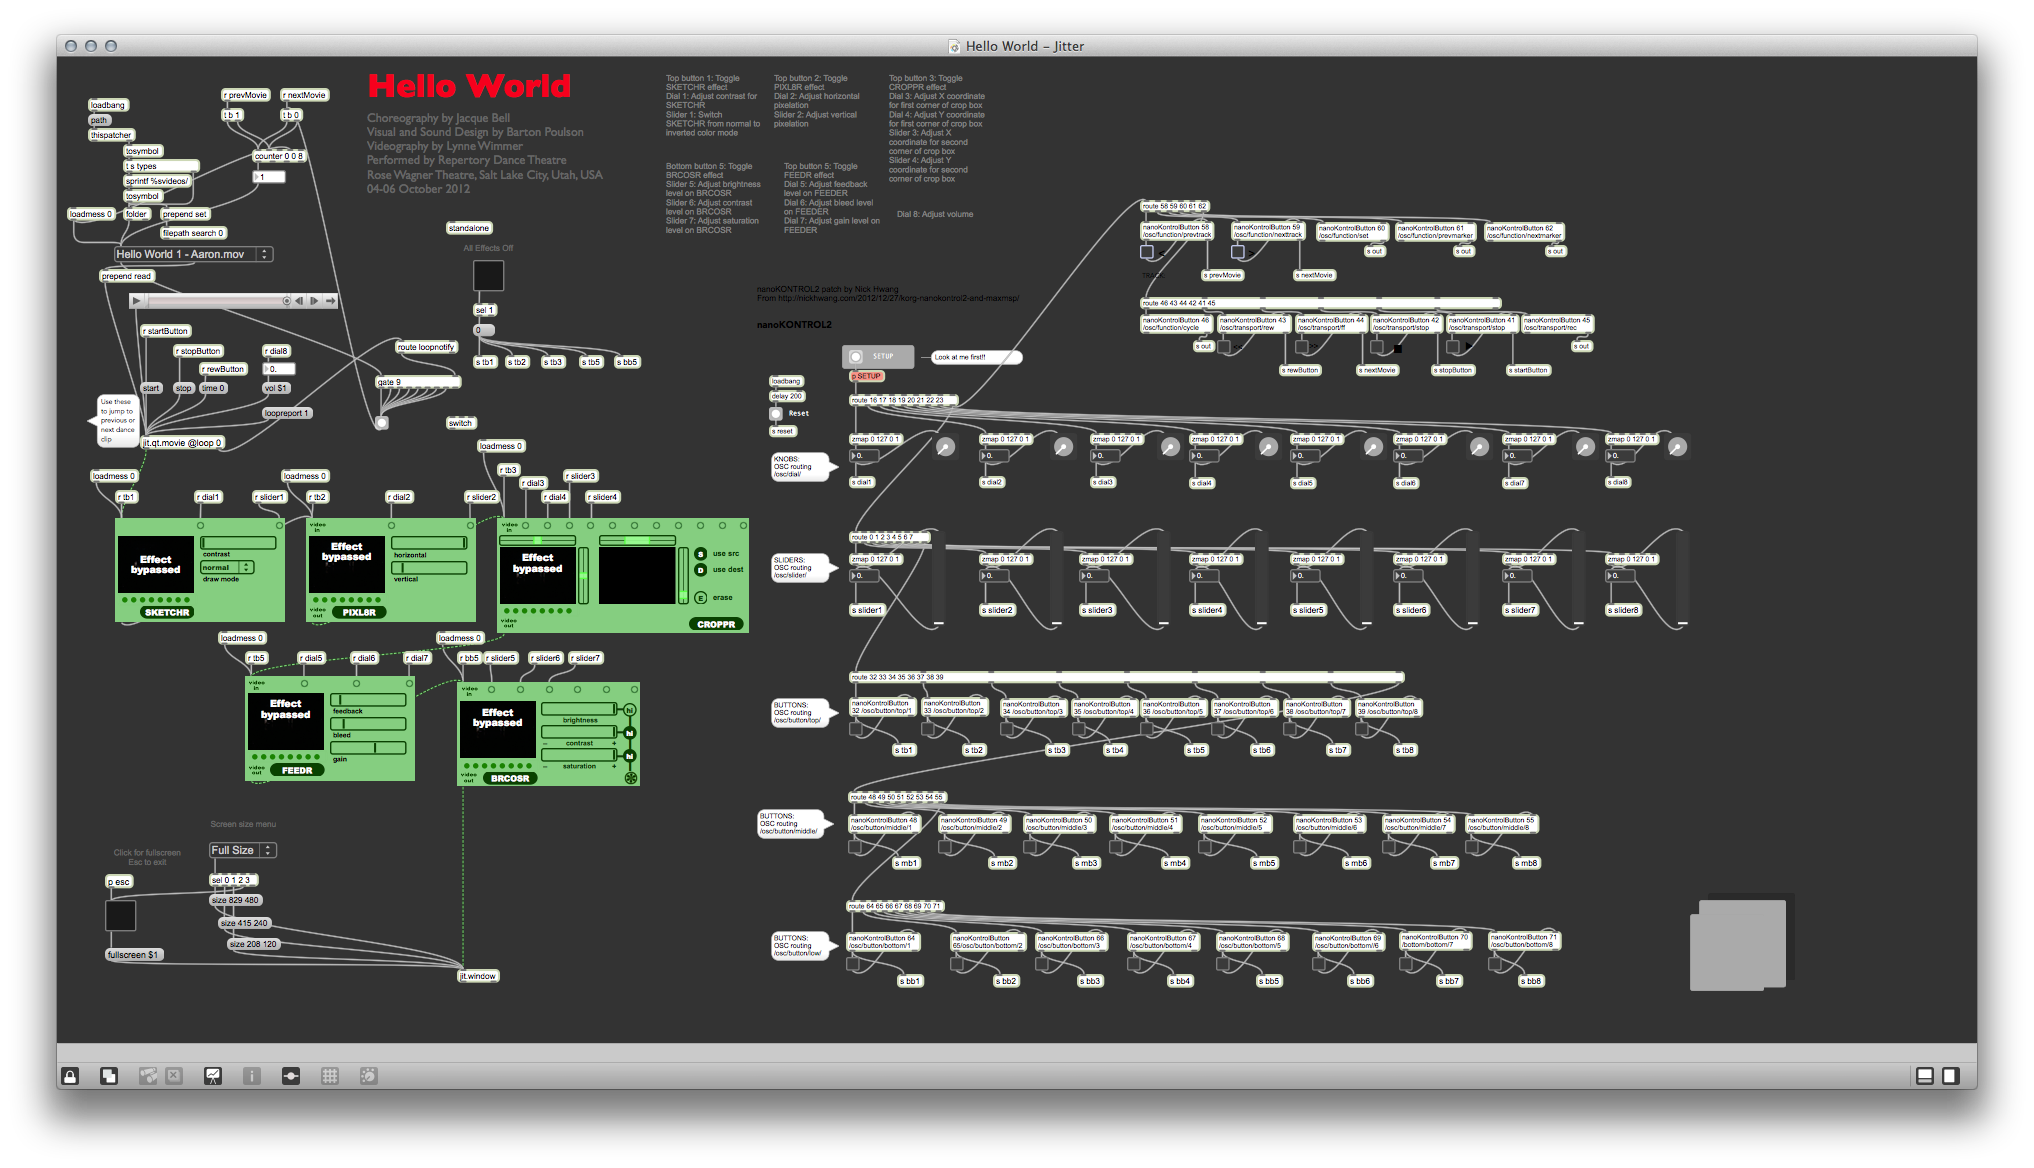
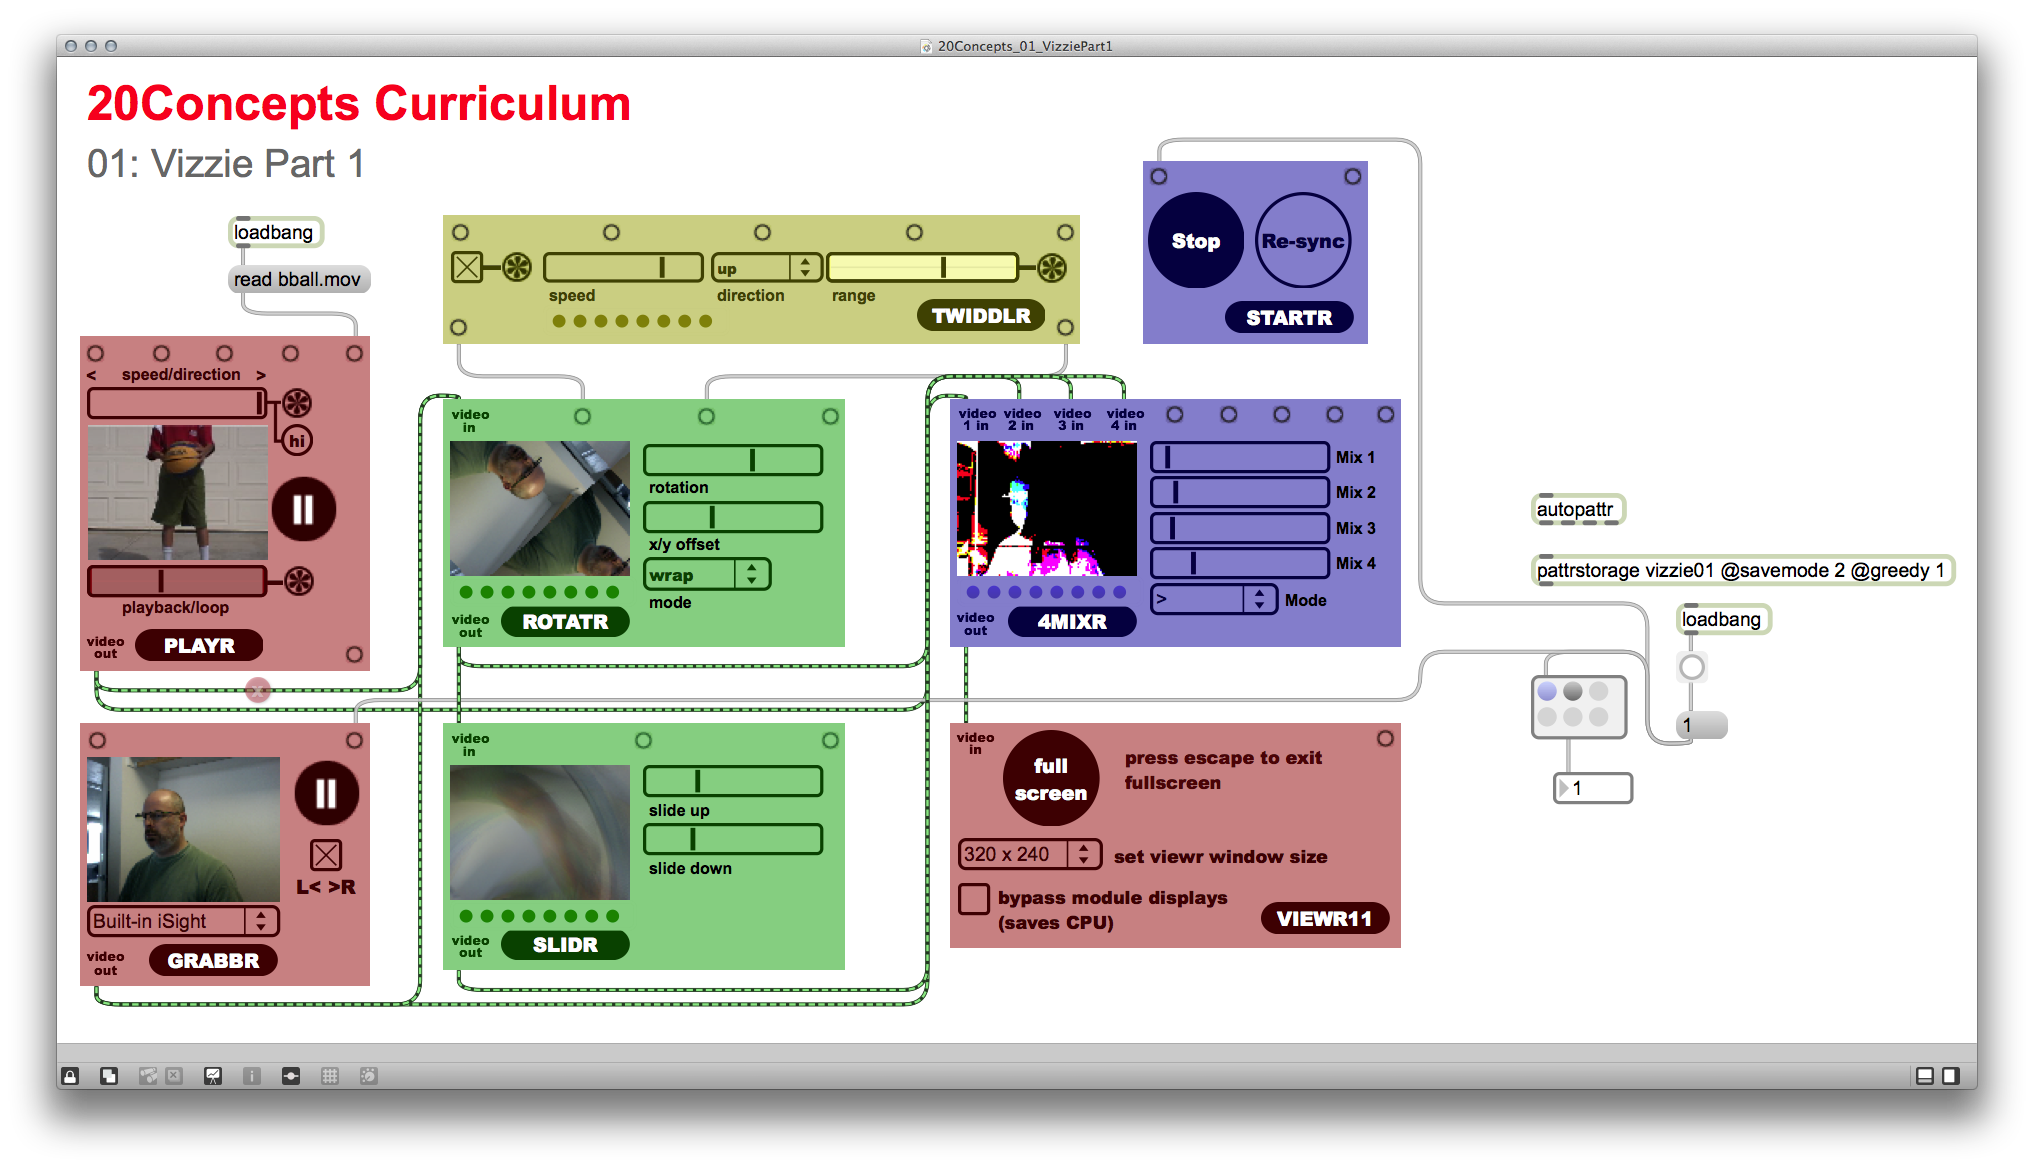
I did two major things for this Jitter project:
- Worked with several different visual effects within Jitter (as facilitated by the Vizzie modules); and
- Experimented with using a hardware controller – a Korg nanoKONTROL2, in this case – to manipulate video in real time.
Overall, it was a lot of fun and I think there's a lot of potential there. I'll spend the next several months learning ways to work out the kinks in the patch, as not everything worked reliably, and learning how to use other hardware, such as my Kinects, Novation Launchpads, Akai APC40 and 20, KMI Softstep and QuNeo, as well as the projectors, etc. (That's the nice thing about grant money – you can get some excellent gear!)
The major lesson is that it is much, much, much easier to do a lot of this in Max/MSP/Jitter than it is in Processing, which is what I have been using for the last two or three years. The programming is easier, the performance seems to be much smoother, and the hardware integration is way, way easier. (I find it curious, though, that there are hardly any books written about Max/MSP/Jitter, while there are at least a dozen fabulous books about Processing. Go figure.)
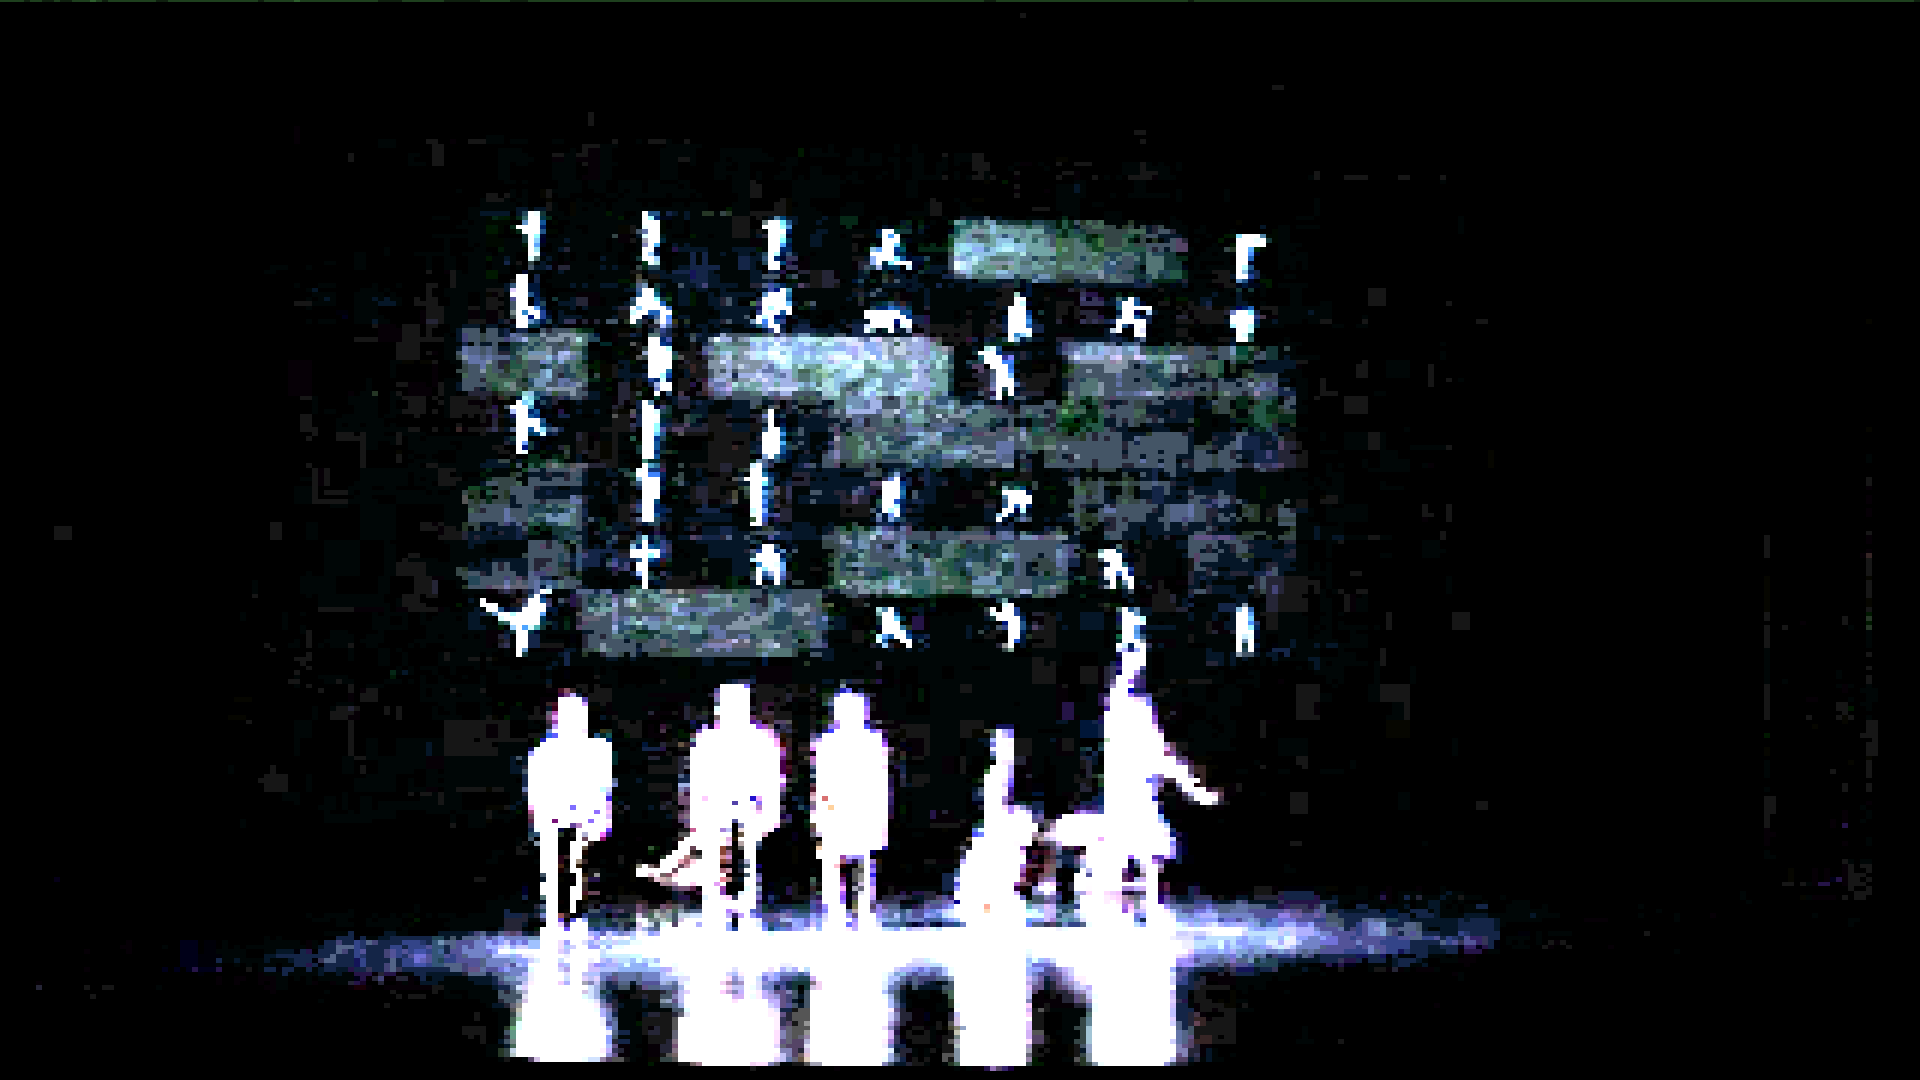
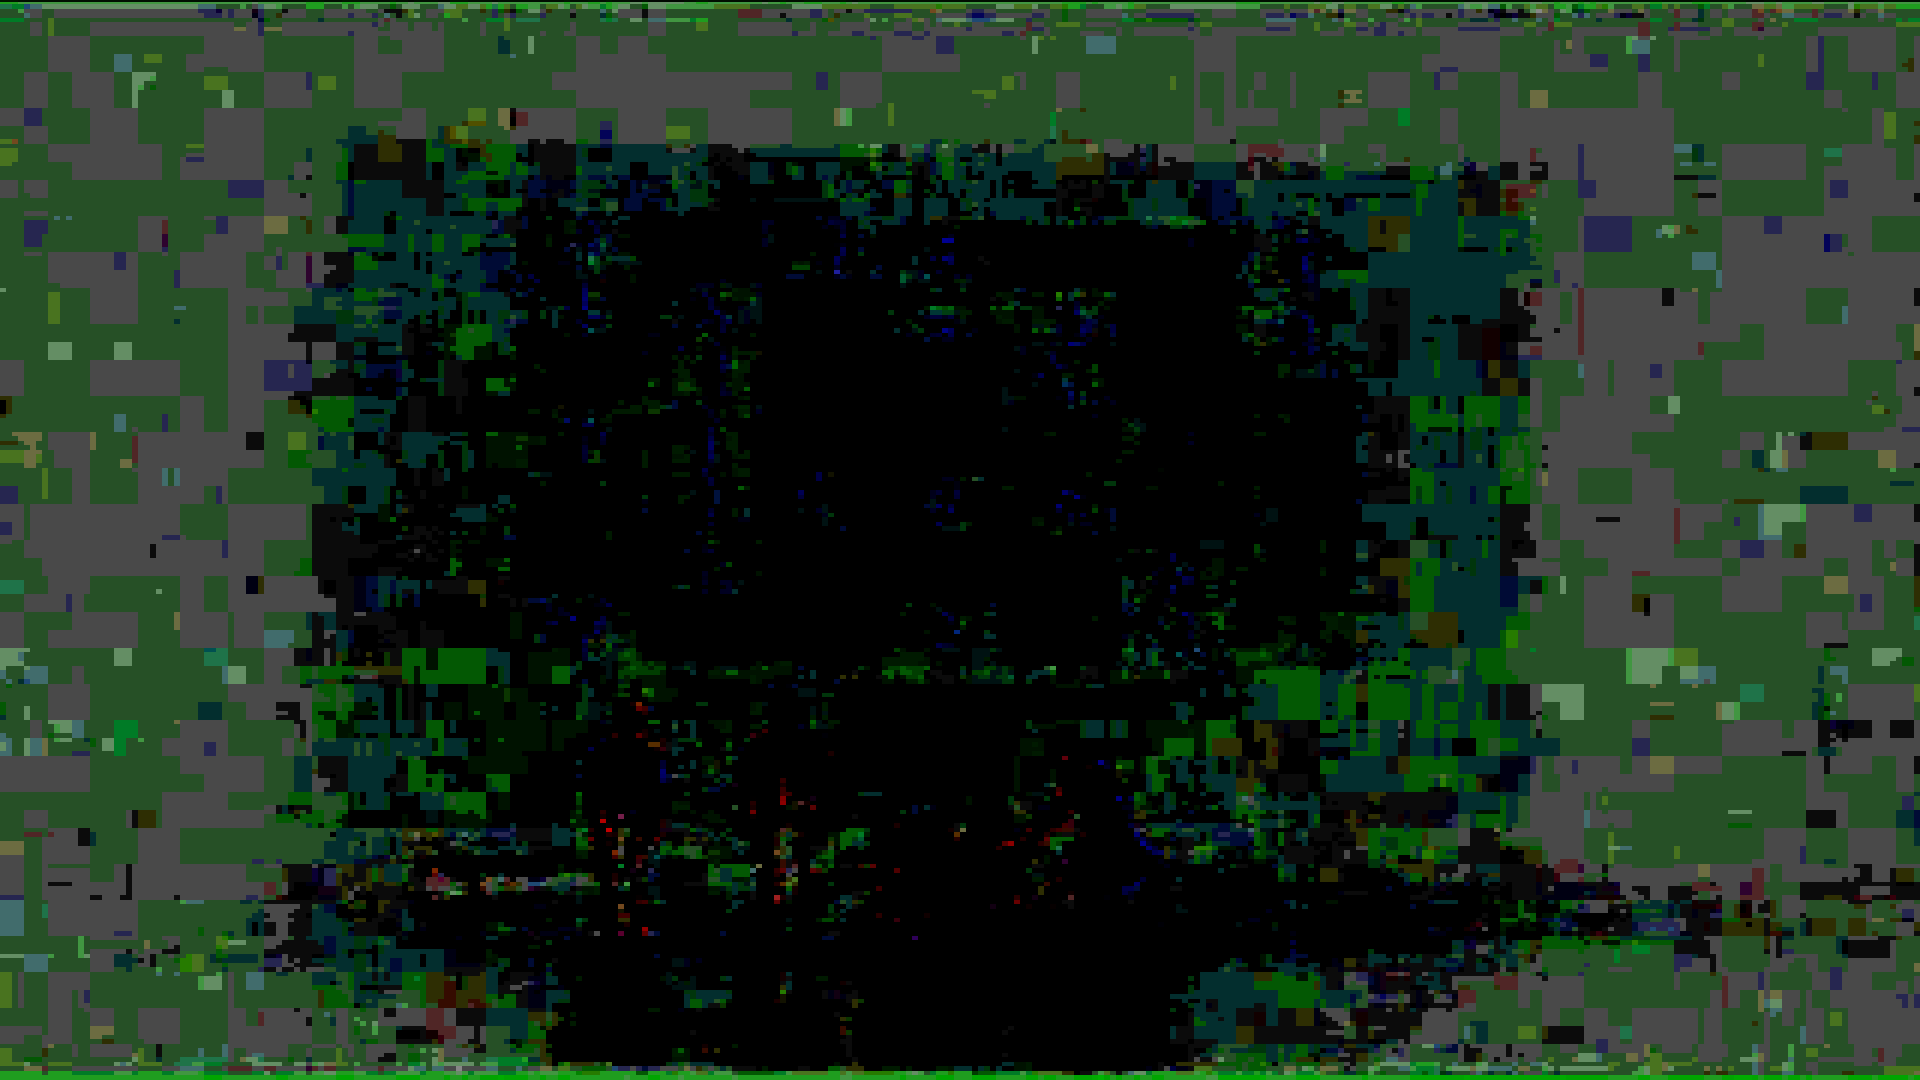
I've included a few still shots at the top of this post and a rather lengthy walk-through of the patch (where not much seems to be working right at the moment...) below.
[youtube=http://youtu.be/NR_mlAQUipM]
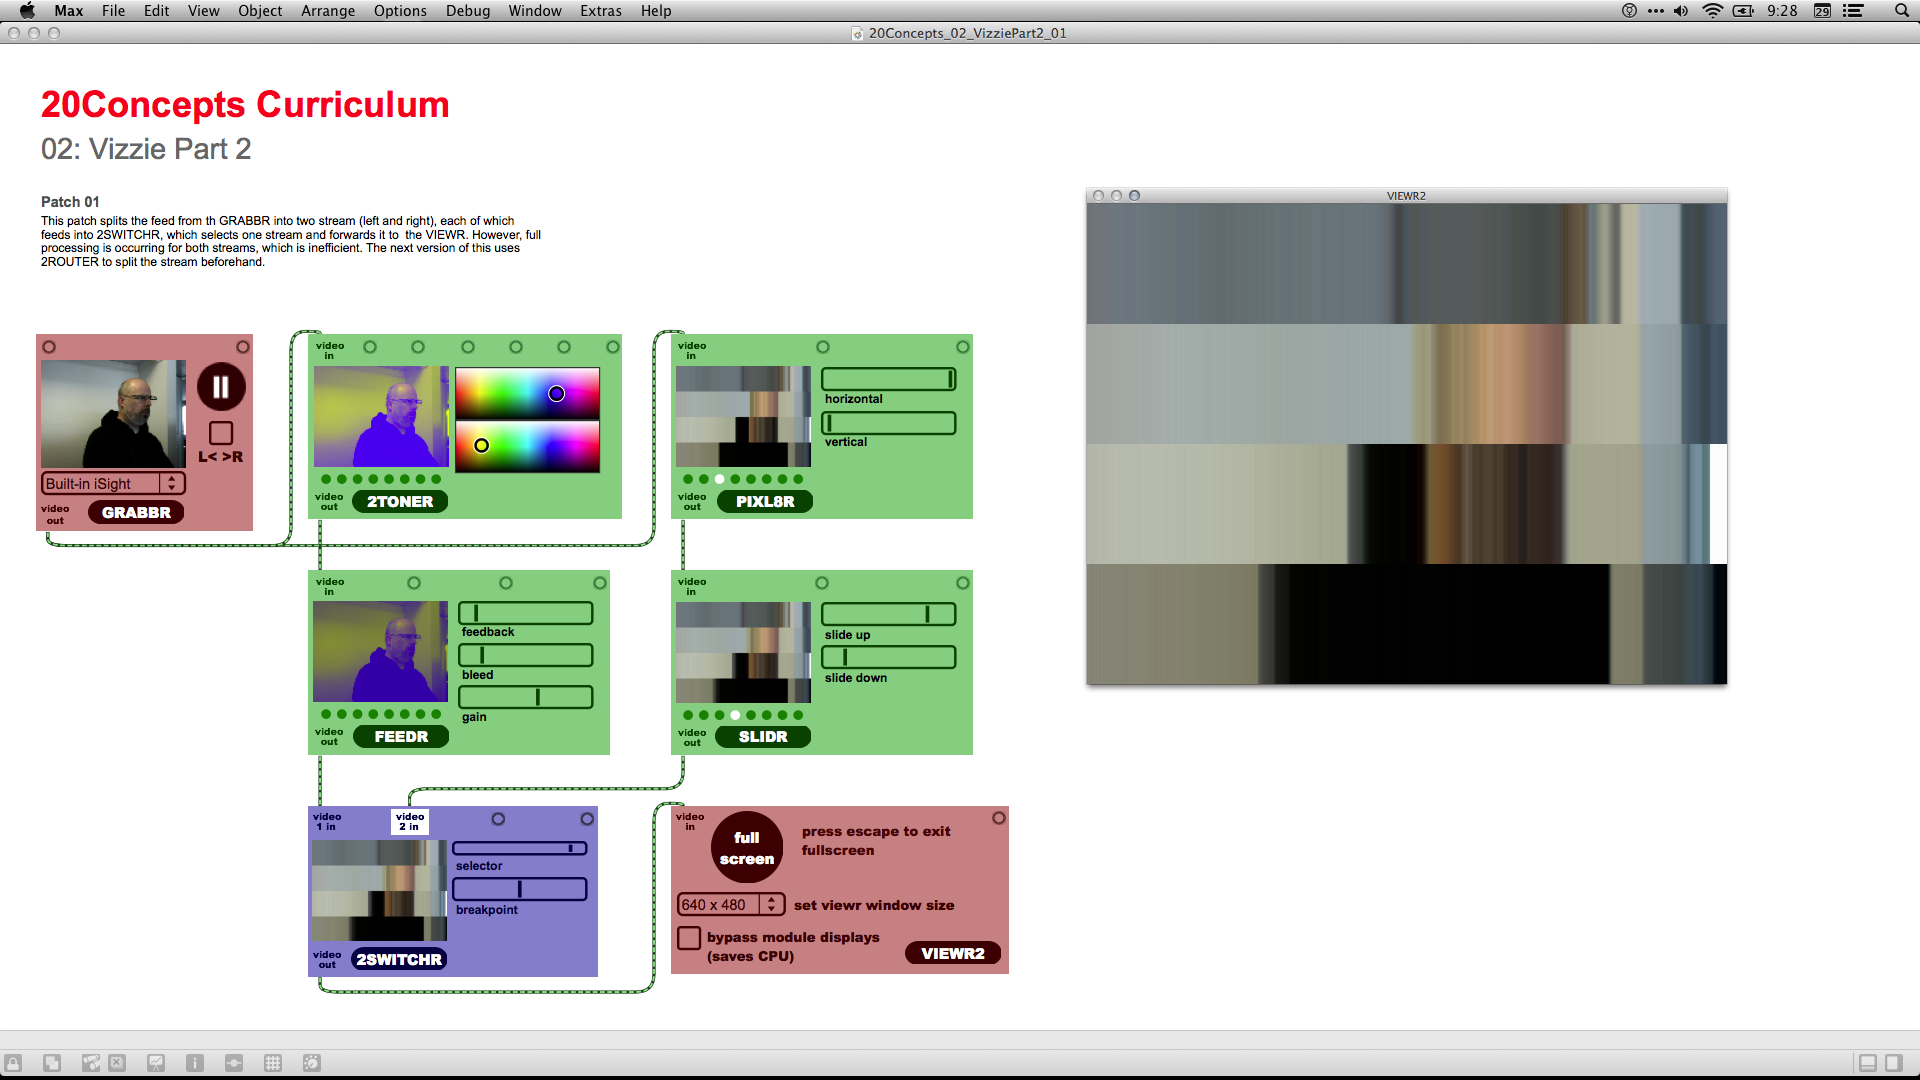
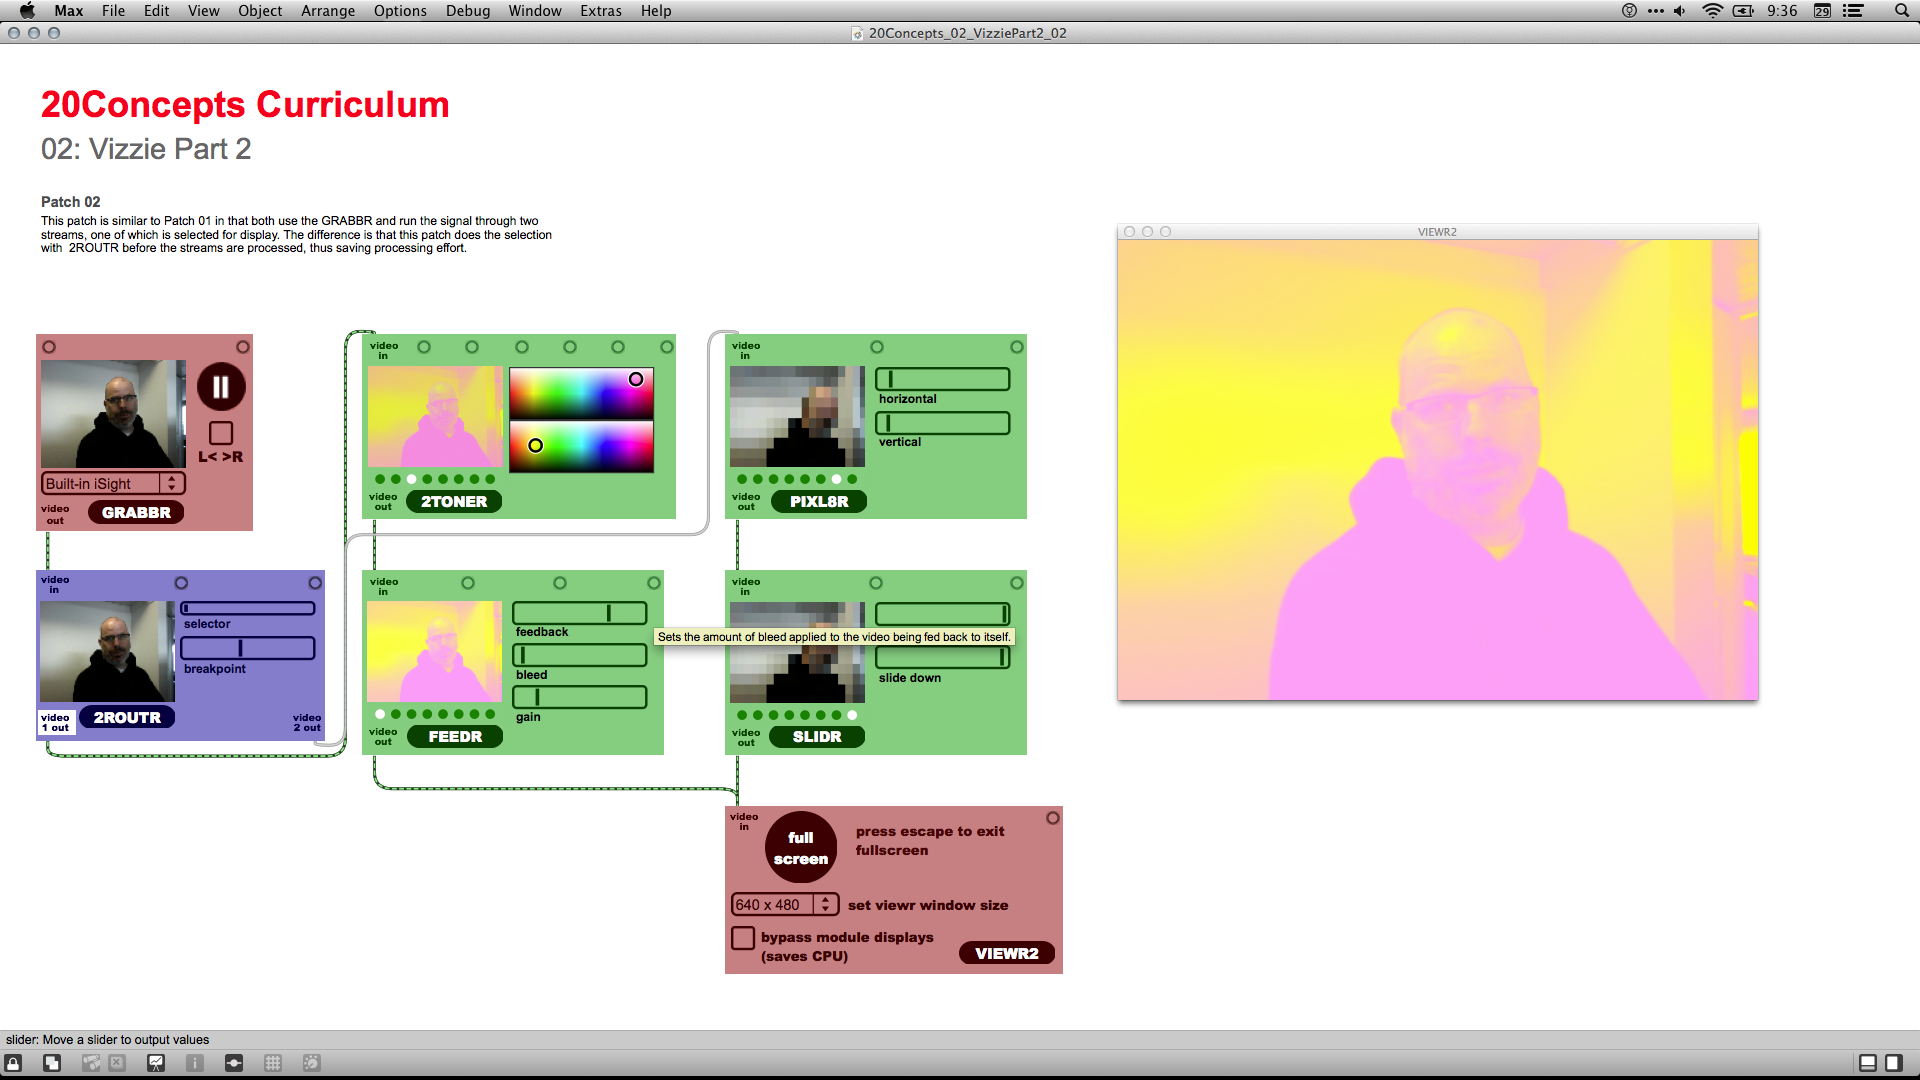
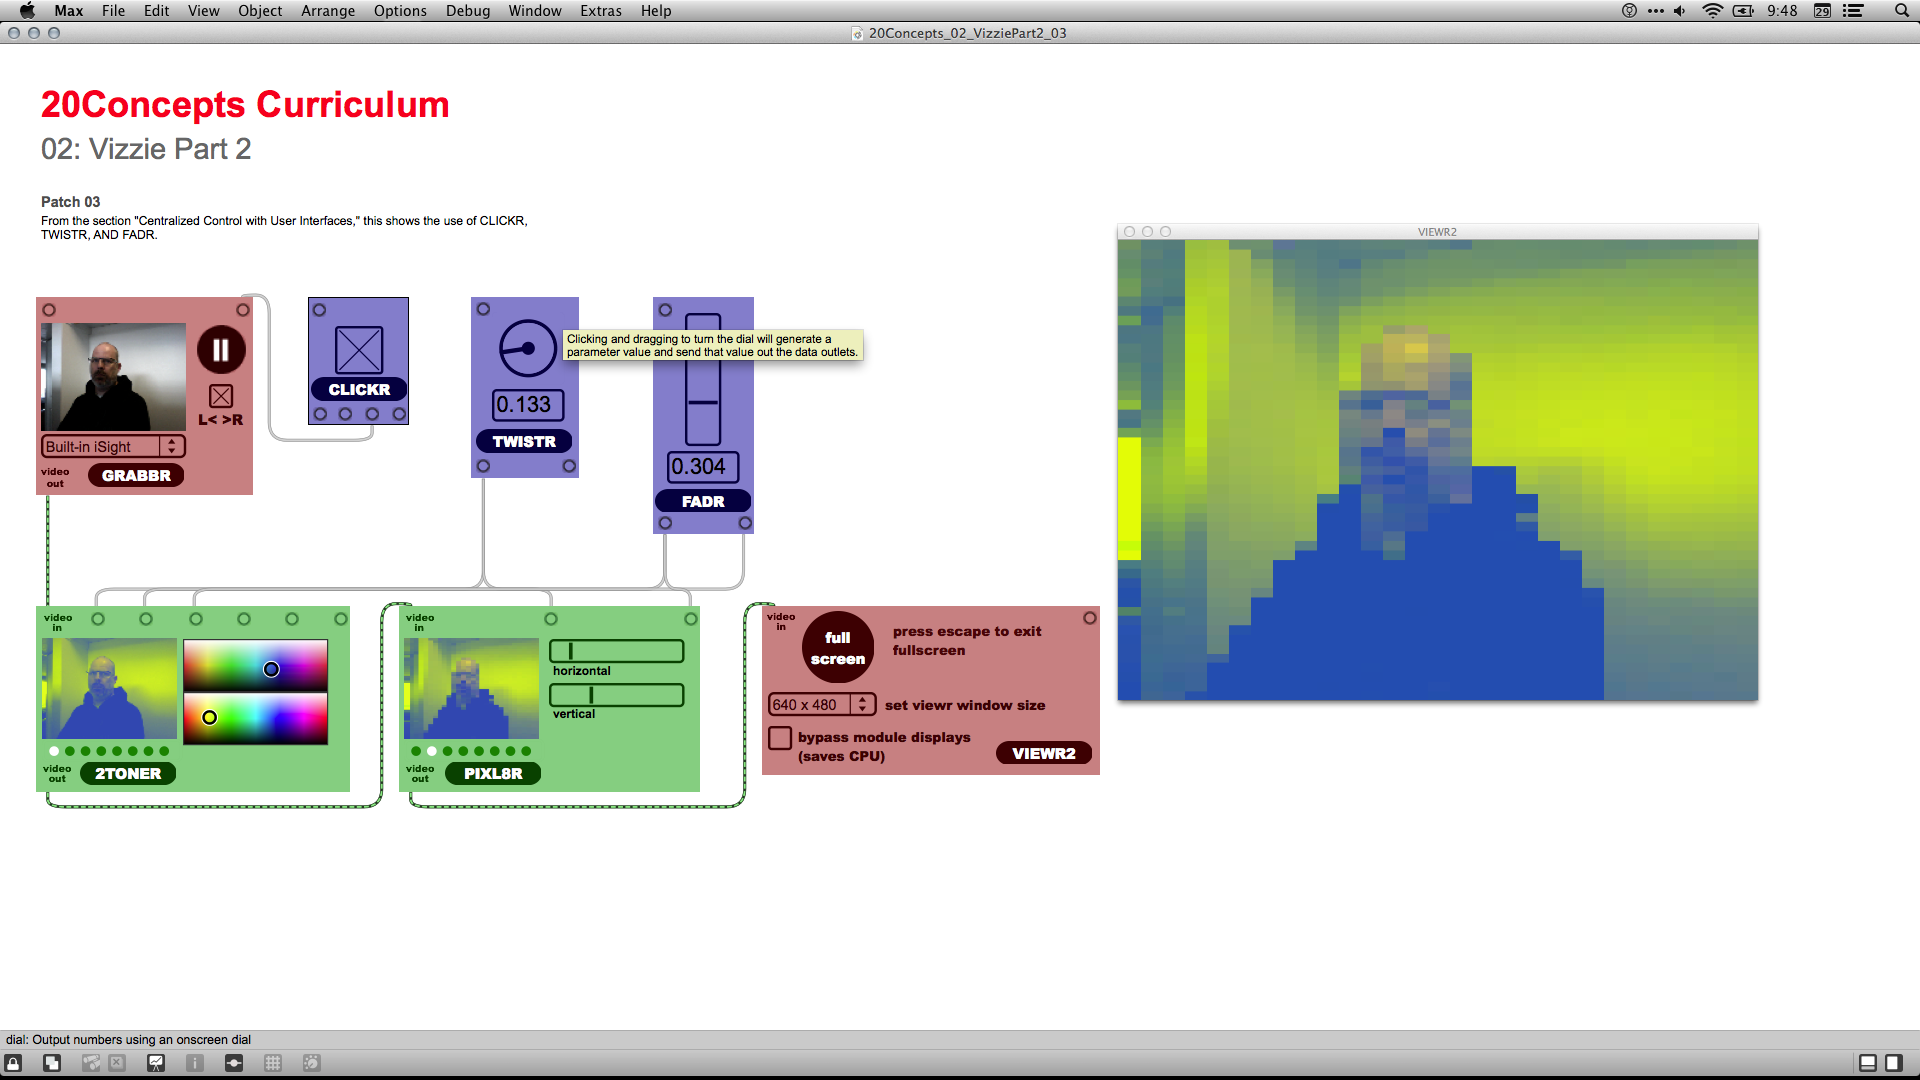
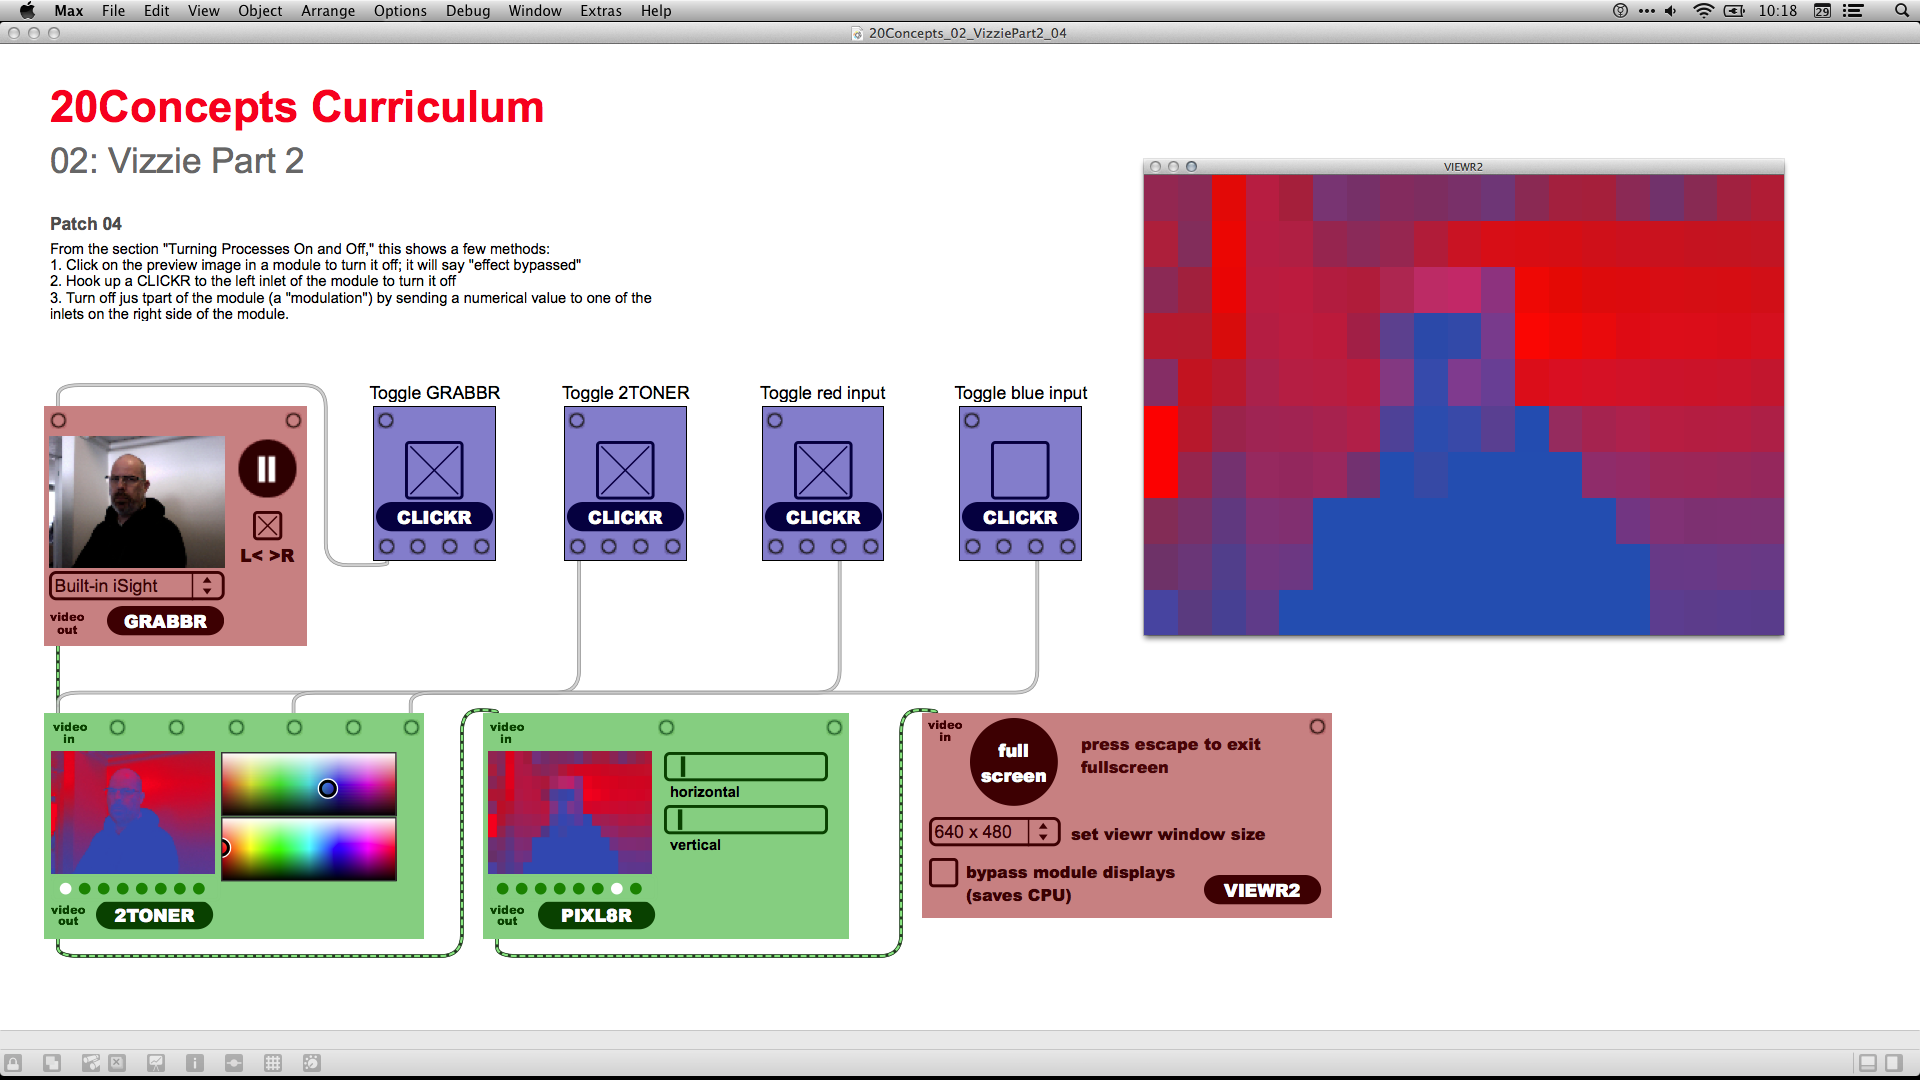
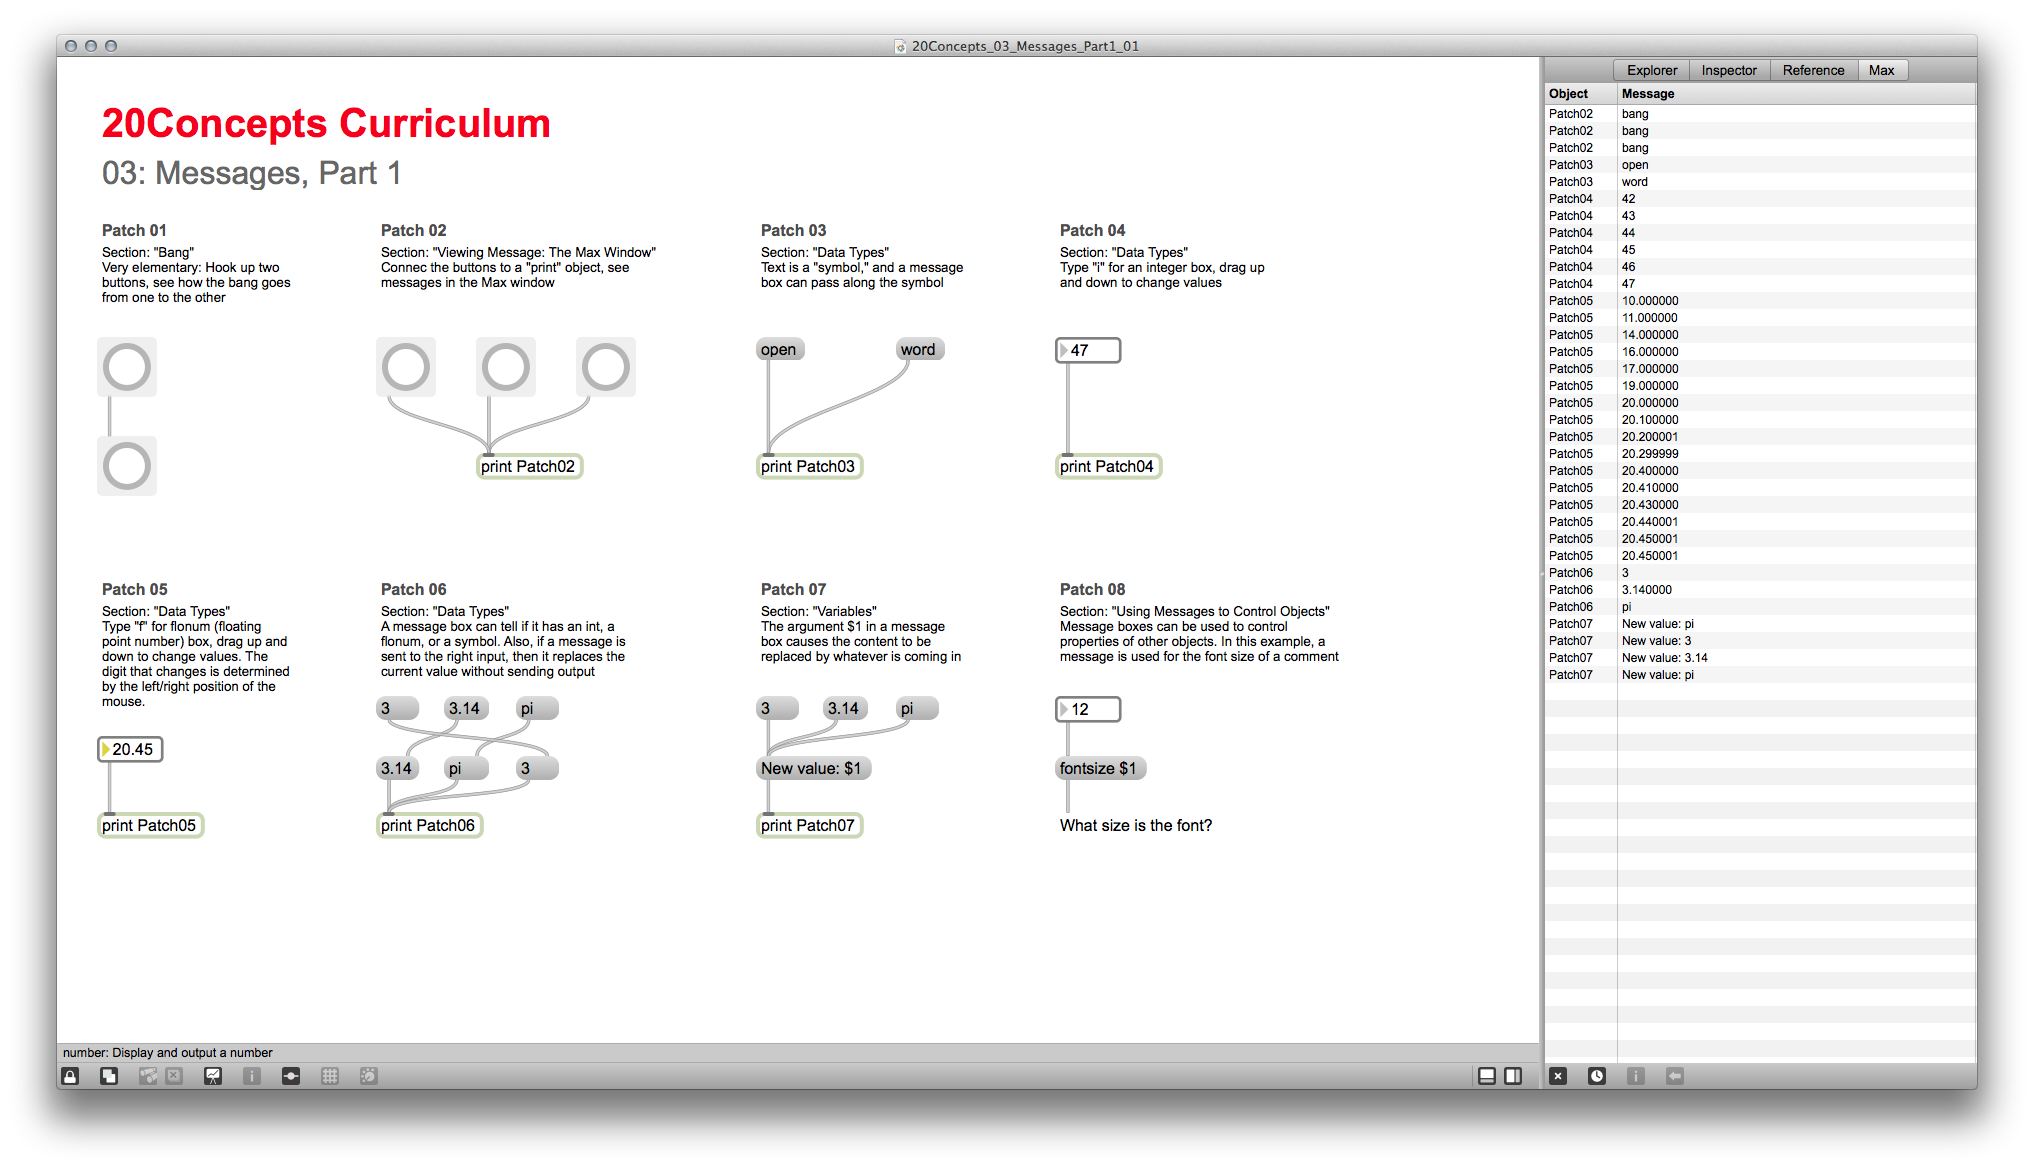
Here's the complete list of (intended) tutorials in the 20Concepts curriculum:
- 20Concepts Curriculum Overview (Done)
- 01: Vizzie Part 1 (Done)
- 02: Vizzie Part 2 (Done)
- 03: Messages Part 1 (Done)
- 04: Messages Part 2 (Nonexistent)
- 05: Time
- 06: MIDI
- 07: More About Numbers
- 08: Networks
- 09: Subpatchers
- 10: Presets and The Pattr Object
- 11: Audio Generation
- 12: Audio Filtering
- 13: Audio Levels
- 14: Audio FX
- 15: Jitter Input
- 16: Jitter FX
- 17: Jitter Compositing
- 18: OpenGL Part 1
- 19: OpenGL Part 2
- 20: Max Output
As with the 20Objects tutorials, these look like they might be short but, when you actually do all of the exercises, they are veeeery time-consuming. So far, I've only gotten through the first three, but they have been very, very helpful so far. I look forward to the rest!
Here are video walkthroughs of the lessons that I've done so far.
[youtube=http://www.youtube.com/watch?v=0KjZM6Krb90]
[youtube=http://www.youtube.com/watch?v=-jcdG4tygS4]
[youtube=http://www.youtube.com/watch?v=oJMs5IZRp70]
Completed:
- Cycling '74 20Concepts, Lesson 00, 20Concepts Curriculum Overview; Lesson 01: Vizzie Part 1; Lesson 02: Vizzie Part 2, and Lesson 03: Messages Part 1 (13 exercises)
- Lesson 04: Messages Part 2 is empty on the web page
- Patches can be downloaded from http://db.tt/GBYLb0vY
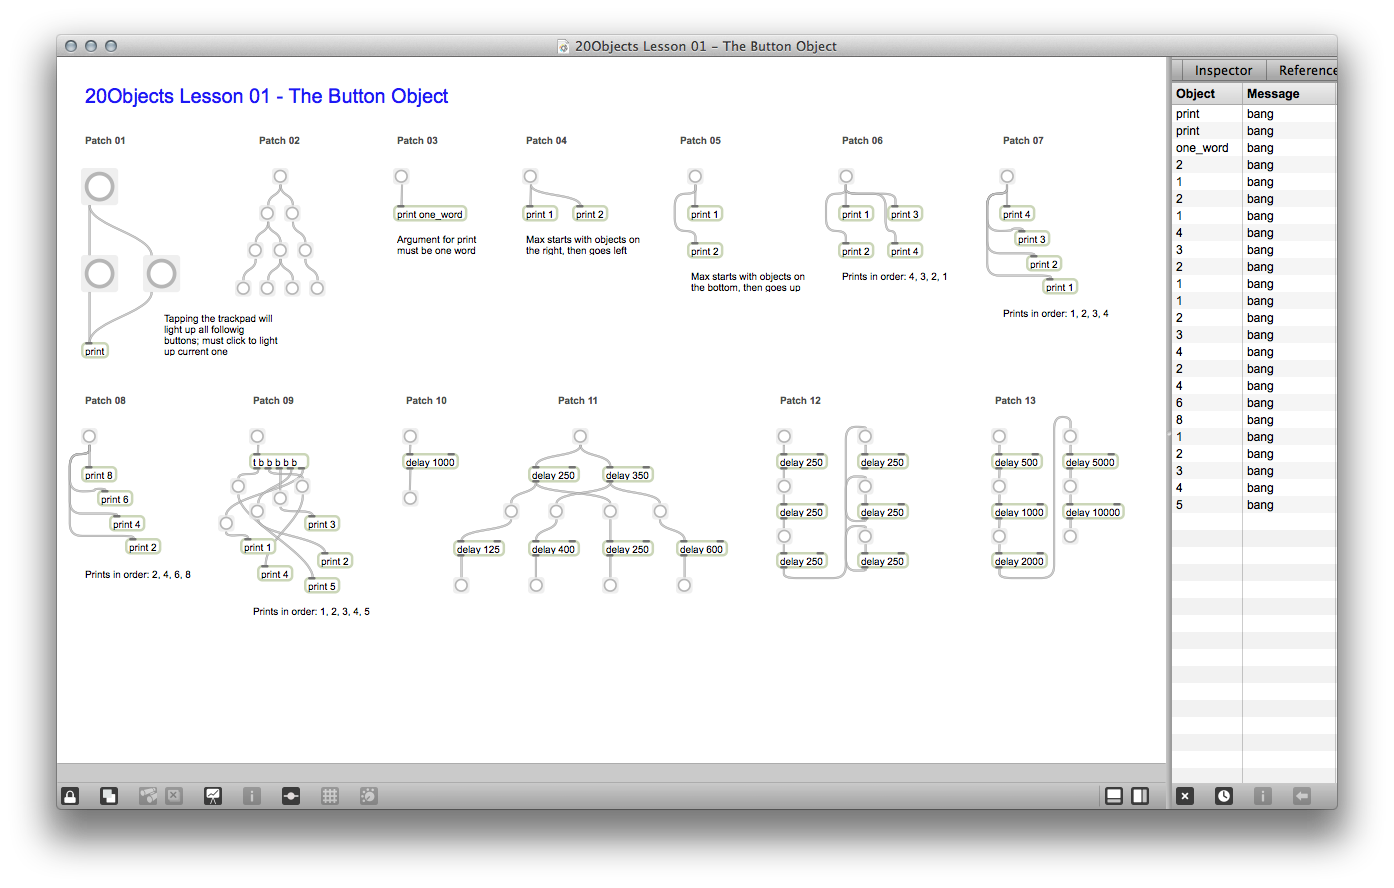
- 20Objects Curriculum Overview (Done)
- 01 - The Button Object (Done)
- 02 - The Number Box (Done)
- 03 - The Message Box (Done)
- 04 - The Pack Object
- 05 - The Metro Object
- 06 - The Random Object
- 07 - The Noteout Object
- 08 - The Patcher Object
- 09 - The Scale Object
- 10 - The Pattr Object
- 11 - The Table Object
- 12 - The Cycle~ Object
- 13 - The Buffer~ Object
- 14 - The SVF~ Object
- 15 - The Line~ Object
- 16 - The jit.qt.movie Object
- 17 - The jit.matrix Object
- 18 - The jit.brcosa Object
- 19 - The jit.xfade Object
- 20 - The jit.gl.render Object
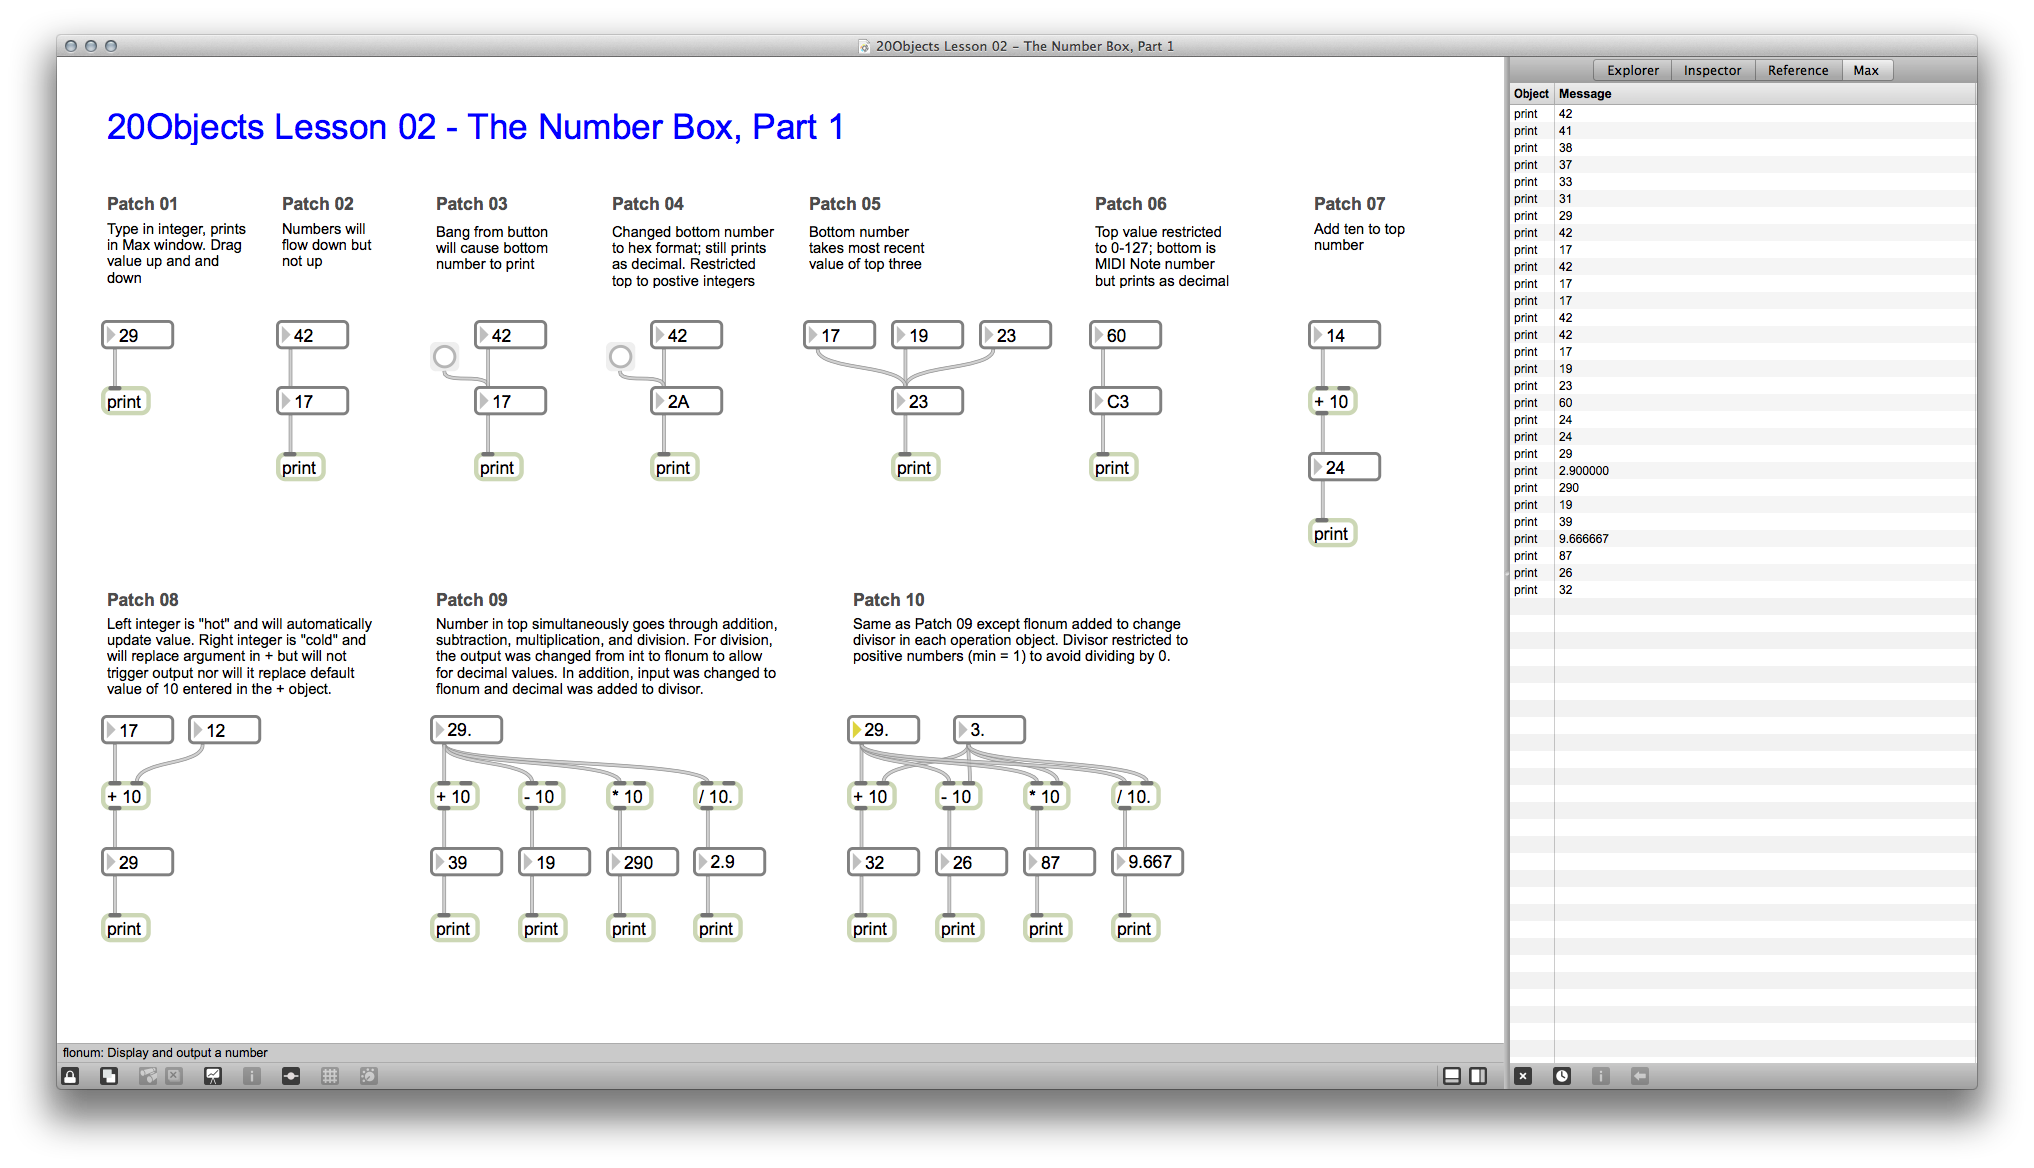
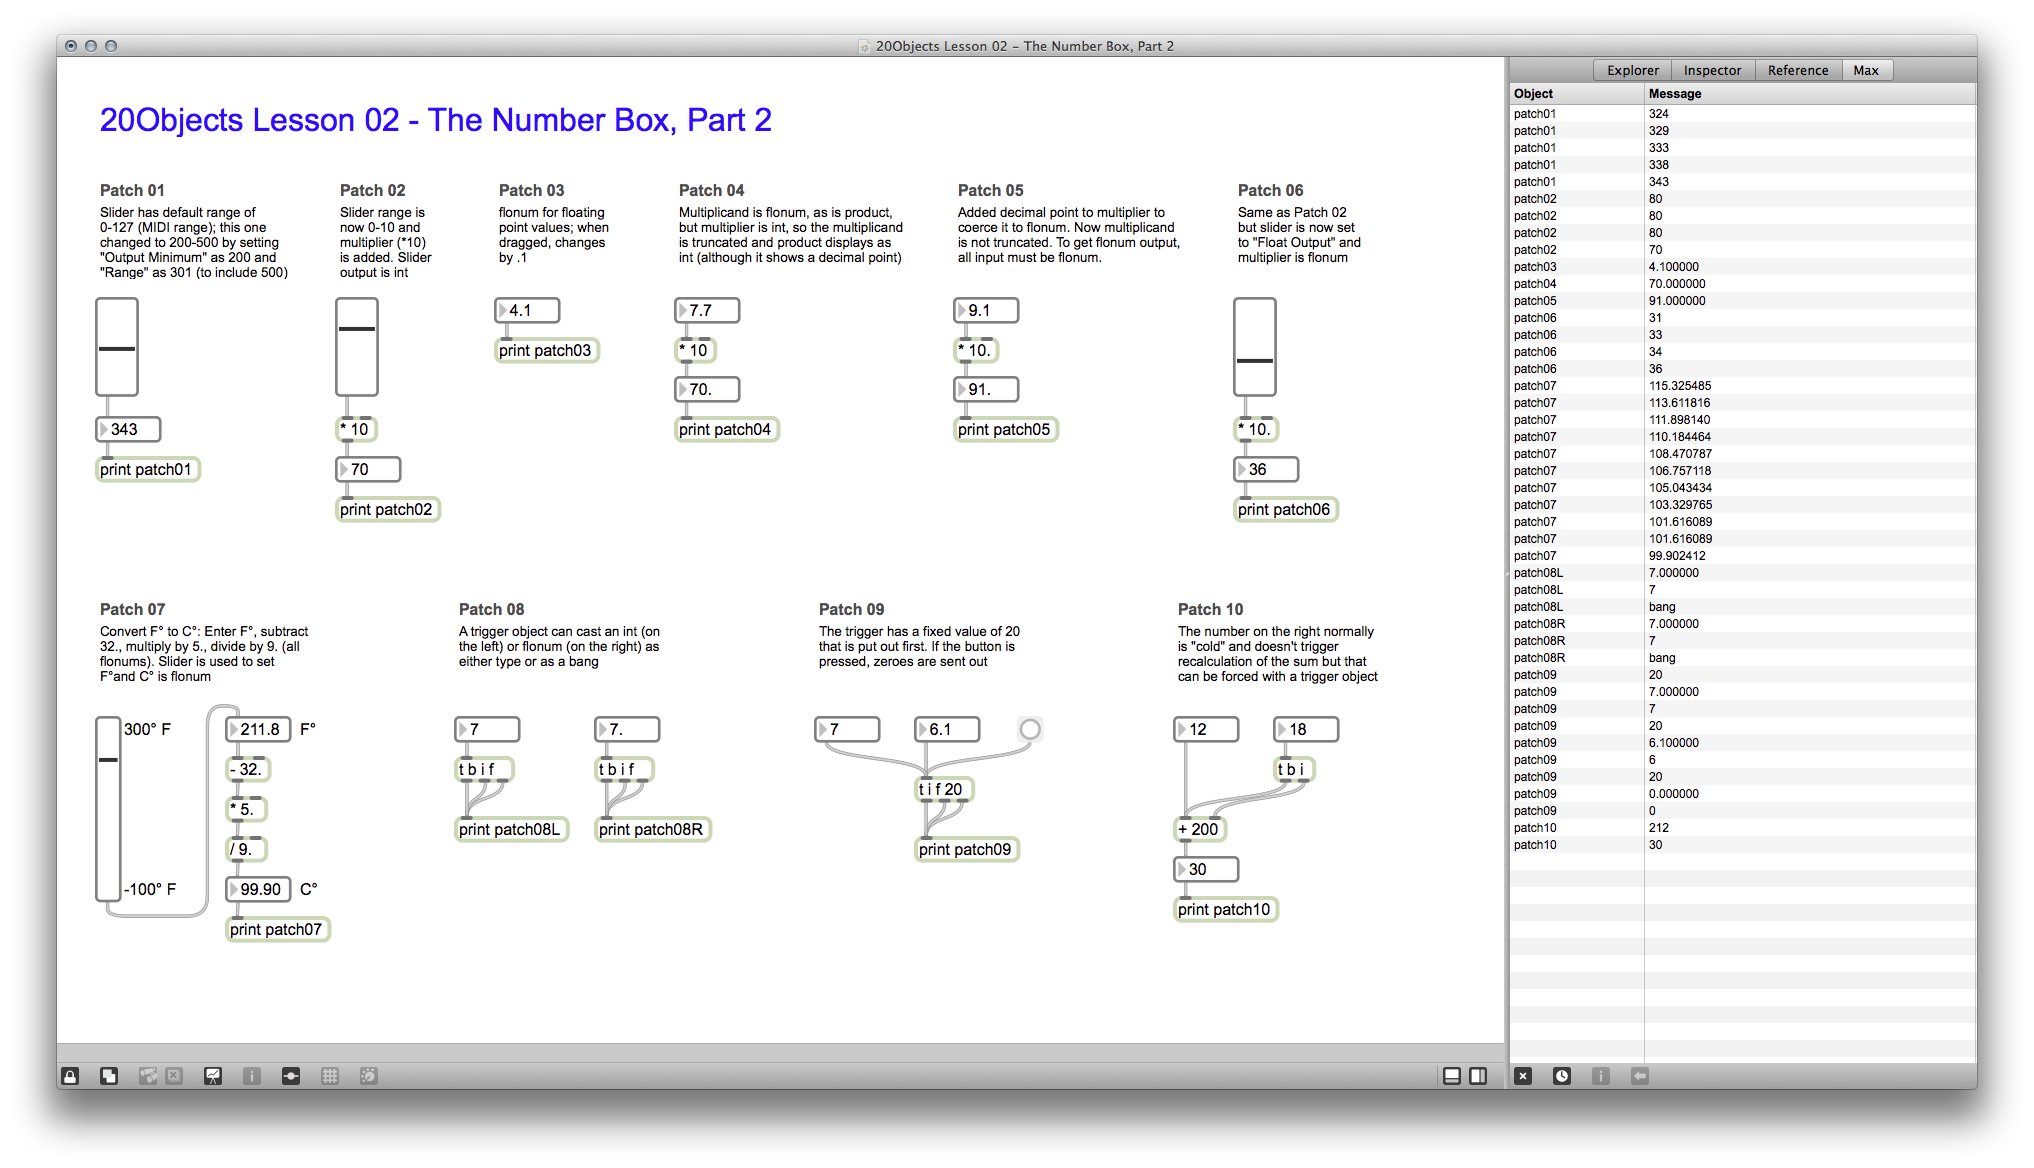
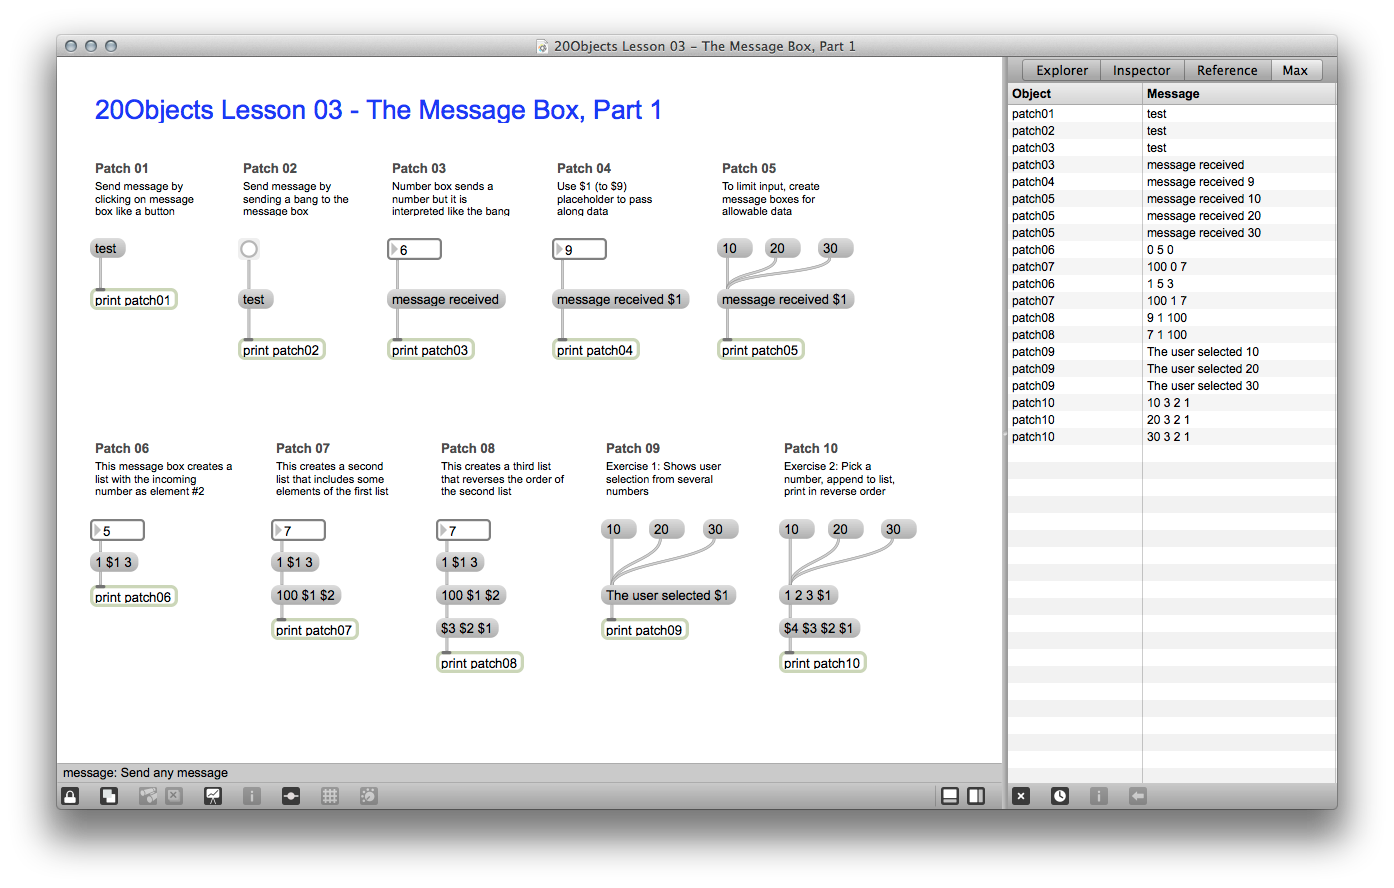
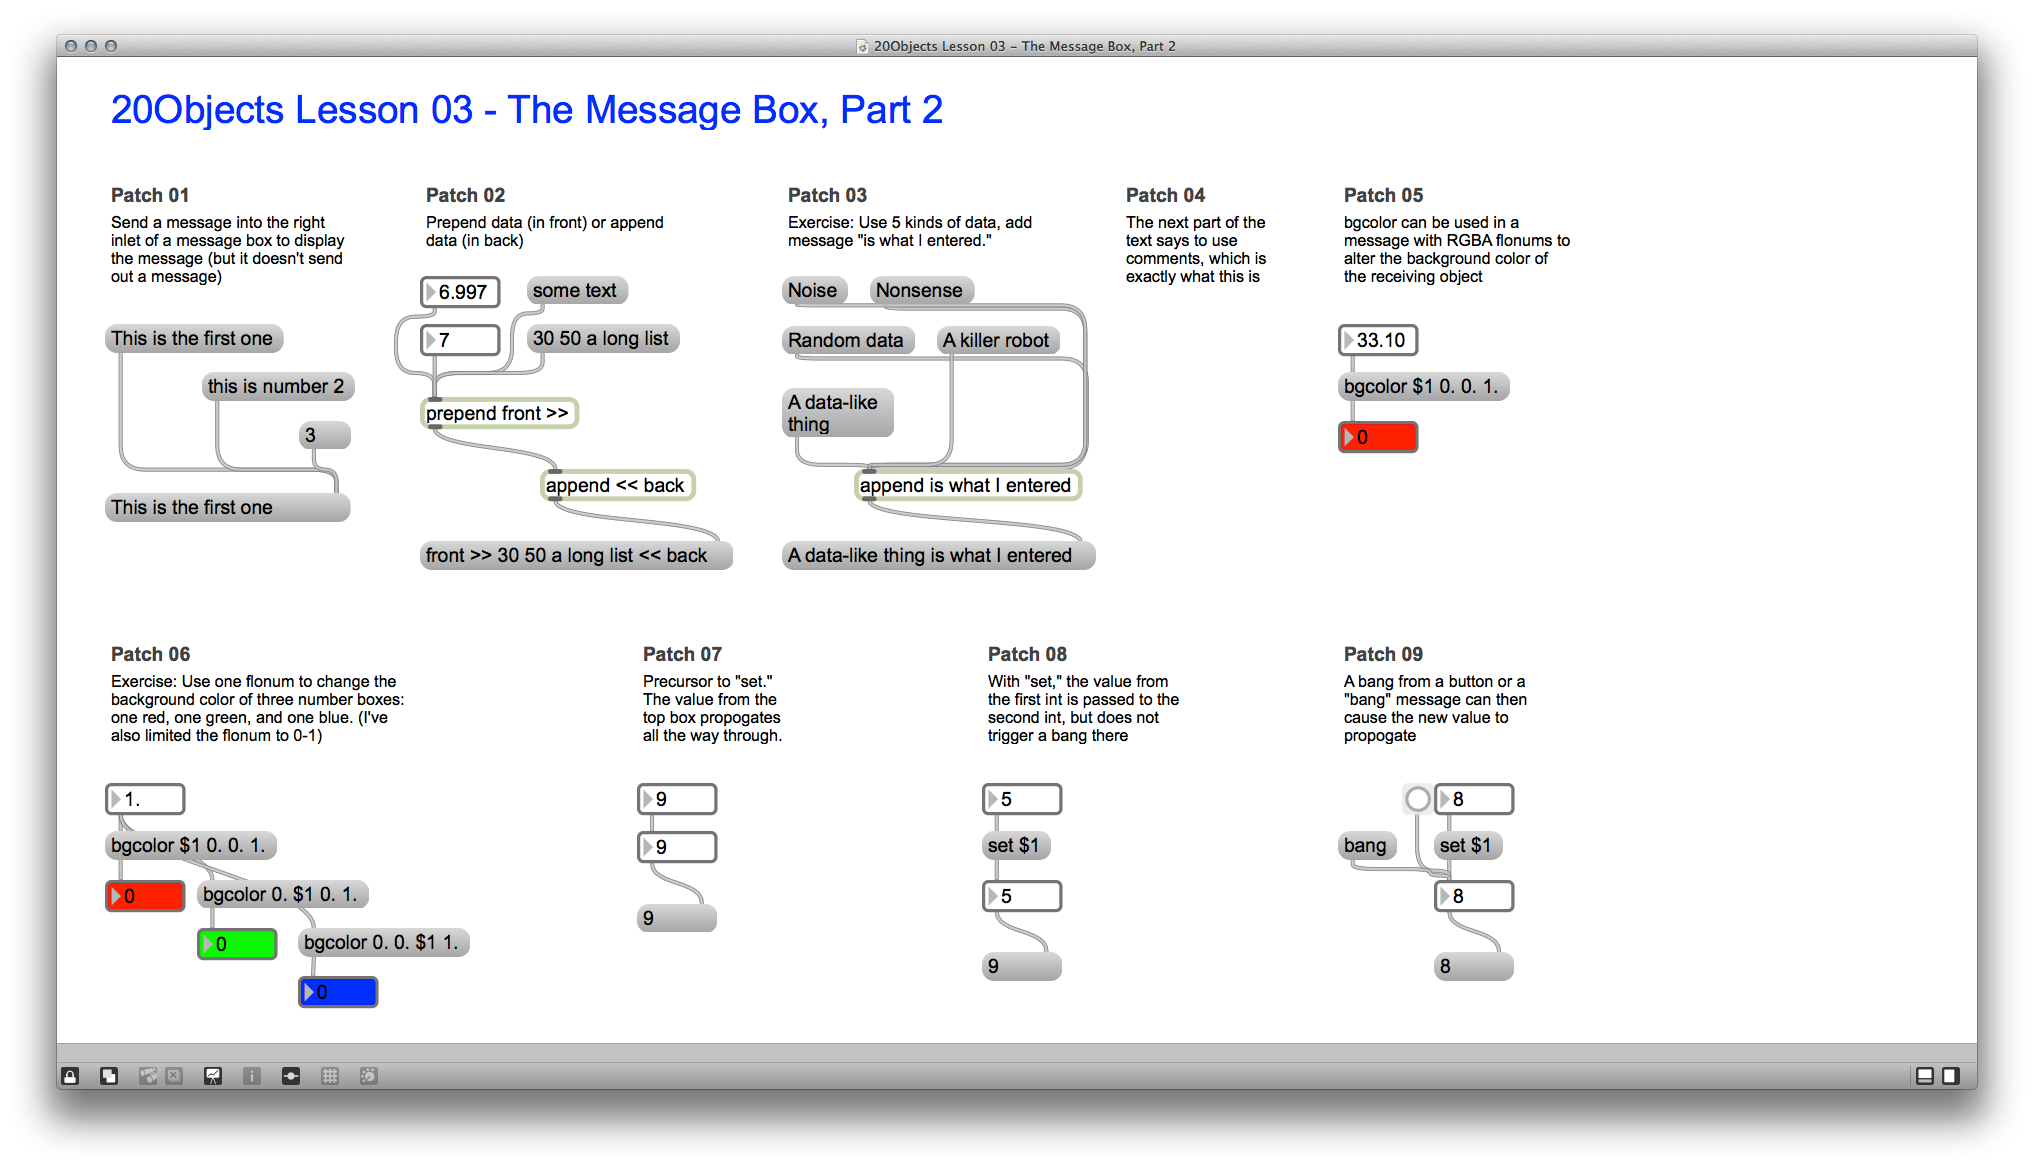
It turns out that while these all look like short lessons, they're rather time-consuming if you do all of the steps. As such, I only got through the first three of the 20 lessons (and the introduction) before I had to go work on something else. So far, they do extremely elementary things – this is a button, this is a number box – but I'm learning things I didn't know and I'm better for it.
[youtube=http://www.youtube.com/watch?v=5OKJc8atkYw]
[youtube=http://www.youtube.com/watch?v=4uzxj5bMXns]
[youtube=http://www.youtube.com/watch?v=8RUoU0a1En0]
Completed:
- Cycling '74 20Objects: Lesson 01, The Button Object; Lesson 02, The Number Box; Lesson 03, The Message Box; and Lesson 04, The Pack Object (60 exercises)
- Patches can be downloaded from http://db.tt/GBYLb0vY


