Viewing entries tagged
physical computing

Comment

GSWA 6: Talking to the Cloud

Okay, chapter 6 of Getting Started with Arduino, "Talking to the Cloud," has been the bane of my arts technology existence. I did most of this chapter about three weeks ago and couldn't get it to work. The problem is that the book as a whole seems to progress like this:
  • Chapter 1: No real information
  • Chapter 2: A tiny bit of information but no practical work
  • Chapter 3: A tiny bit more information but still no practical work
  • Chapter 4: A tiny bit of practical work
  • Chapter 5: A little bit more practical work
  • Chapter 6 (this chapter): About 1000% more complicated than all the rest of the book put together
  • Chapter 7: A tiny bit of information to wrap things up

It really felt like getting thrown into the deep end. However, I finally got it to work. Here is the chronicle of my adventure:

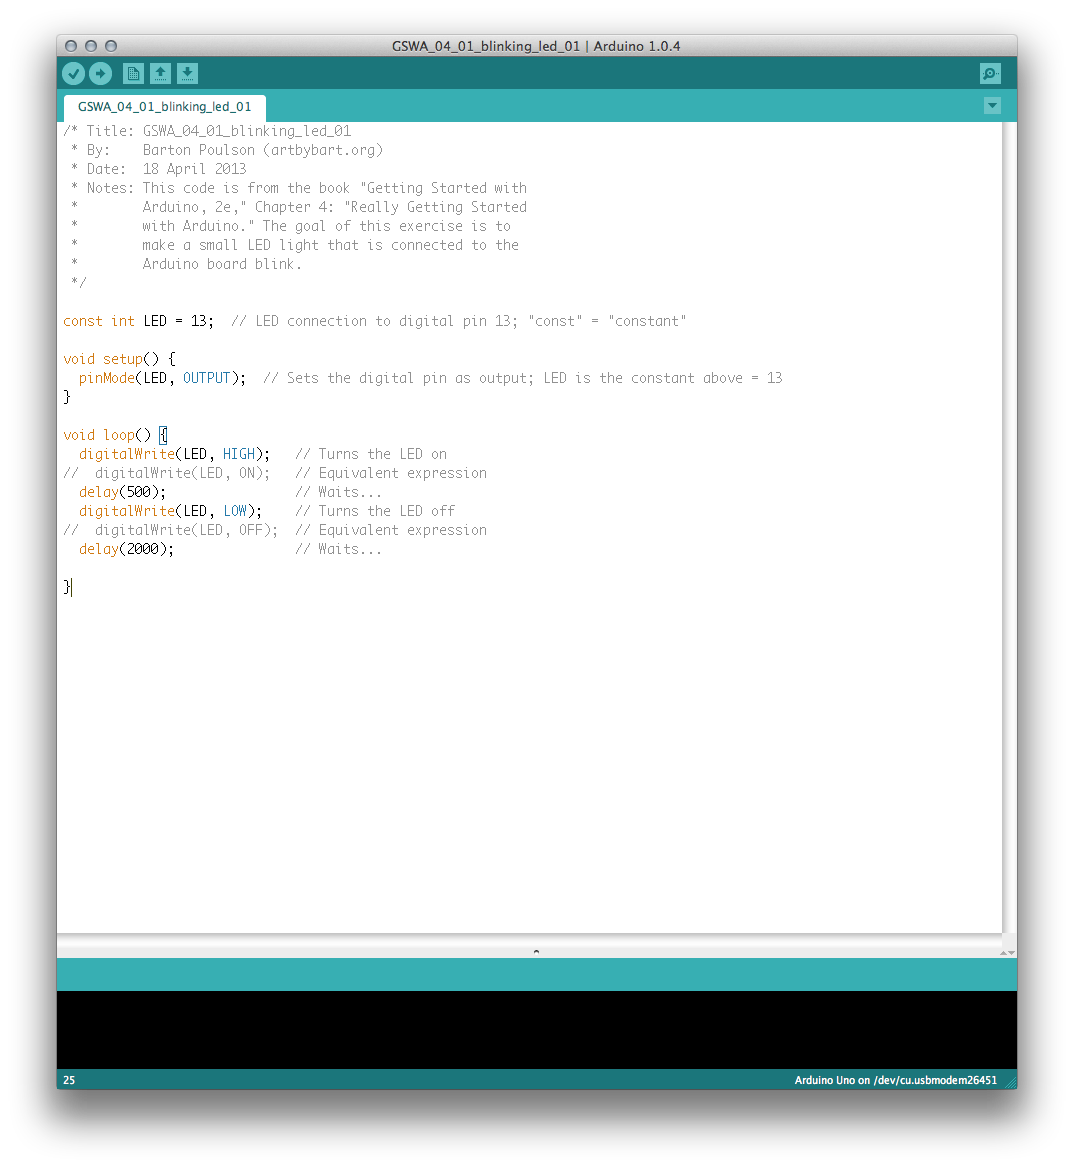
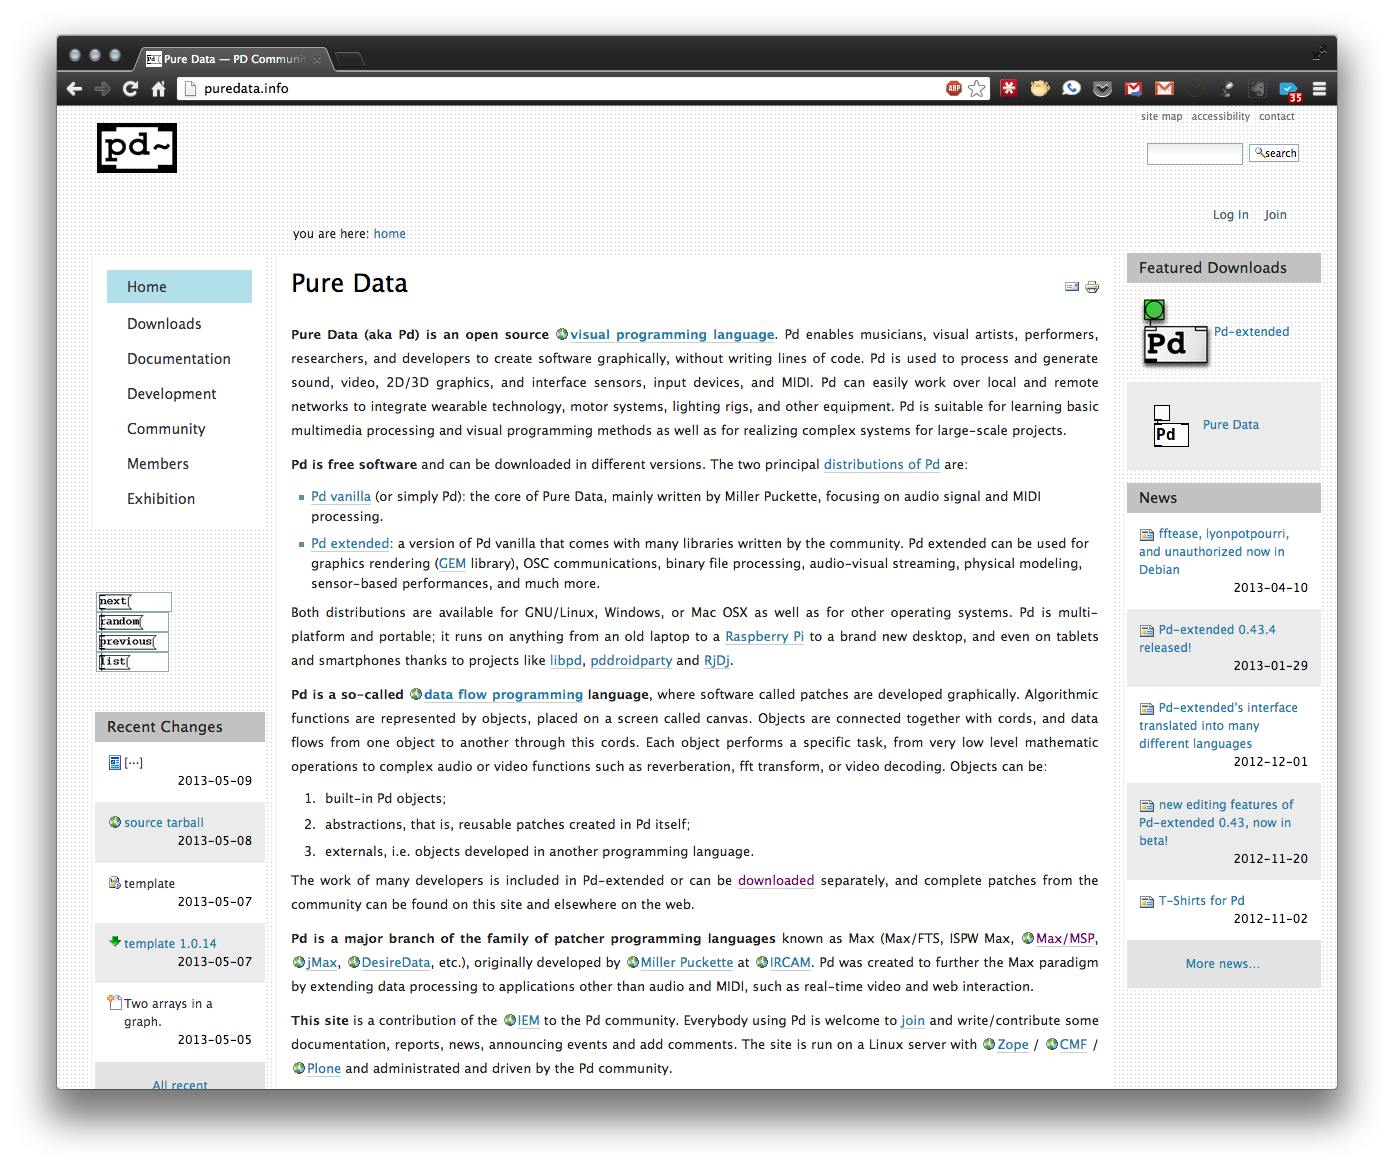
  • Copy and paste code into Arduino and Processing IDEs (because this one uses both).
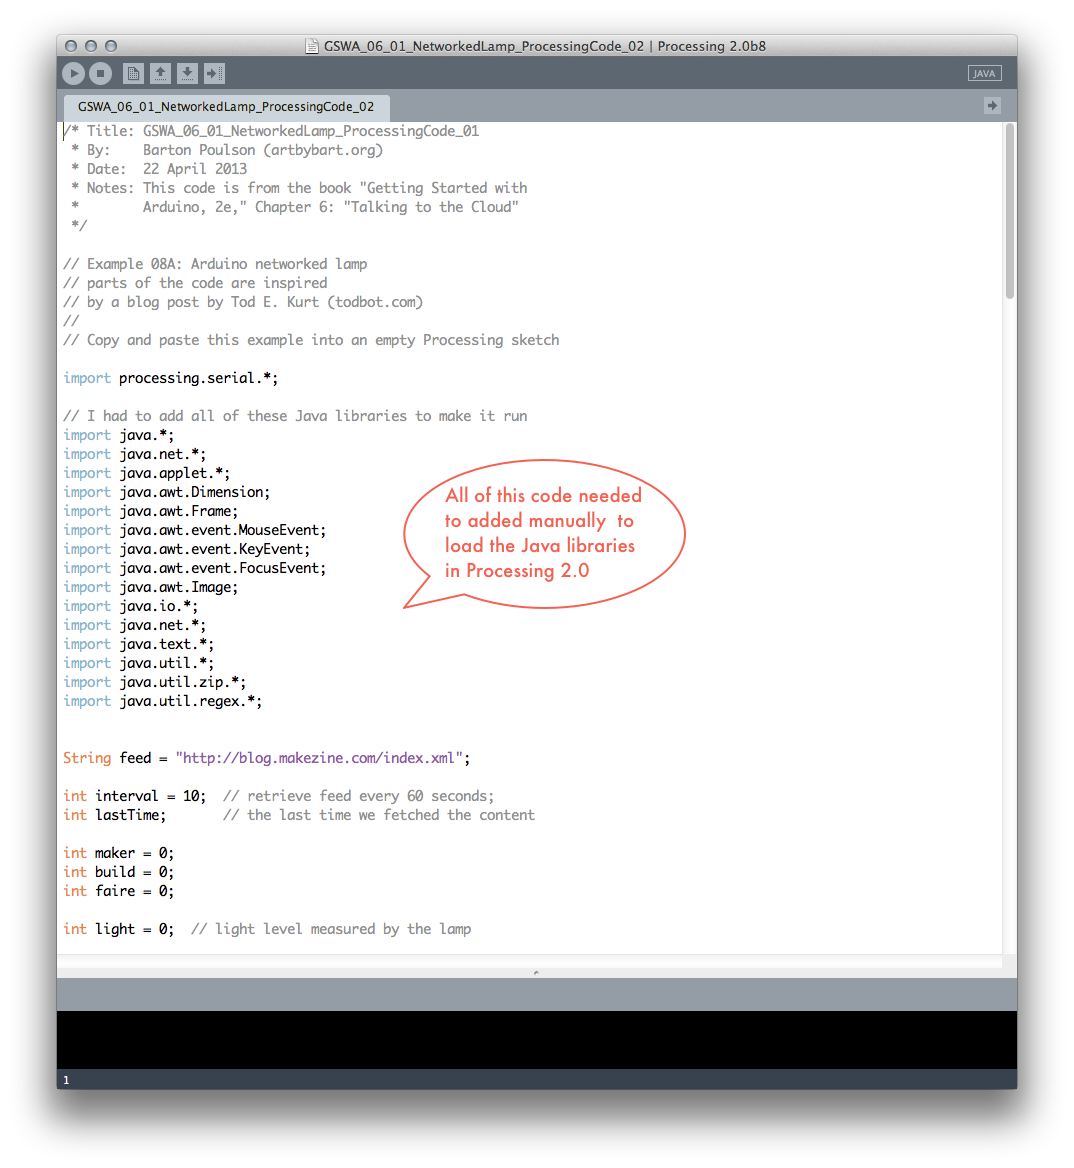
  • Get intractable errors in Processing because the code was written for v. 1 and we're now in v. 2
  • Spend much time searching the web, determine that all of the Java libraries must be installed manually
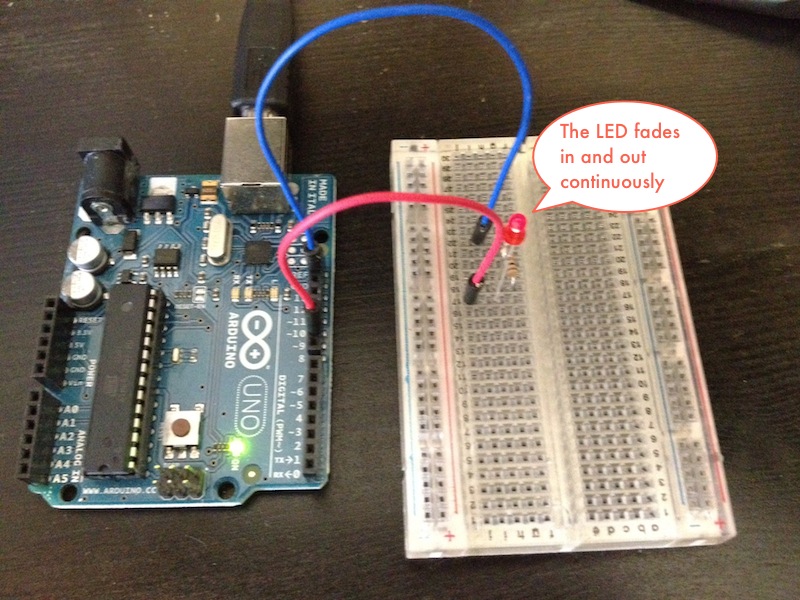
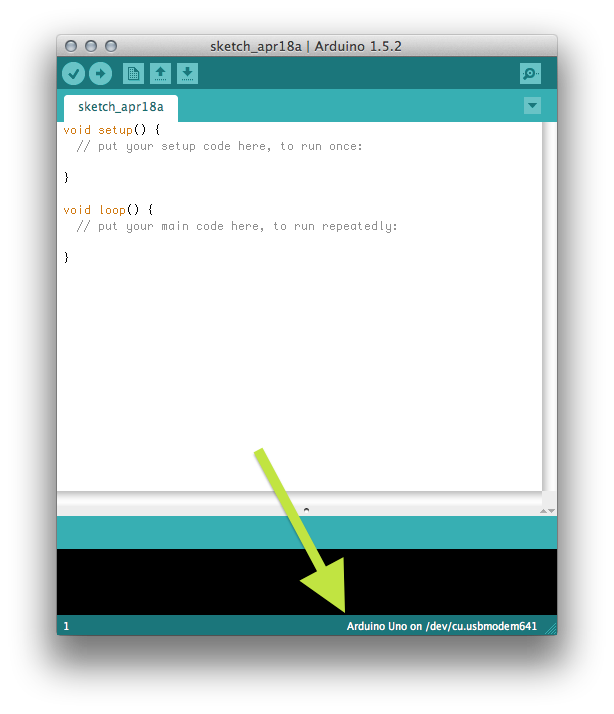
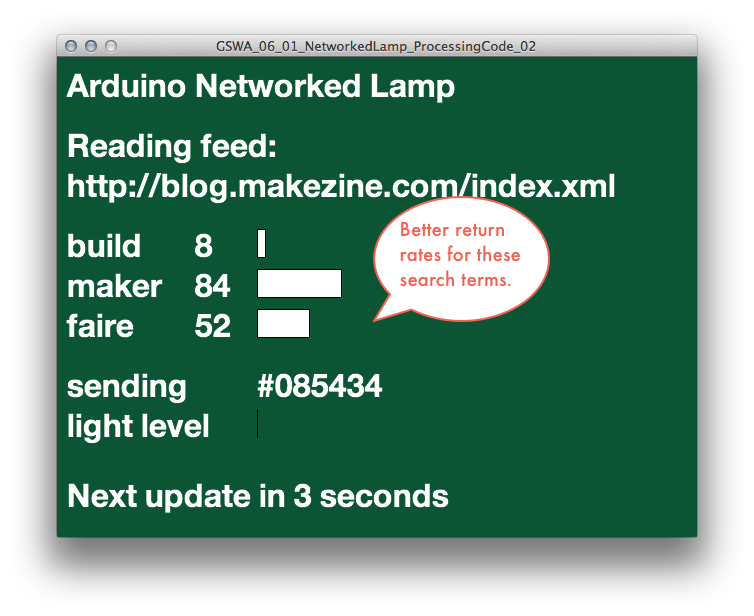
  • Get the Processing code running (see first photo above) but get such miserably low numbers for output that no light would be detectable
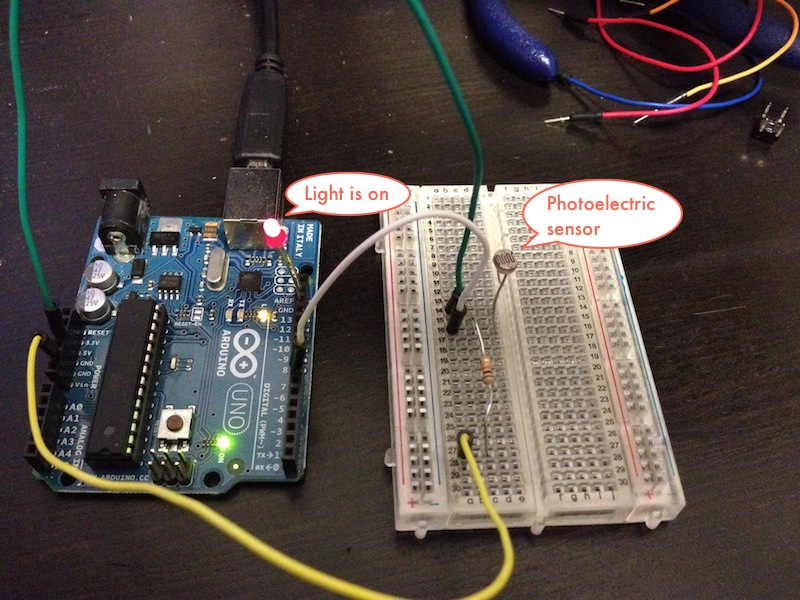
  • Revise Processing code to search for more common terms with the hope to being able to see things (see second photo)
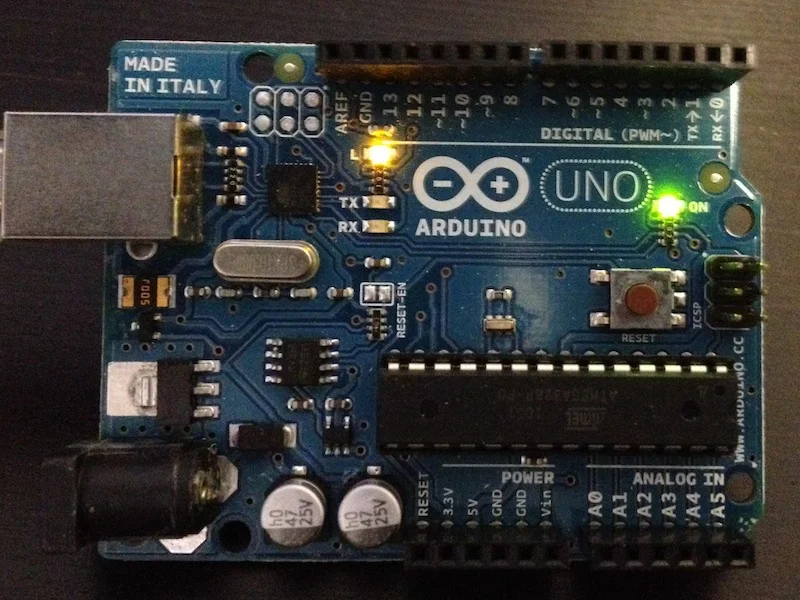
  • With Processing apparently working right, turn to physical components of Arduino
  • Reconstruct the physical circuit because I took it apart after three weeks (having even schlepped it around with me in a box on the bus and train from Salt Lake City to Orem)
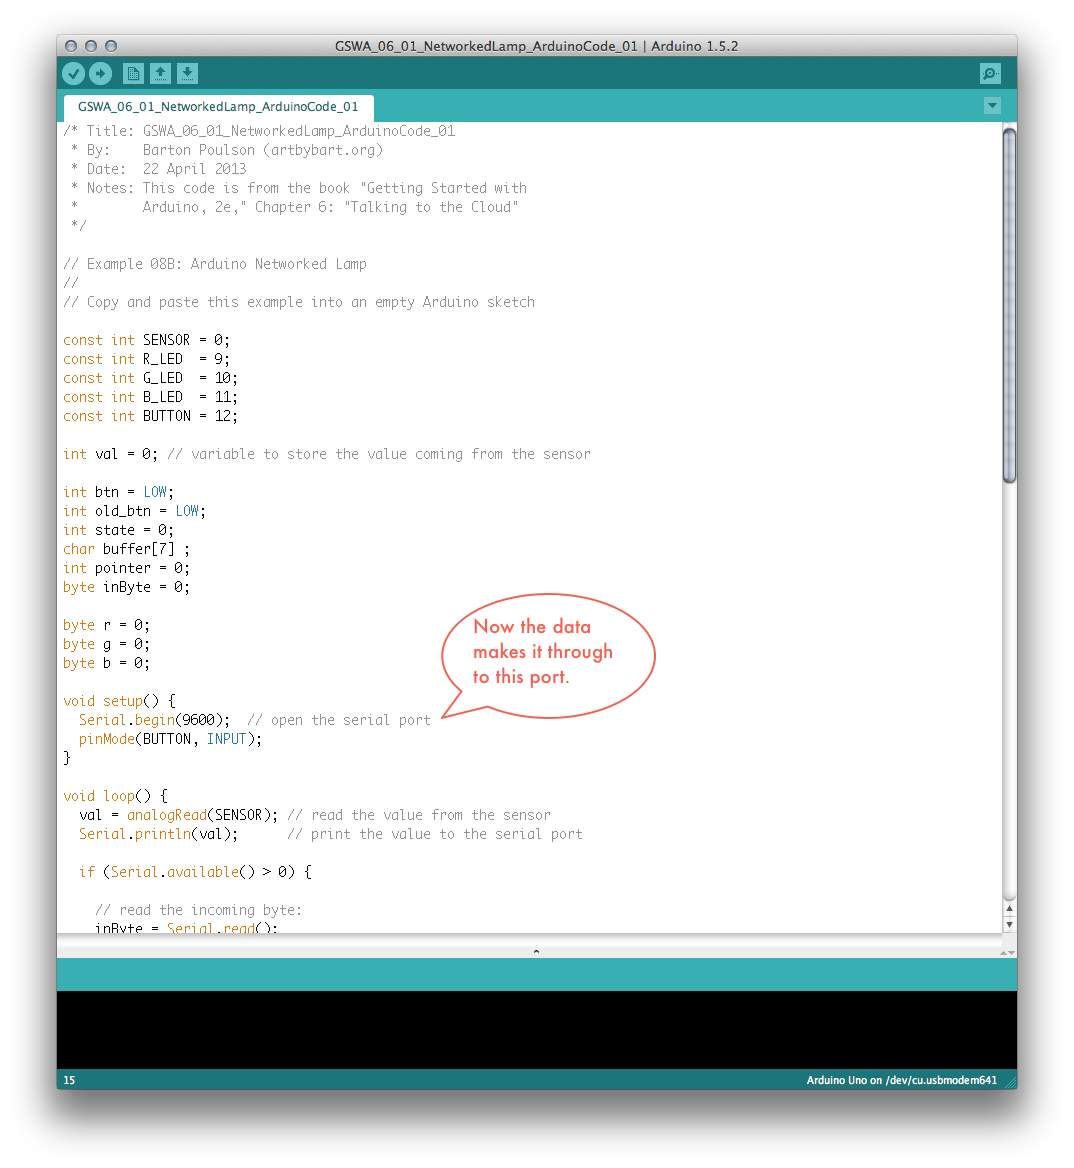
  • Plug the Arduino board in to my computer
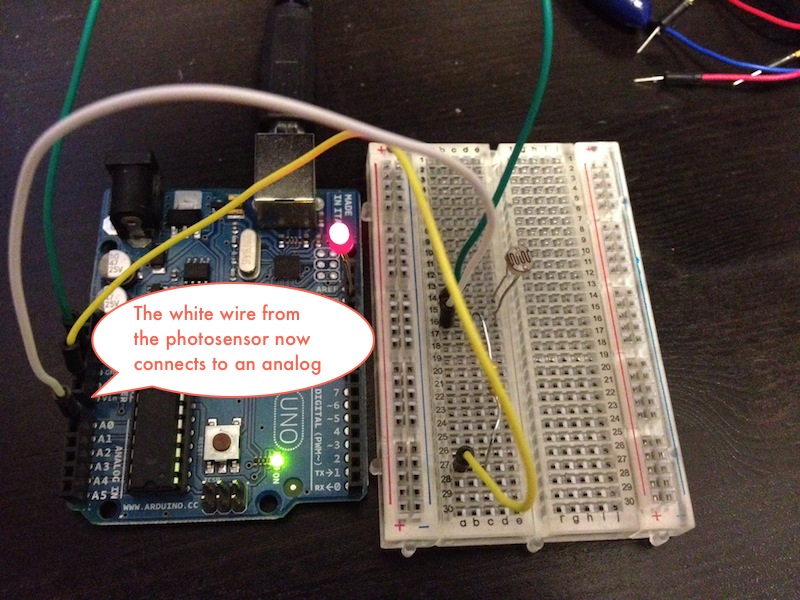
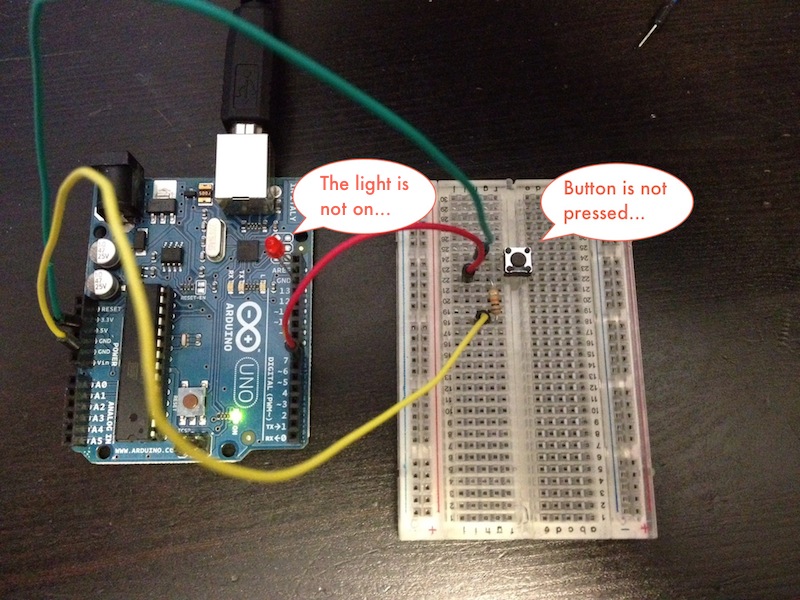
  • Have the Arduino shut off and get alarming error message from computer (see third photo)
  • Spend much time fiddling with USB connection, pull out brand new, back-up Arduino board, plug it in and see that it works, recreate circuit on new board, get same problems, notice lots of heat on bottom of first board, think that I have destroyed things, fret much
  • Search web for help and learn that there may be a short-circuit (without even really knowing what this would mean)
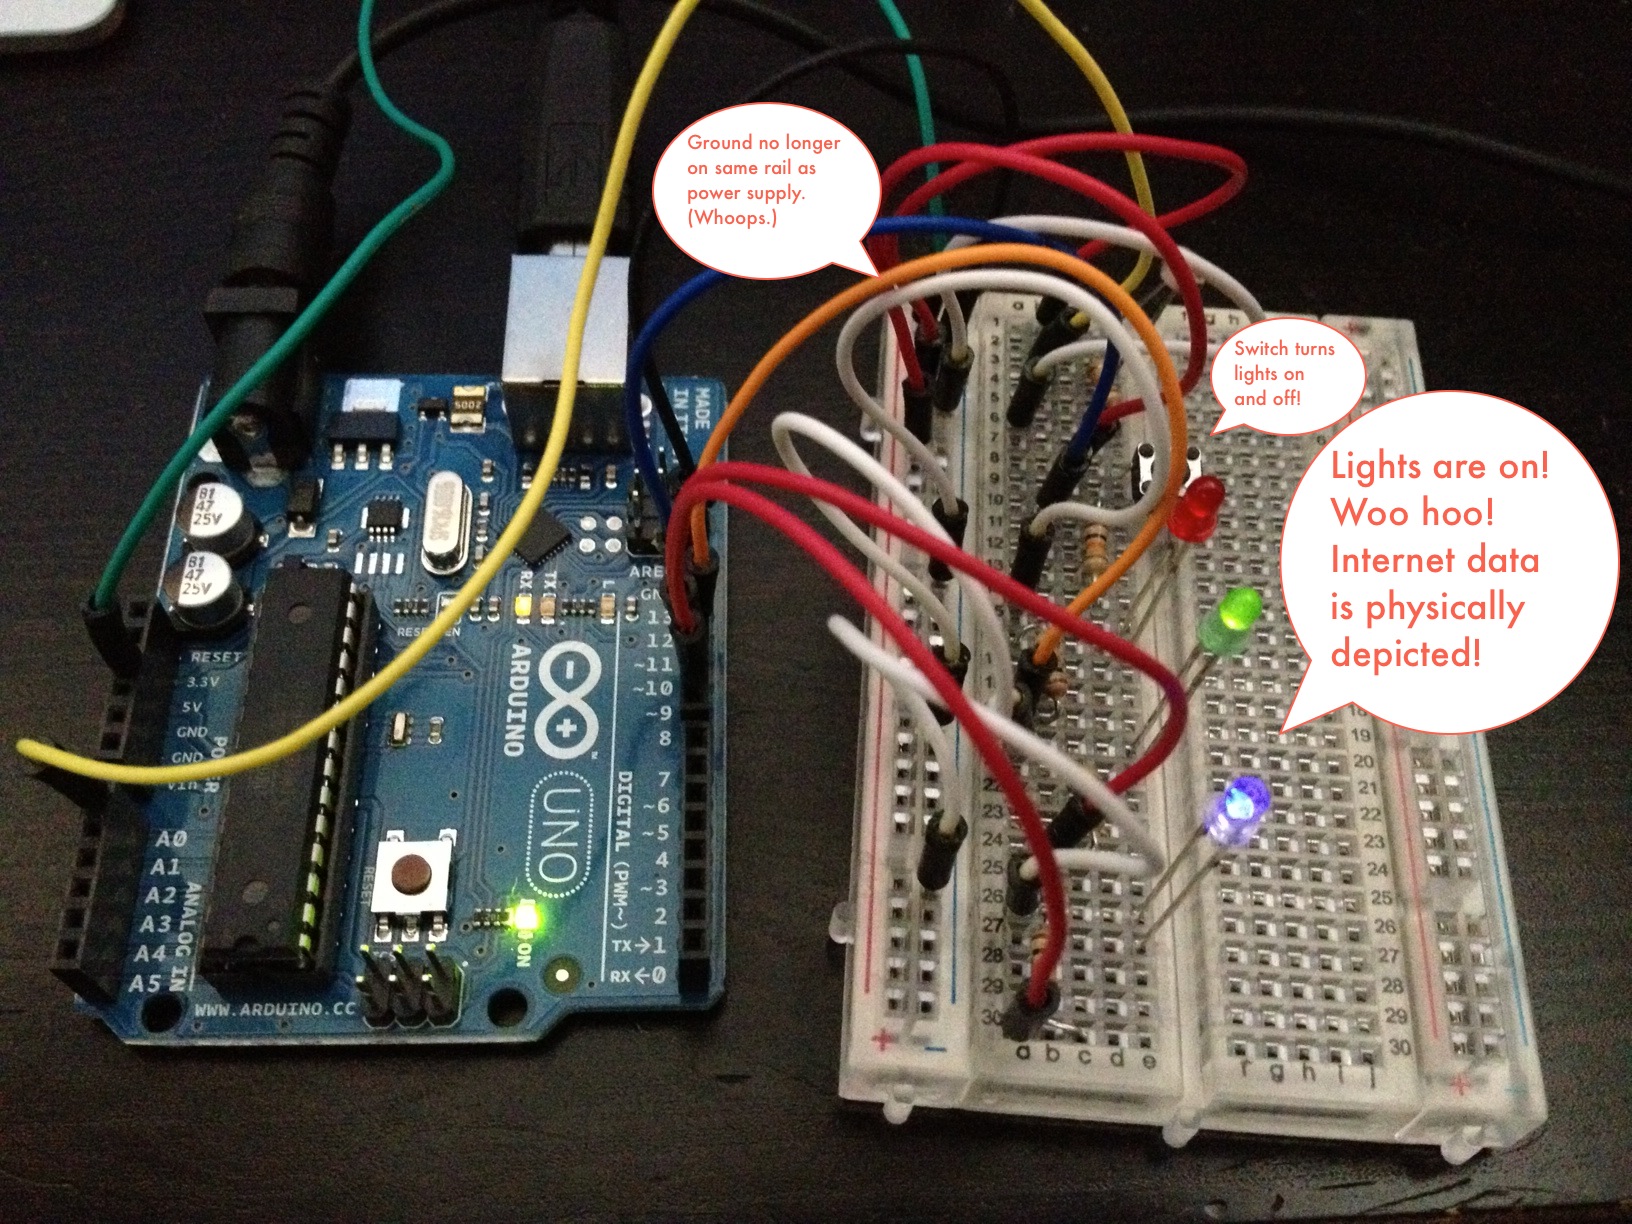
  • Eventually discover that I put the ground wire on the same positive rail of the breadboard as the power. Oops.
  • Put the ground wire on the negative rail (the way the illustration told me to do it in the first place), board powers up, problem solved.
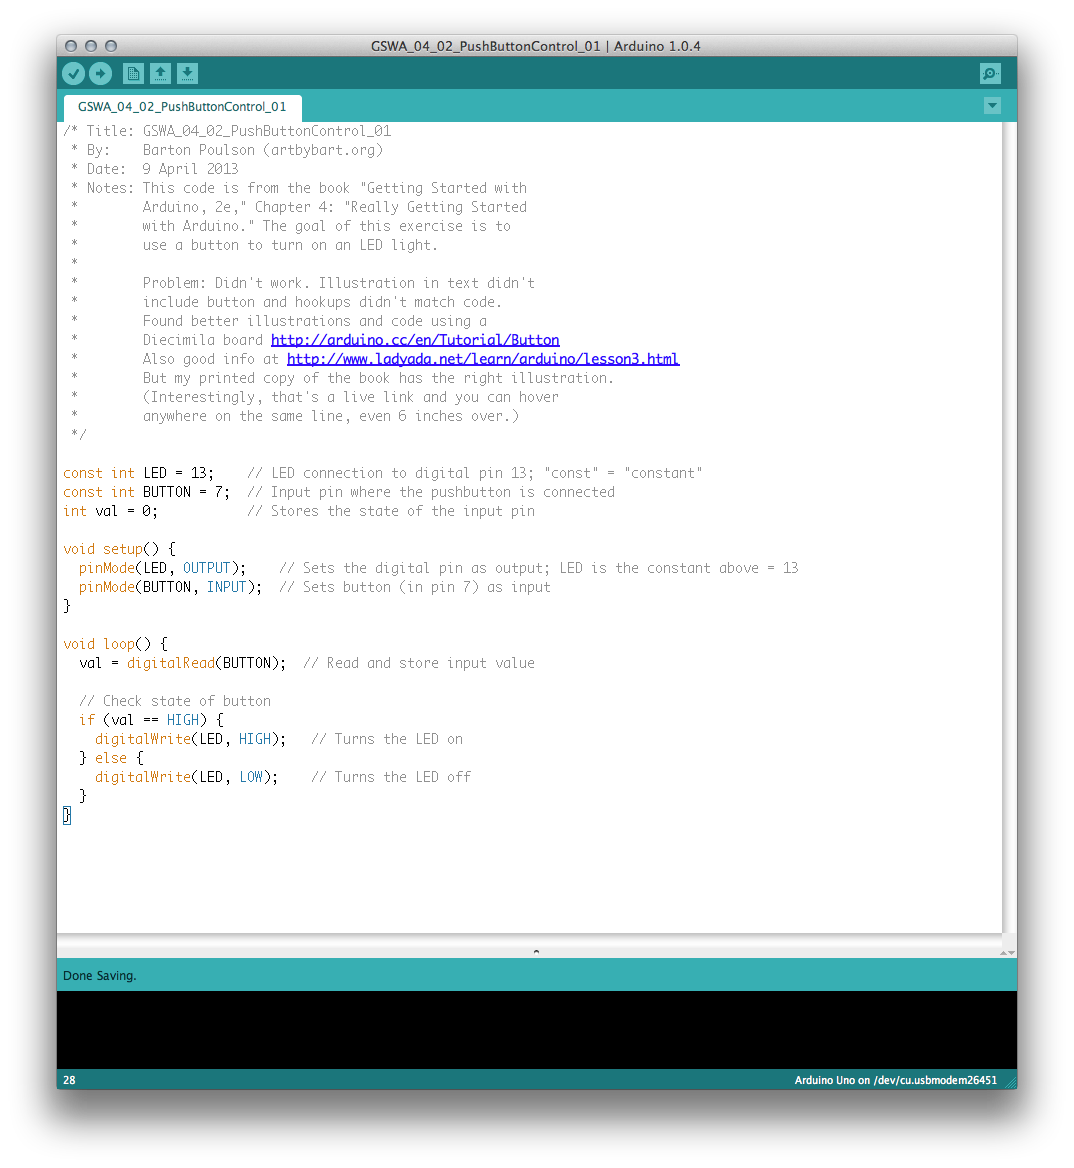
  • Back to Arduino IDE, compile and upload sketch, have lights blink to indicate successful upload, but see nothing happening with LEDs
  • Mess around with light sensor and the button on the breadboard to no effect
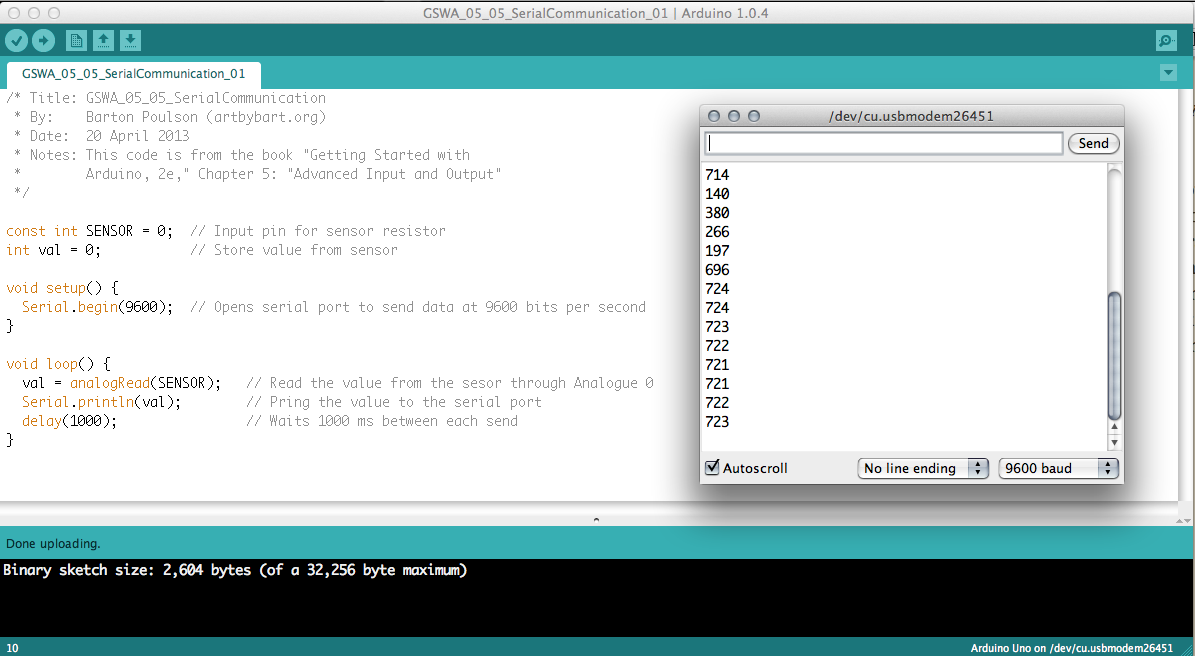
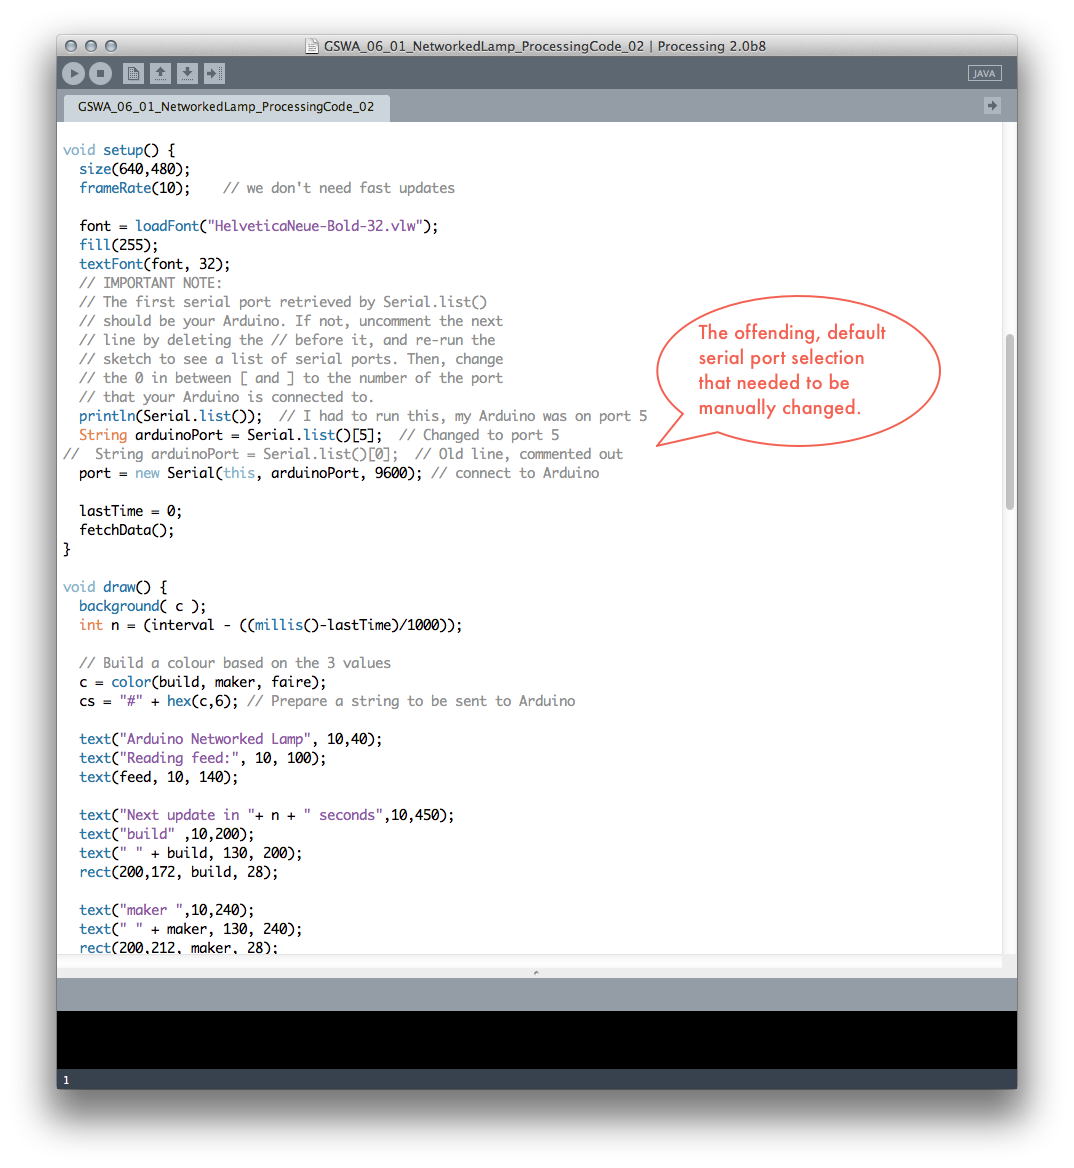
  • Check the serial monitor in Arduino and see a steady stream of strange data that is absolutely not in the right format
  • Read book again, see "important message" about serial port selection
  • Go back to Processing, uncomment code that lists serial port connects and find that my Arduino is connected to port 5 and not the expected port 0
  • Change port in Processing, rerun sketch, and suddenly see much blinking on Arduino board
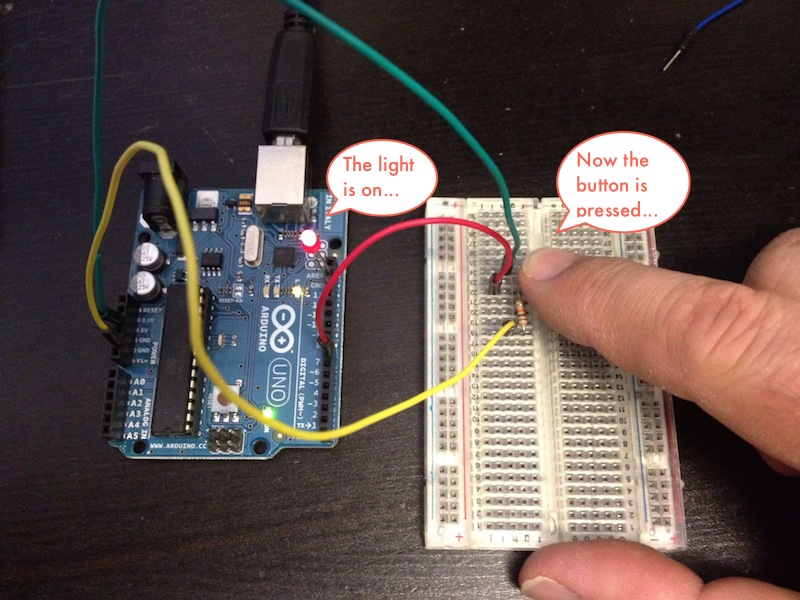
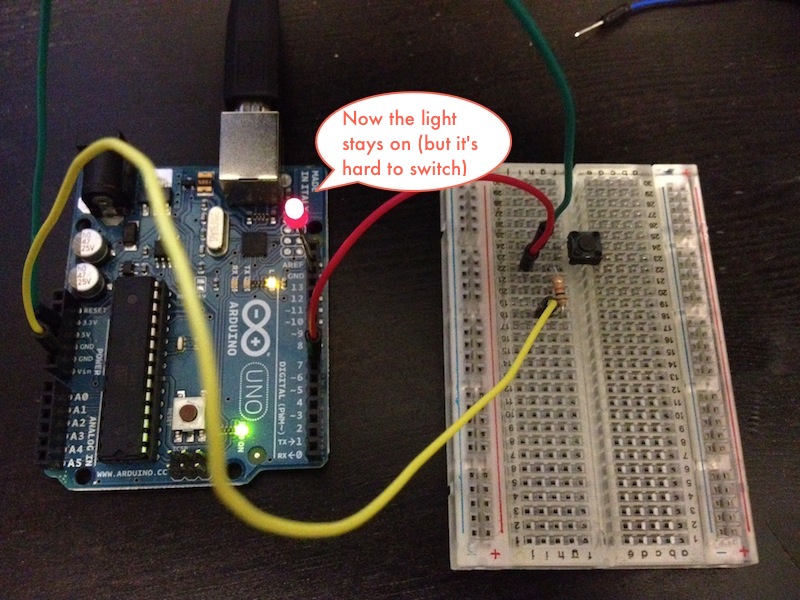
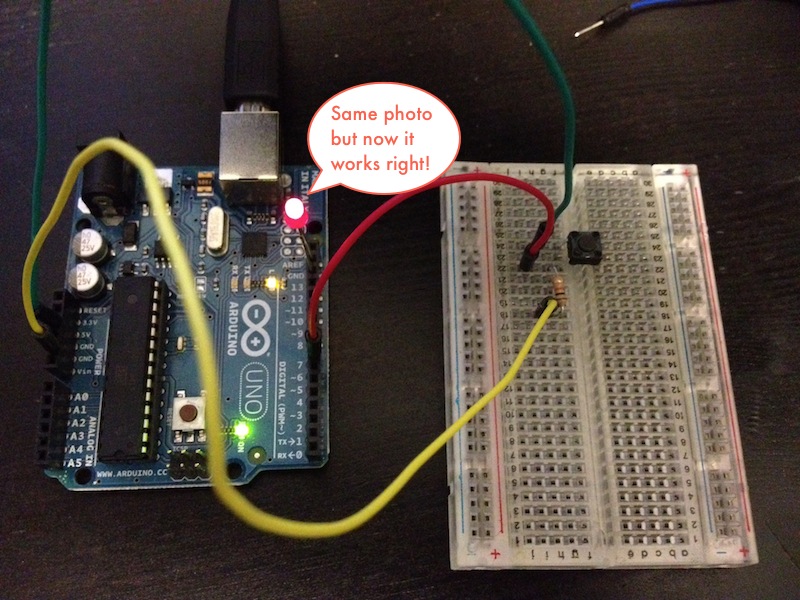
  • LEDs light up! Button turns them on and off! Success! (See last, triumphant photo above)

Okay, that was not fun but I was convinced that I would never make it work so I feel very, very happy now. And I already finished chapter 7 (although I haven't yet posted it to this web page because I'm an extremely linear guy), so I'll post this chapter, post that one, and then try to do a small, creative project (which I have been planning – more or less – for a few weeks), and call it quits. But here we go for now!

Completed:

  • Getting Started with Arduino, 2e, Ch. 6: Talking to the Cloud (1 exercise – but a really, really big one)
  • Sketches (i.e., code) can be downloaded from http://db.tt/f6x9Q4NA

Comment

Comment

GSWA 5: Advanced Input and Output

Chapter 5 of Getting Started with Arduino is  "Advanced Input and Output." The topics covered in this chapter are:
  • Analogue input and output to allow continuous (or at least many-valued) values as opposed to just digital on/off
  • The use of a photoelectric sensor to provide continuous input and an LED to provide continuous output
  • Serial communication to permit data exchange between different programs and different hardware

All of this is really used to lay the groundwork for the extended example in Chapter 6. And this is where I have my first movie examples to show things changing gradually. (Always glad to have the iPhone handy....)

[youtube=http://www.youtube.com/watch?v=3PsUrpE3t7c]

[youtube=http://www.youtube.com/watch?v=WEm37pCNDbU]

[youtube=http://www.youtube.com/watch?v=RNSP-XF5N9U]

Completed:

  • Getting Started with Arduino, 2e, Ch. 5: Advanced Input and Output (5 exercises)
  • Sketches (i.e., code) can be downloaded from http://db.tt/f6x9Q4NA


Comment

Comment

GSWA 4: Really Getting Started with Arduino

Chapter 4 of Getting Started with Arduino is appropriately entitled "Really Getting Started with Arduino," because this is the first chapter where we actually start hooking up wires and writing code. The goals of this chapter are relatively simple:
  • Hook up an LED to the Arduino
  • Put a pushbutton on the breadboard
  • Connect the wires and write the code so the pushbutton can turn on the LED, first as a momentary switch (i.e., the LED only lights up as long as you hold the button) and then as a toggle switch (i.e., click it once to have the LED turn on and stay on, then click it again to have it turn off and stay off)

Simple concept and an excellent introduction to the entire system. I'm much more accustomed to working with Processing and, while the two are very closely related, they're not identical and the differences are acutely obvious to me. Still, I'm trying to adapt.  Some of the differences include:

  • Explicitly declaring constants
  • Setting pins as input or output (obviously, this doesn't happen in the software-only world of Processing)
  • "digitalRead" and "digitalWrite" as functions (again, because this is hardware now)
  • The use of "HIGH" and "LOW" as "ON" and "OFF" (I know the latter work but there is a strong institutional preference for the former)

On the other hand, much of the building and troubleshooting procedure is the same: go one tiny step at a time, when something goes wrong, take a closer look at how the machine is making sense of your code, and working through possible solutions one at a time, perhaps through commenting lines in and out. And save versions of your sketch!

So, the fact that I am now able to turn a small light on and off may not seem like much to most people, but it's a significant journey from the virtual to the physical world for me. Onward and upward!

Completed:

  • Getting Started with Arduino, 2e, Ch. 4: Really Getting Started with Arduino (5 exercises)
  • Sketches (i.e., code) can be downloaded from http://db.tt/f6x9Q4NA

Comment

Comment

GSWA 3: The Arduino Platform

Ch. 3: The Arduino Platform in Getting Started with Arduino is another introductory chapter. This chapter focuses on:
  • Explaining the Arduino hardware, such as the Arduino Uno, which is what I have
  • Telling where to download the Arduino IDE, which is very similar to the Processing IDE
  • Installing drivers on your desktop computer
  • Identifying the port that connects with your Arduino

Got it. Real stuff in the next chapter.

Completed:

  • Getting Started with Arduino, 2e, Ch. 3: The Arduino Platform (0 exercises)
  • Sketches (i.e., code) can be downloaded from http://db.tt/f6x9Q4NA

Comment

Comment

GSWA 2: The Arduino Way

The second chapter of Getting Started with Arduino is entitled "The Arduino Way." It briefly explains that the "Arduino Philosophy" is based on the following:
  • Prototyping. Making actual, physical objects that do things in the fastest and most efficient way possible.
  • Tinkering. Playing without a goal, especially with old or broken electronics, is time well spent.
  • Patching. Making connections between different modules to direct data and control behavior. Robert Moog's early analogue synthesizers are mentioned as a prime example. (I like the cover of Switched on Bach in this respect.) Max, Pure Data, and VVVV are all mentioned as programming languages that make patching their primary visual metaphor.
  • Circuit Bending. The creative short-circuiting of electronics – especially toys that talk or make sounds – to create music.
  • Keyboard Hacks. Sort of the same idea but playing with the insides of a keyboard to make it do different things.
  • We Love Junk! Because you can take it apart and do things with it. That's why I haven't thrown away my old hard drives or mystery power adapters yet.
  • Hacking Toys. Lots of electronics in kids' toys to manipulate. The author (Massimo Banzi) recommends the PDF booklet "Low Tech Sensors and Actuators."
  • Collaboration. There is, in fact, an Arduino community and they tend to post questions and answers and generally help each other. One interesting place for this is the "Arduino Playground" at playground.arduino.cc.

And that's it. Of course, any time somebody talks about their "philosophy," I always think of the choreographer Mark Morris. As the story goes, when he was being interviewed to be the artistic director of the Théâtre Royal de la Monnaie in Brussels, Belgium, he was asked about his philosophy of dance. He replied: "My philosophy of dance? I make it up. You watch it. End of philosophy." (And you'll be glad to know that he got the job, too!)

Completed:

  • Getting Started with Arduino, 2e, Ch. 2: The Arduino Way (0 exercises)
  • Sketches (i.e., code) can be downloaded from http://db.tt/f6x9Q4NA

Comment

Comment

GSWA 1: Introduction

GSWA_01_ArduinoHomePage Chapter 1 of Getting Started with Arduino (GSWA) is a very, very brief introduction. Basically, it contains the following:

  • The URLs for Processing (processing.org) and Arduino (arduino.cc).
  • A slightly tautological definition of interaction design: "Interaction Design is the design of any interactive experience."
  • An explanation of the term "physical computing": "[Physical computing] involves the design of interactive objects that can communicate with humans using sensors and actuators controlled by a behavior implemented as software running inside a microcontroller (a small computer on a single chip)."

And so, on to chapter 2!

Completed:

  • Getting Started with Arduino, 2e, Ch. 1: Introduction (0 exercises)
  • Sketches (i.e., code) can be downloaded from http://db.tt/f6x9Q4NA

Comment

Comment

My Arduino goes blink, blink, blink!

This was a long time coming for such a minor accomplishment but I'm thrilled nonetheless. I have successfully gotten my Arduino Uno board out of the box (about a year after I bought it), hooked up to my Mac (with my fancy, clear USB cable that I stole from my Blue Snowball microphone), and — lo and behold! — it's blinking. It's alive! Woo hoo!

Next up: Actual programming.

Completed:

  • Getting Started with Arduino, Ch. 3: The Arduino Platform (1 exercise)

Comment

Comment

Arduino, Ardweeny, Aardvark...

To round out my set of current independent studies projects (as the Jitter project has to wait until later in the semester), here's my initial report on my experiments with the Arduino circuit board, as supervised by University of Utah Sculpture professor Paul Stout. (Hi, Paul!) For this course I'm going to go through the little book Getting Started with Arduino (second edition) by co-founder Massimo Banzi. This one's going to be a little trickier because I have to actually make things. (I've got my set of parts and some tools but I still need to get a soldering iron ASAP.)

One of the things I loved as I started re-reading this book (as I already read the first edition all the way through) is that Massimo refers to a modular circuit set by Industrial Design great Dieter Rams. I found the Lectron set that he mentioned online at a page celebrating Dieter's work called Das Programm. Neat!

I also found some other great resources for learning Arduino, such as the Arduino Playground, an Arduino category at Instructables, and a similar category at the fabulous Makezine site. (And, by the way, the "Ardweeny" from this post's title is an actual product, just a tiny circuit board.) Lots of good things in store!

Completed:

  • Getting Started with Arduino, Ch. 0: Preface (0 exercises)
  • Getting Started with Arduino, Ch. 1: Introduction (0 exercises)
  • Getting Started with Arduino, Ch. 2: The Arduino Way (0 exercises)

Comment

Comment

Upcoming Arduino Adventure

Next semester I have some free space in my schedule that I need to fill up with Fine Arts credits if I want to get my Arts Technology Certificate this year. I felt rather clever this semester for designing my own 4-credit class in Processing, which I taught myself (although I am not the teacher of record). I decided to do a similar thing next semester, where I will work on the most logical extension of the Processing class: Arduino, the physical world analogue of Processing. There's a tiny little book on it called Getting Started with Arduino (now in its second edition):

I think I'll just go through it from start to finish. That shouldn't take long, although it will take some supplies, so I've already ordered the complete set of materials from Maker Shed. (I think I'll get to know these guys awfully well.)

However, that book will be quick. As a way of making a full course, I'm considering trying to go through Tom Igoe's charming but substantial book Making Things Talk (also in its second edition), which also serves as great introduction to the field of physical computing:

I'm still trying to figure out exactly how much of that book I would be able to do (and how much it would cost!). But in a happy turn of events, I just came across a blog called Doing the Projects in Making Things Talk, where the author chronicles his journey through the first edition fo the book:

Anyhow, this should be an excellent guide. I'll have to read through it before I undertake my own adventure.

And, finally, I think that I'm going to send out an invitation to see if there are any other students who would like to join me in this "class" (or in another one I'm planning on using Max/MSP, but more on that another time). It would be nice to have company, wouldn't it?

Comment