- Chapter 1: No real information
- Chapter 2: A tiny bit of information but no practical work
- Chapter 3: A tiny bit more information but still no practical work
- Chapter 4: A tiny bit of practical work
- Chapter 5: A little bit more practical work
- Chapter 6 (this chapter): About 1000% more complicated than all the rest of the book put together
- Chapter 7: A tiny bit of information to wrap things up
It really felt like getting thrown into the deep end. However, I finally got it to work. Here is the chronicle of my adventure:
- Copy and paste code into Arduino and Processing IDEs (because this one uses both).
- Get intractable errors in Processing because the code was written for v. 1 and we're now in v. 2
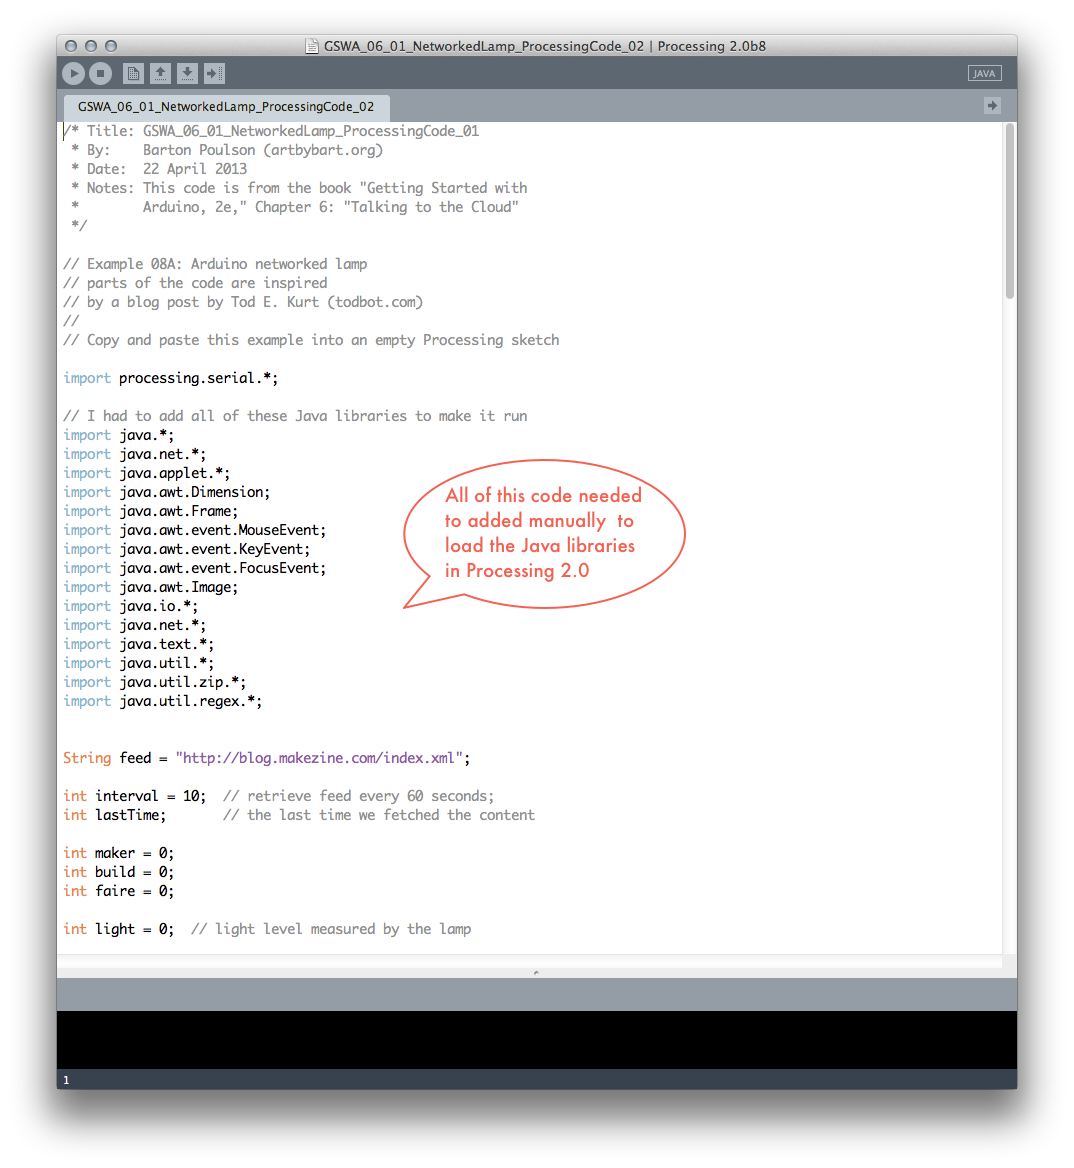
- Spend much time searching the web, determine that all of the Java libraries must be installed manually
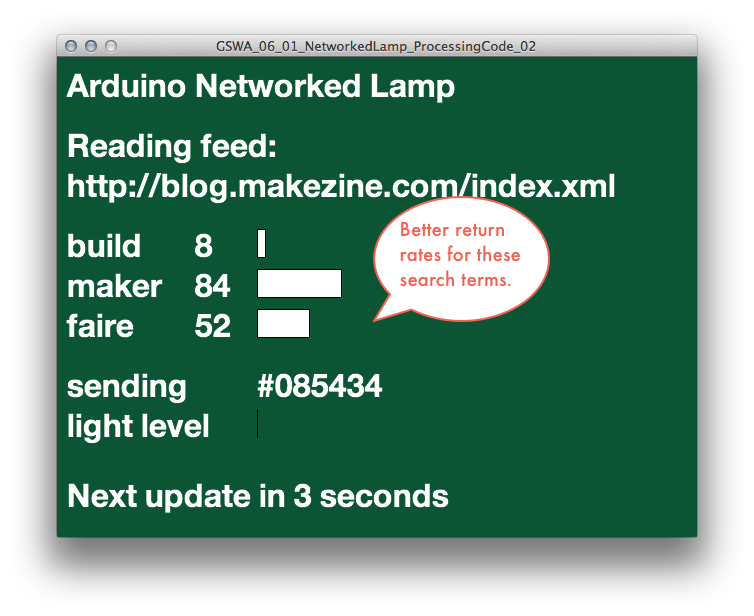
- Get the Processing code running (see first photo above) but get such miserably low numbers for output that no light would be detectable
- Revise Processing code to search for more common terms with the hope to being able to see things (see second photo)
- With Processing apparently working right, turn to physical components of Arduino
- Reconstruct the physical circuit because I took it apart after three weeks (having even schlepped it around with me in a box on the bus and train from Salt Lake City to Orem)
- Plug the Arduino board in to my computer
- Have the Arduino shut off and get alarming error message from computer (see third photo)
- Spend much time fiddling with USB connection, pull out brand new, back-up Arduino board, plug it in and see that it works, recreate circuit on new board, get same problems, notice lots of heat on bottom of first board, think that I have destroyed things, fret much
- Search web for help and learn that there may be a short-circuit (without even really knowing what this would mean)
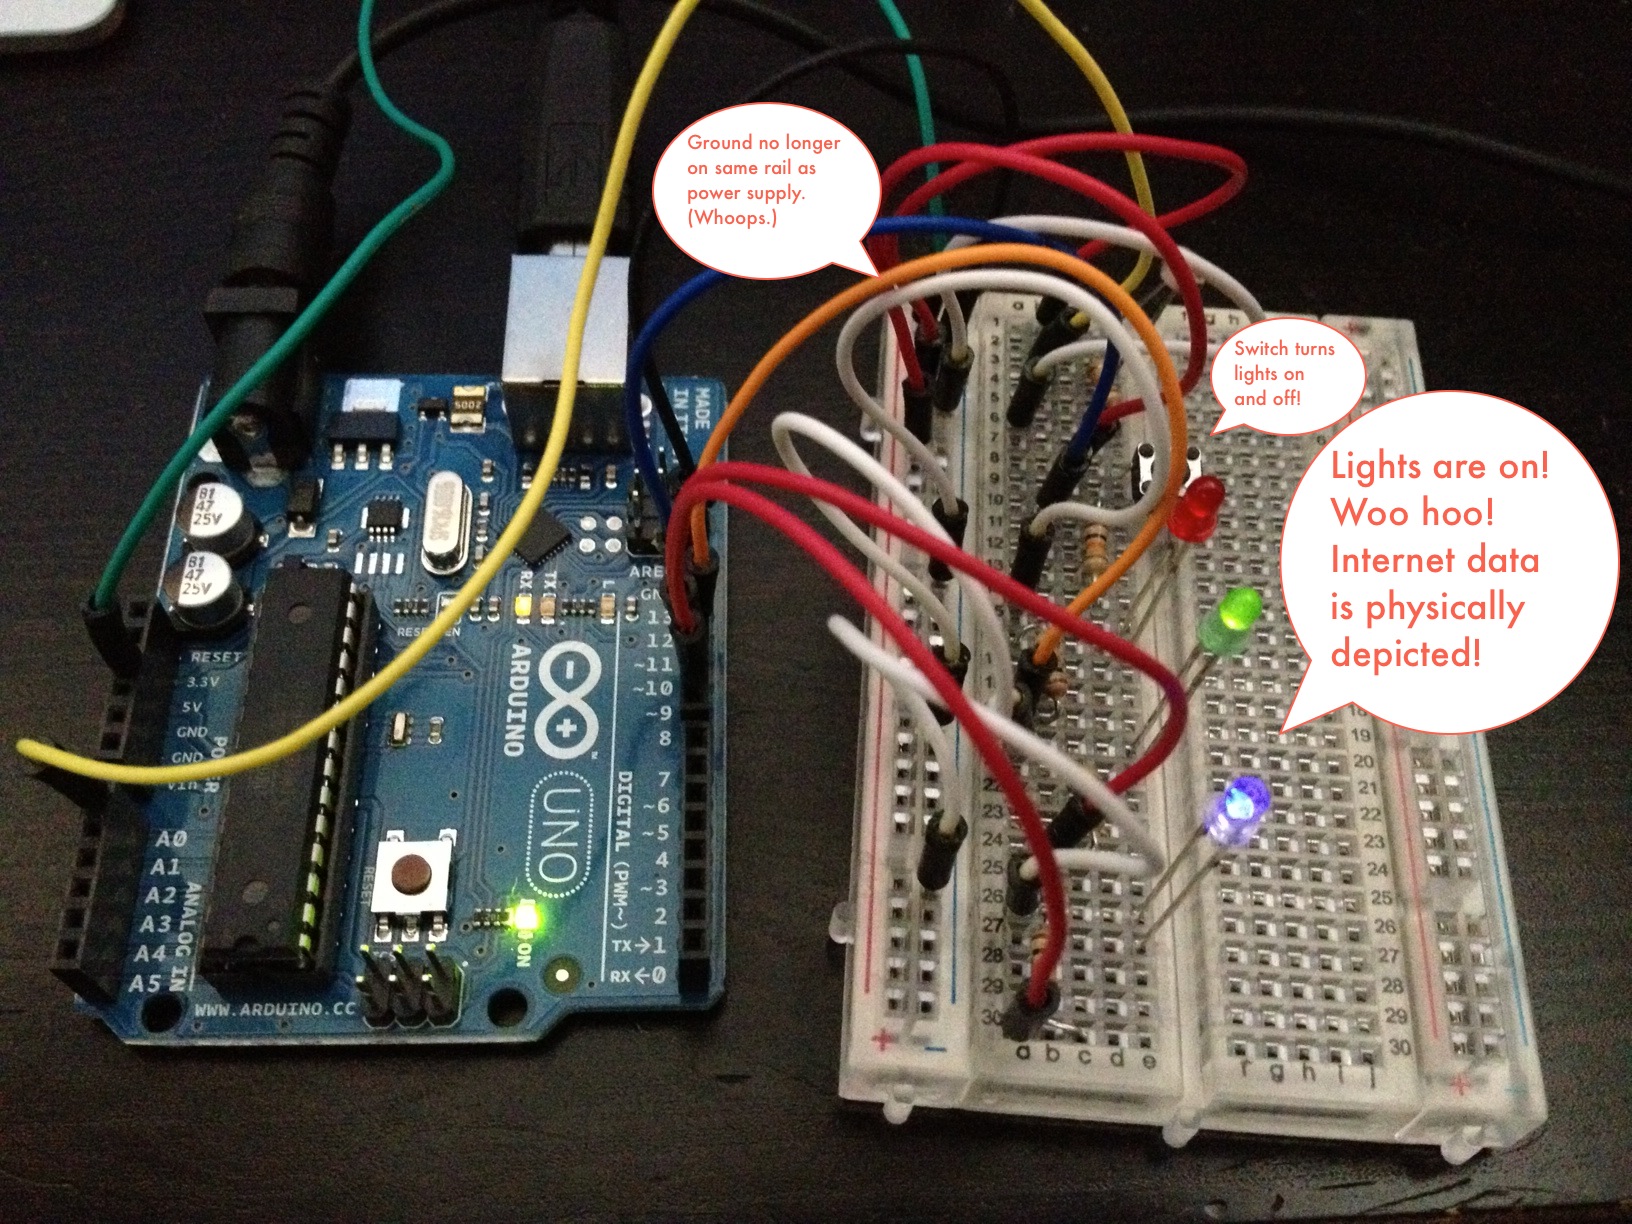
- Eventually discover that I put the ground wire on the same positive rail of the breadboard as the power. Oops.
- Put the ground wire on the negative rail (the way the illustration told me to do it in the first place), board powers up, problem solved.
- Back to Arduino IDE, compile and upload sketch, have lights blink to indicate successful upload, but see nothing happening with LEDs
- Mess around with light sensor and the button on the breadboard to no effect
- Check the serial monitor in Arduino and see a steady stream of strange data that is absolutely not in the right format
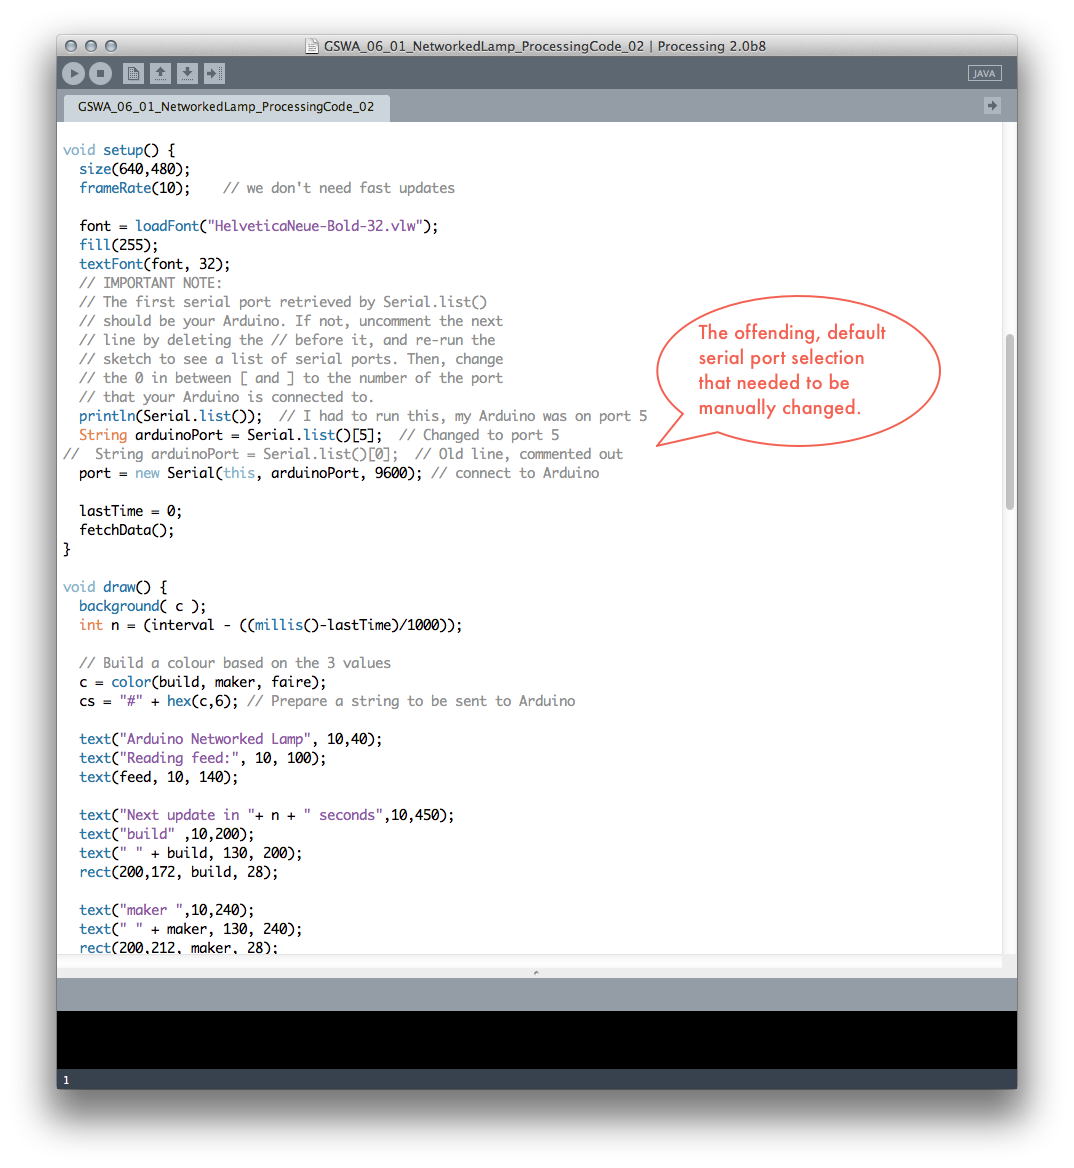
- Read book again, see "important message" about serial port selection
- Go back to Processing, uncomment code that lists serial port connects and find that my Arduino is connected to port 5 and not the expected port 0
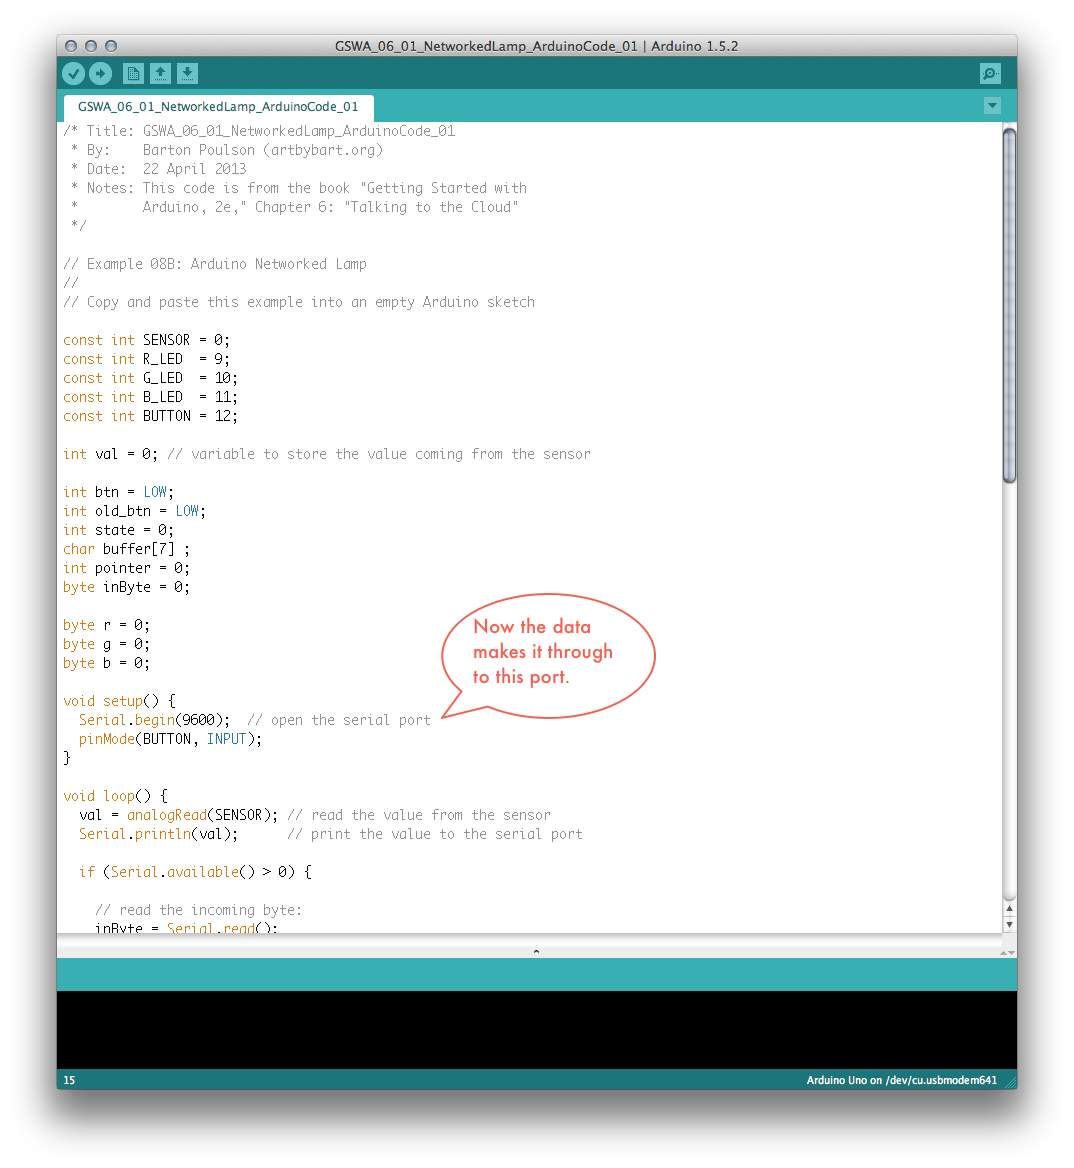
- Change port in Processing, rerun sketch, and suddenly see much blinking on Arduino board
- LEDs light up! Button turns them on and off! Success! (See last, triumphant photo above)
Okay, that was not fun but I was convinced that I would never make it work so I feel very, very happy now. And I already finished chapter 7 (although I haven't yet posted it to this web page because I'm an extremely linear guy), so I'll post this chapter, post that one, and then try to do a small, creative project (which I have been planning – more or less – for a few weeks), and call it quits. But here we go for now!
Completed:
- Getting Started with Arduino, 2e, Ch. 6: Talking to the Cloud (1 exercise – but a really, really big one)
- Sketches (i.e., code) can be downloaded from http://db.tt/f6x9Q4NA
Related articles
- Getting Online with Arduino: Round Up of Devices (hackthings.com)
- Facebook counter - How many Likes to your facebook fanpage? (open-electronics.org)

