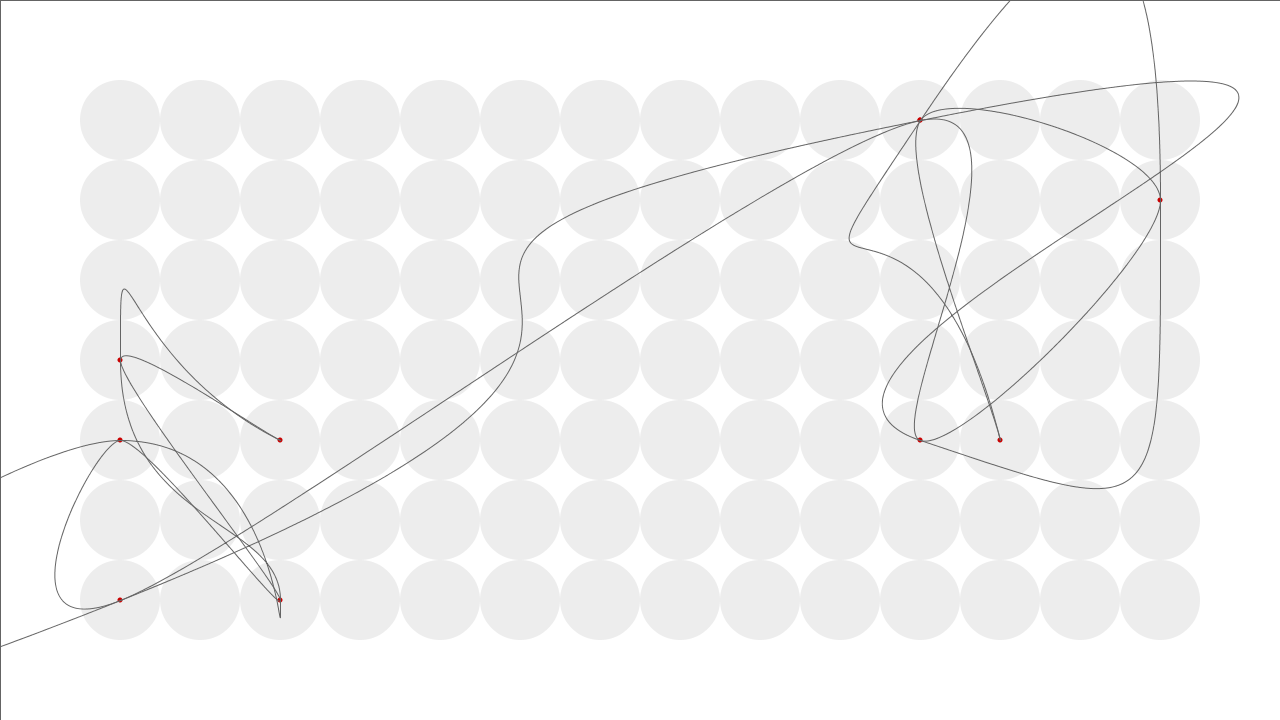
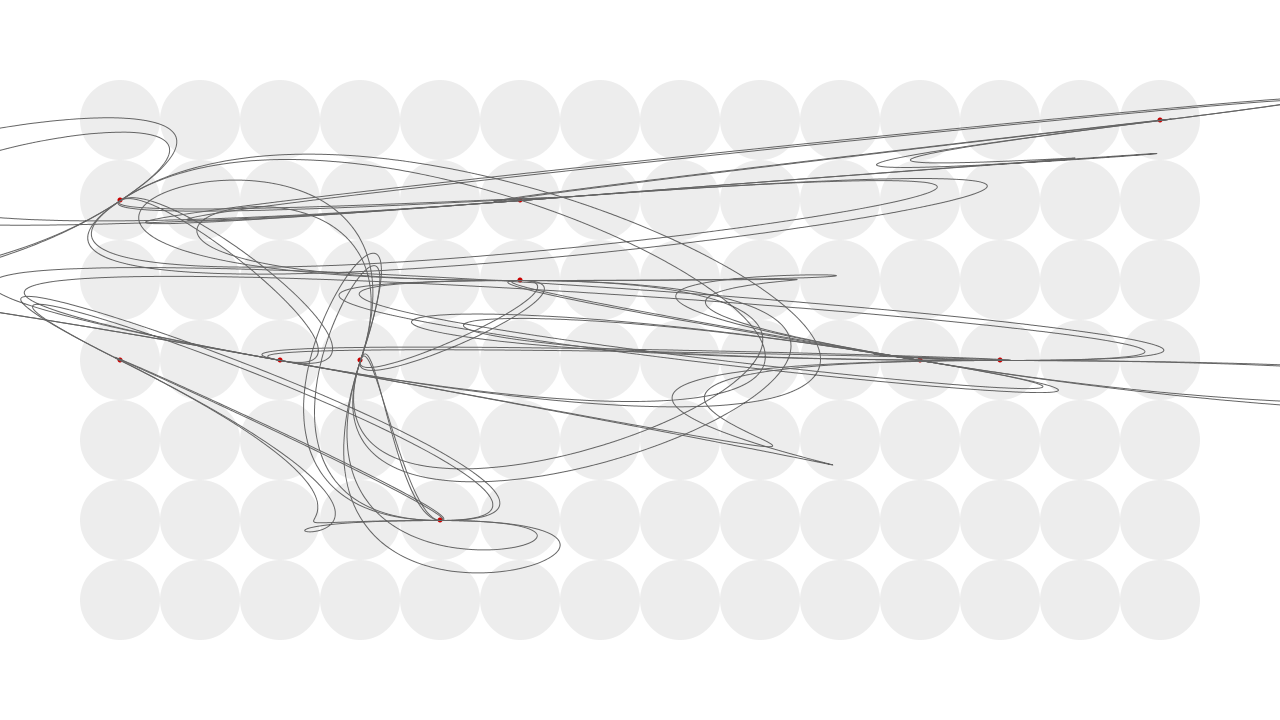
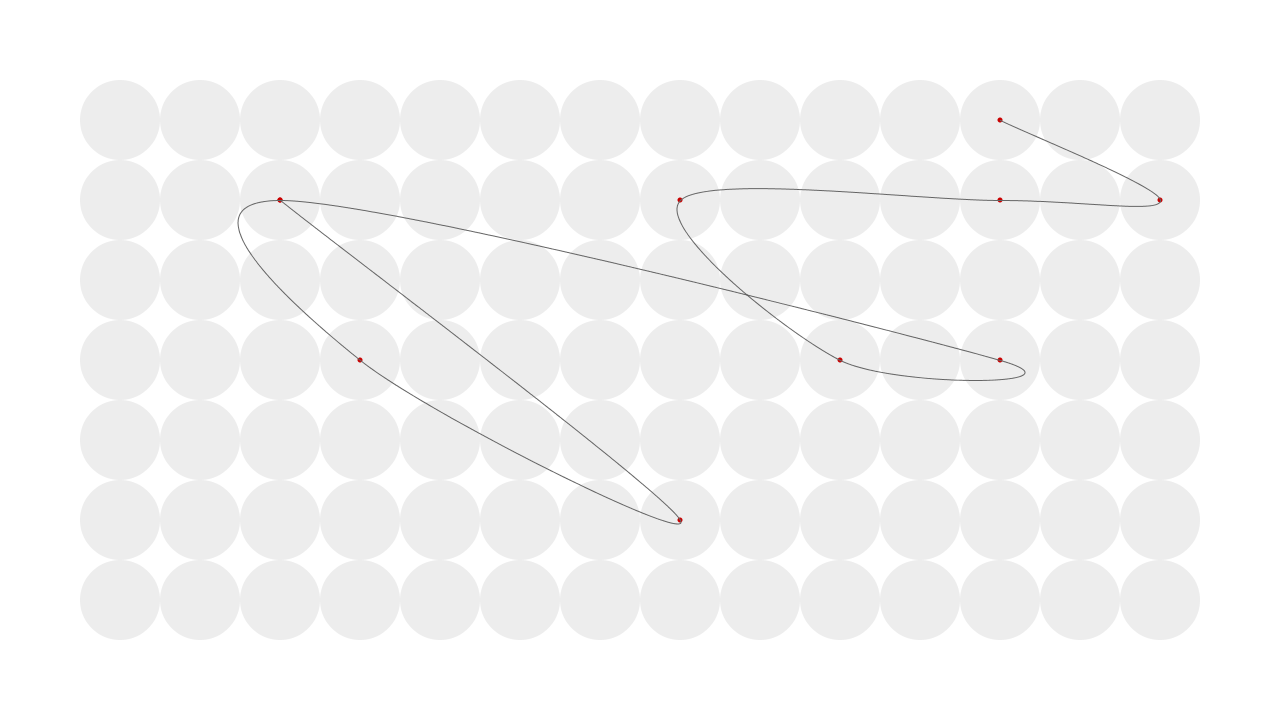
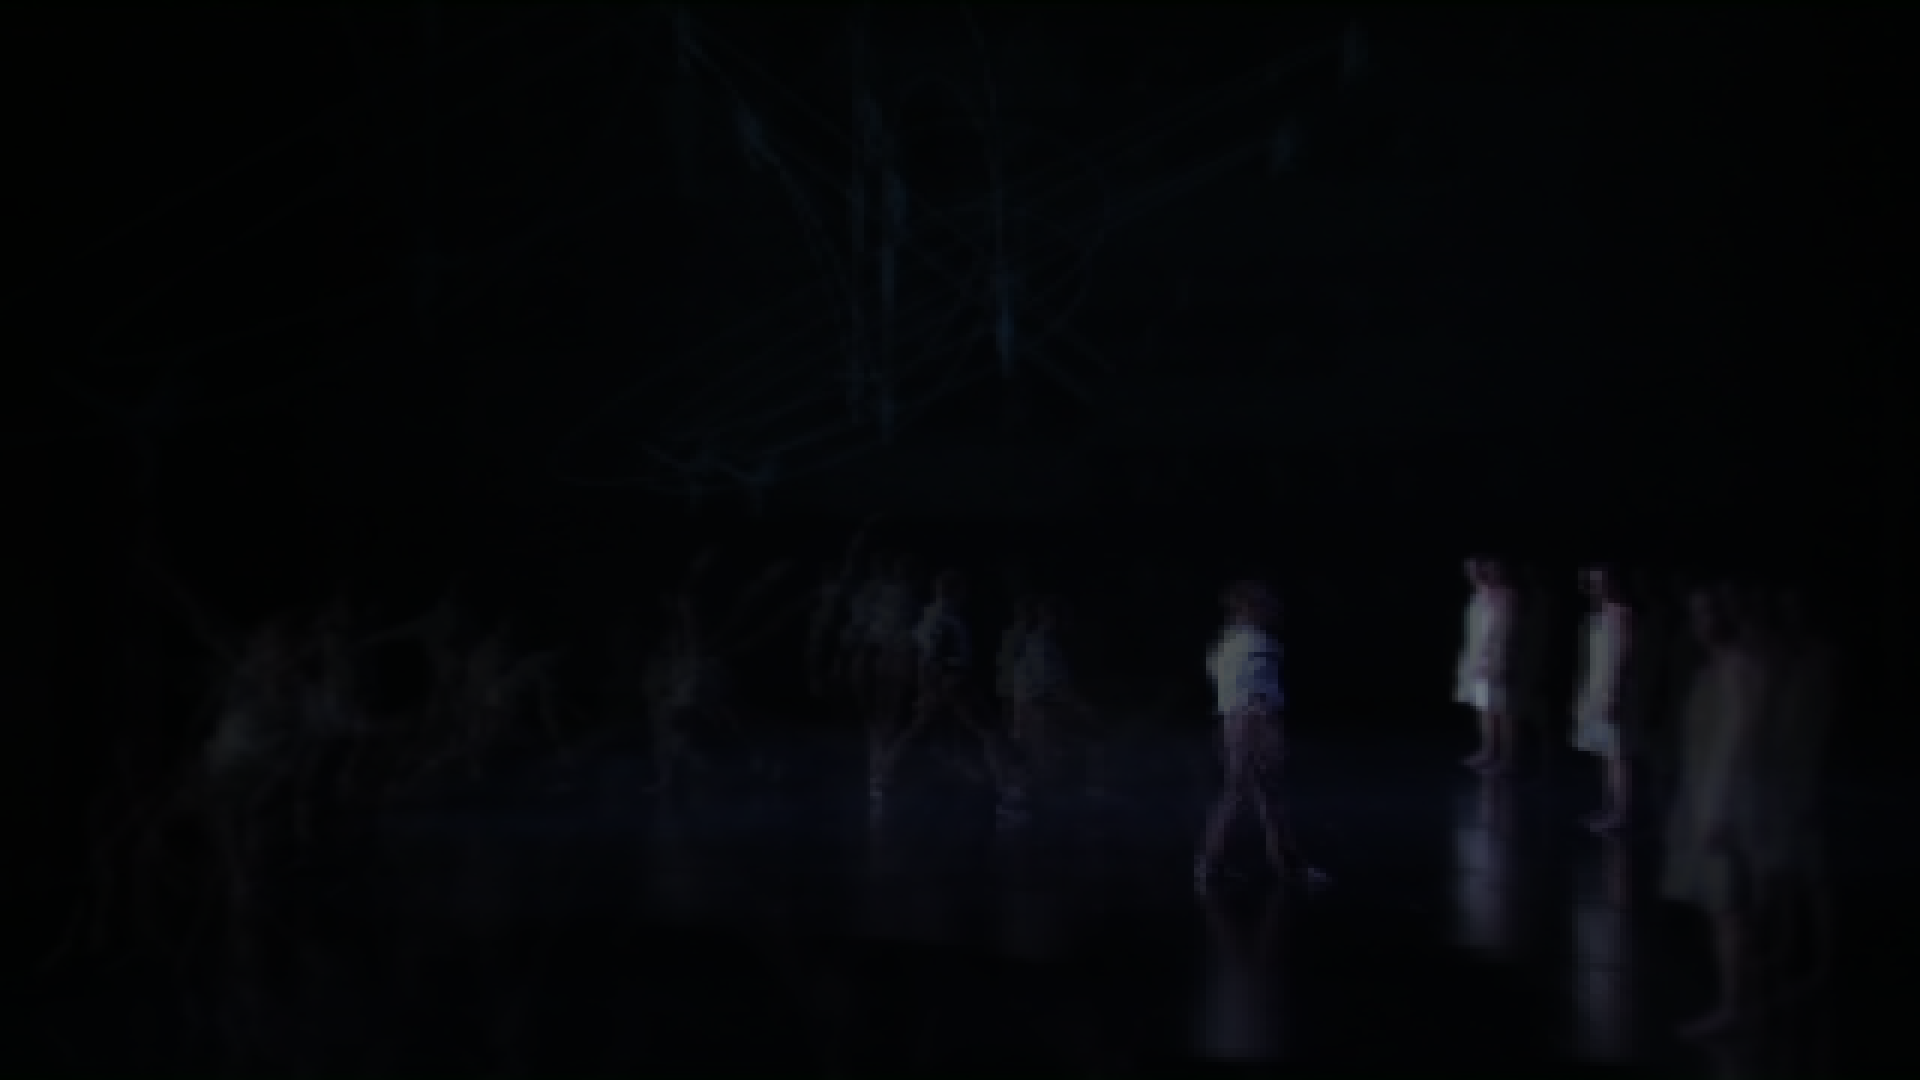
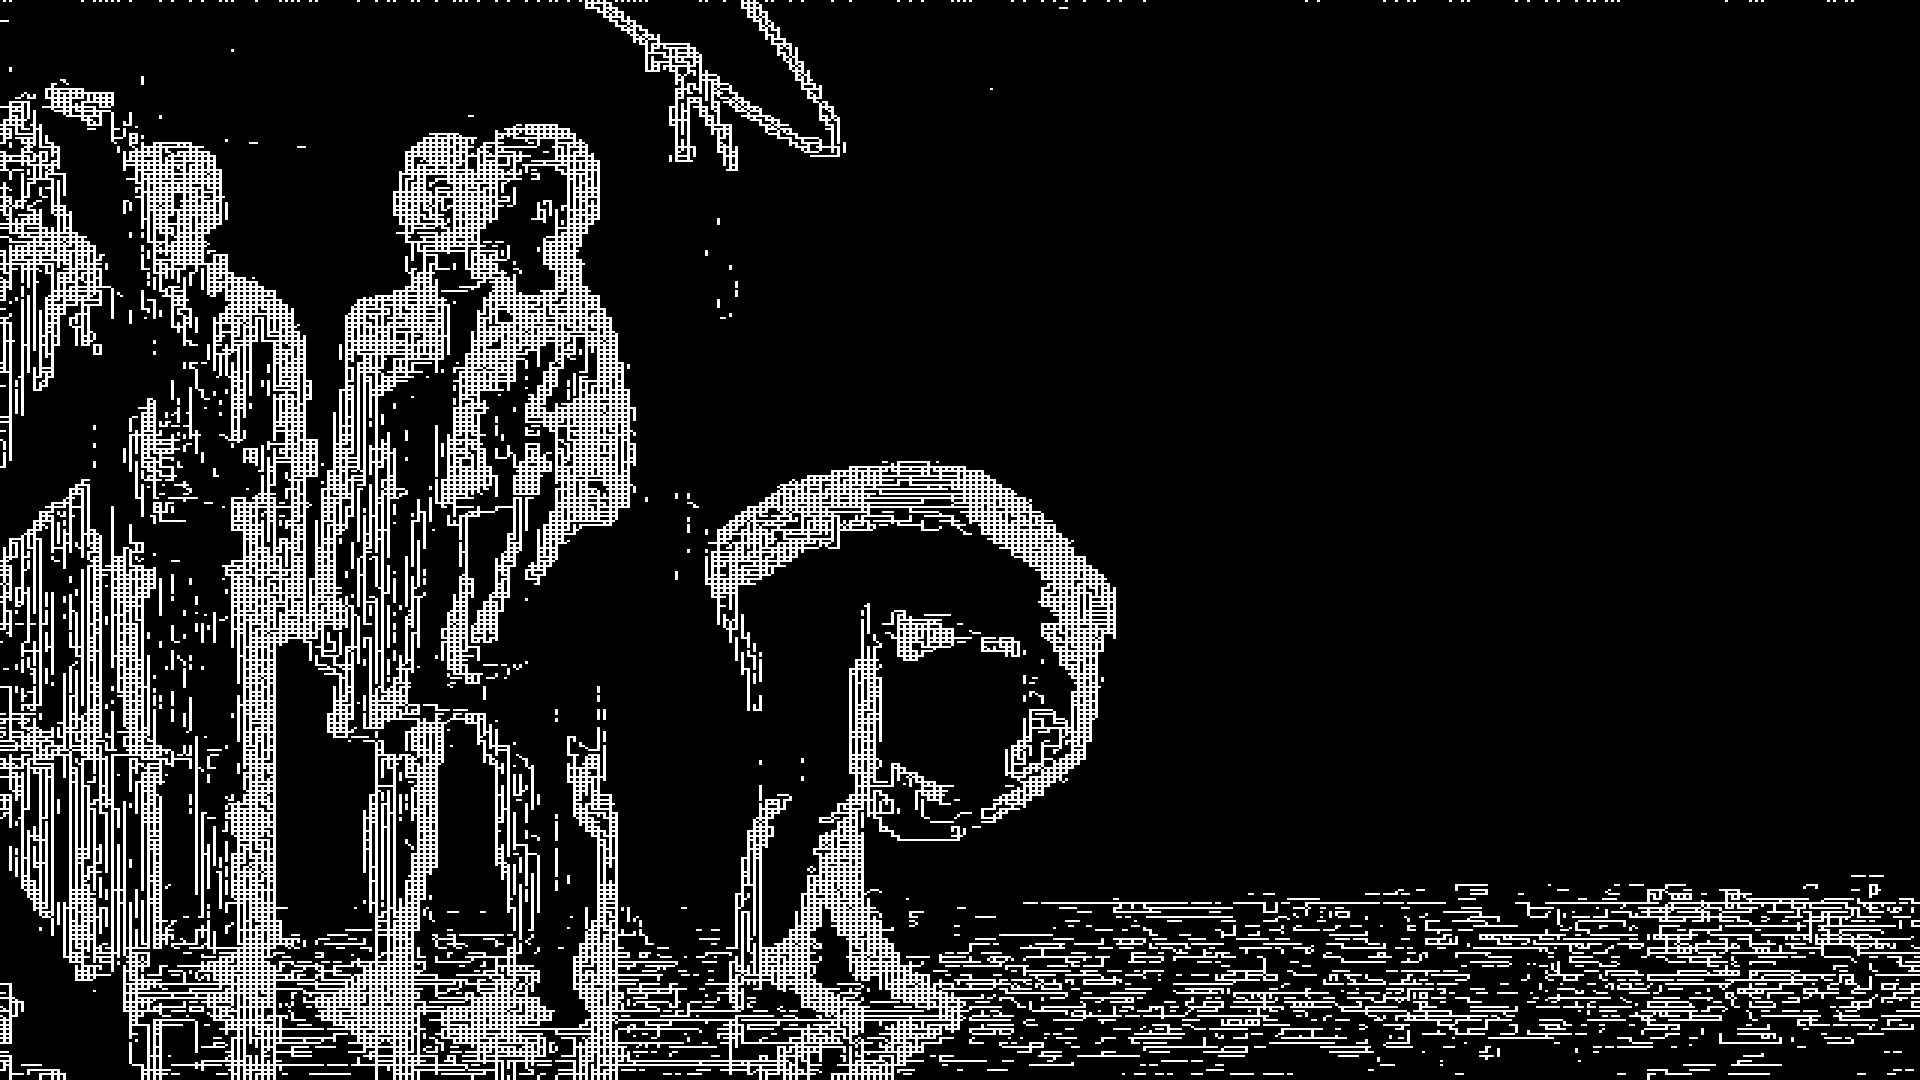
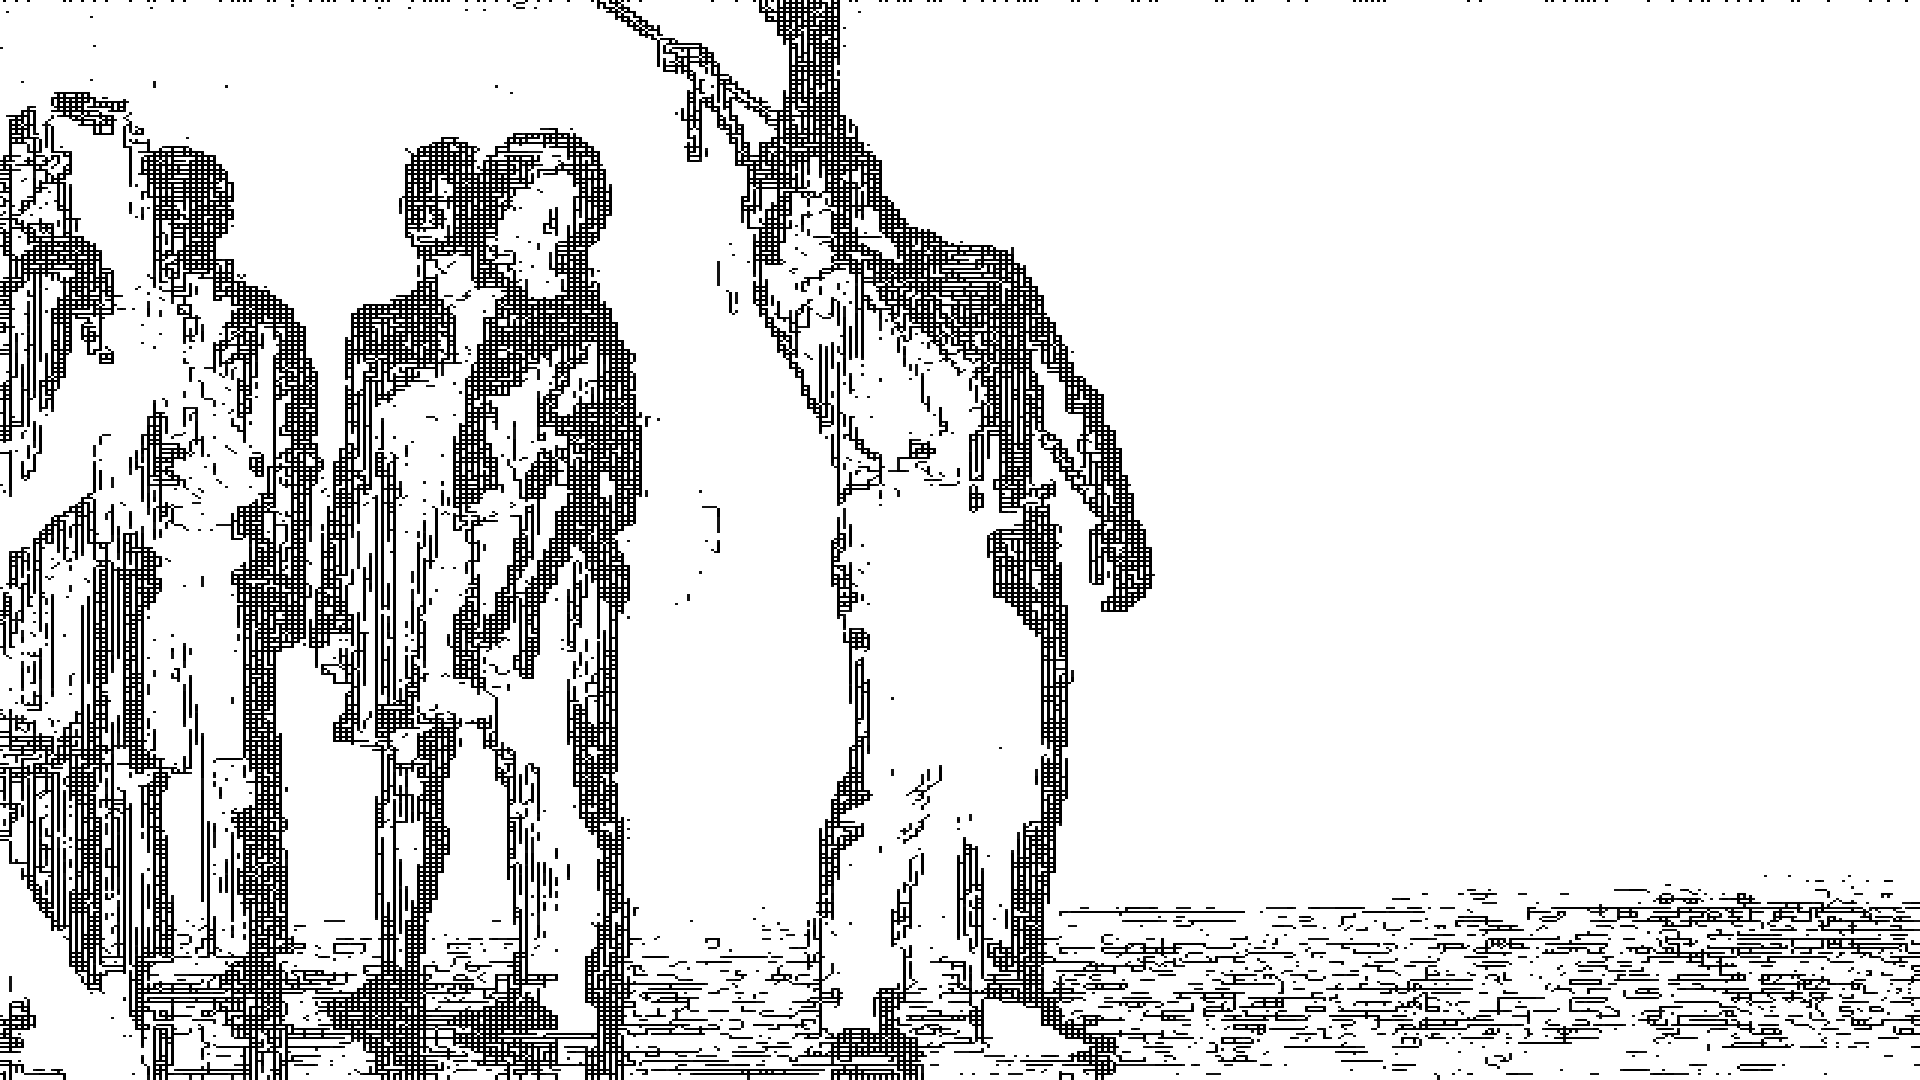
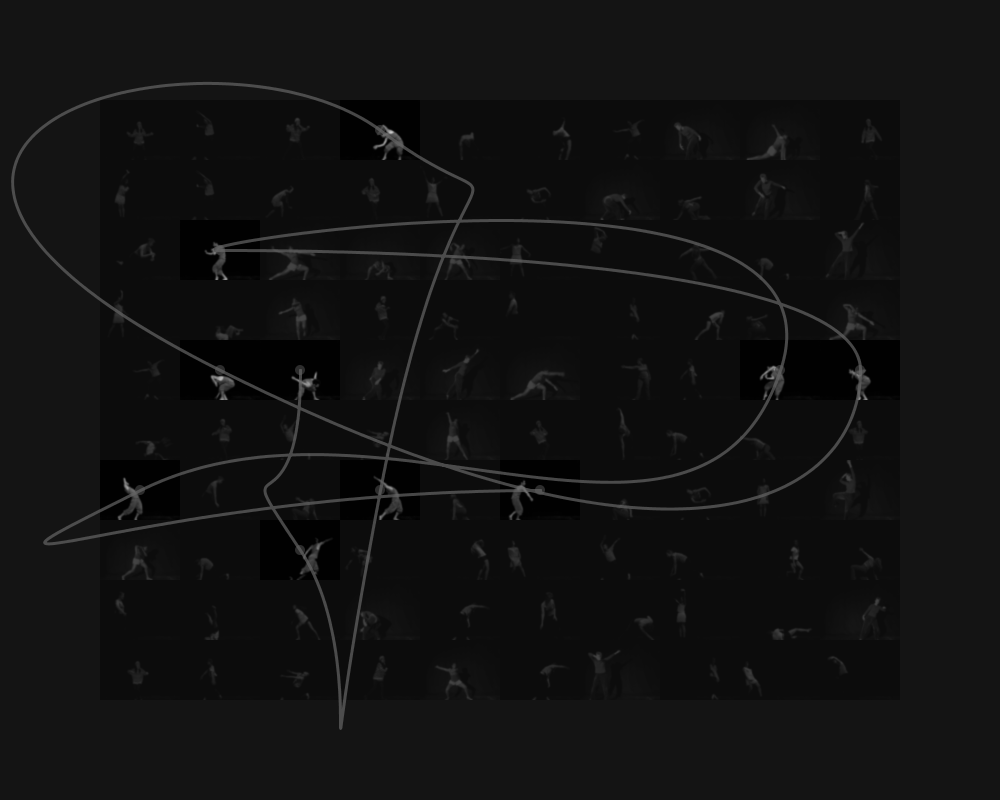
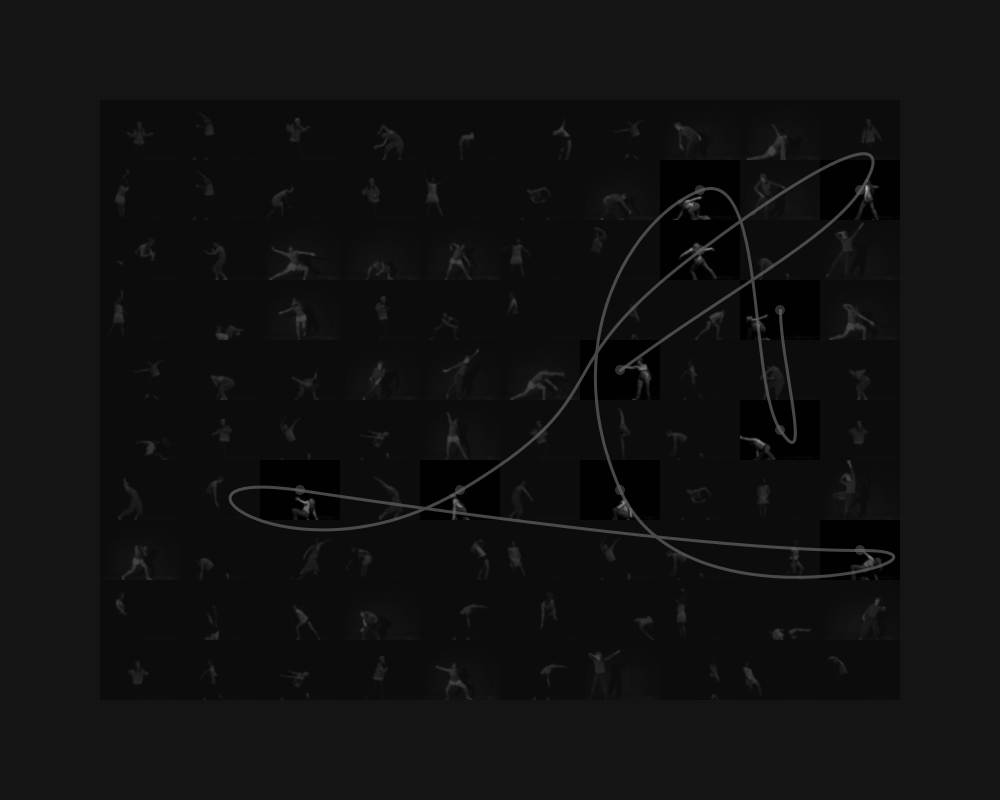
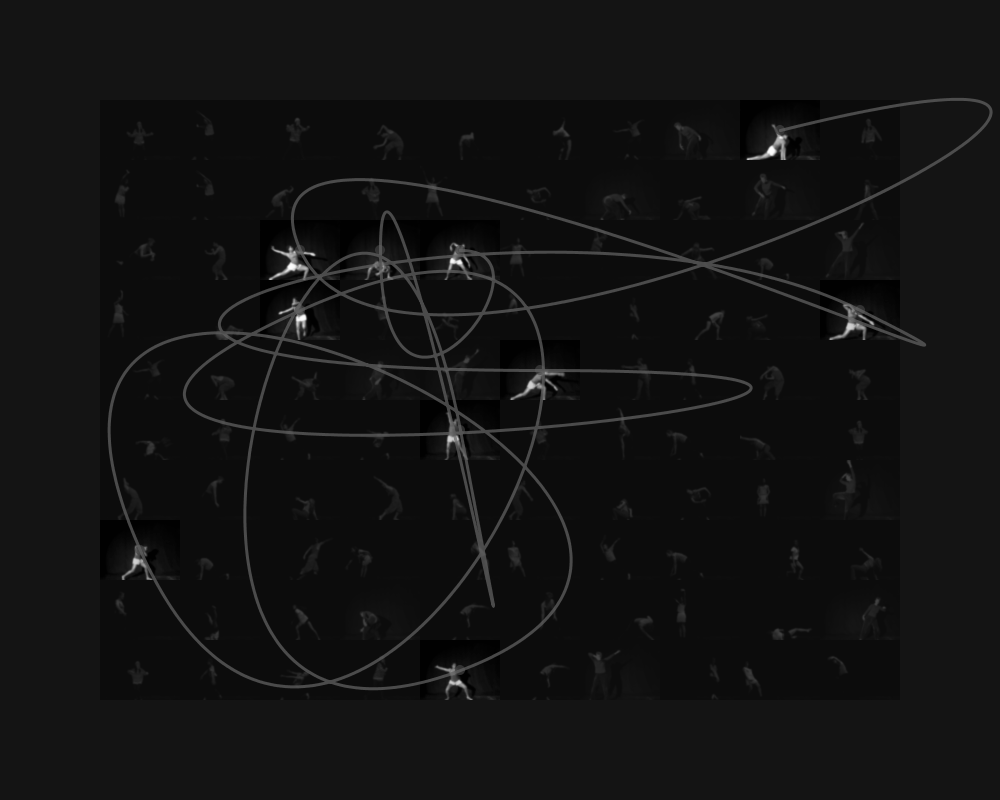
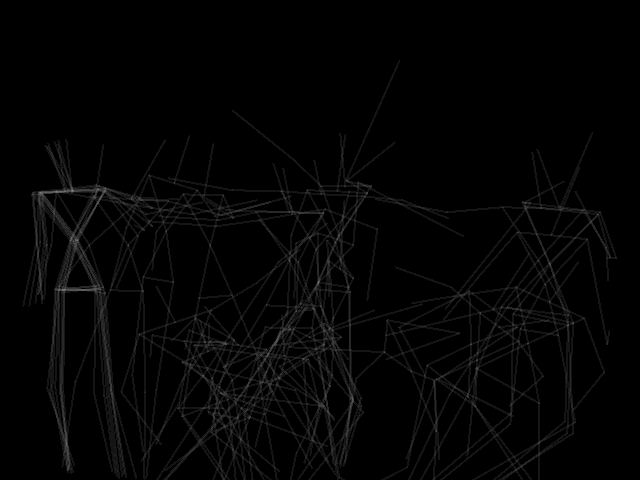
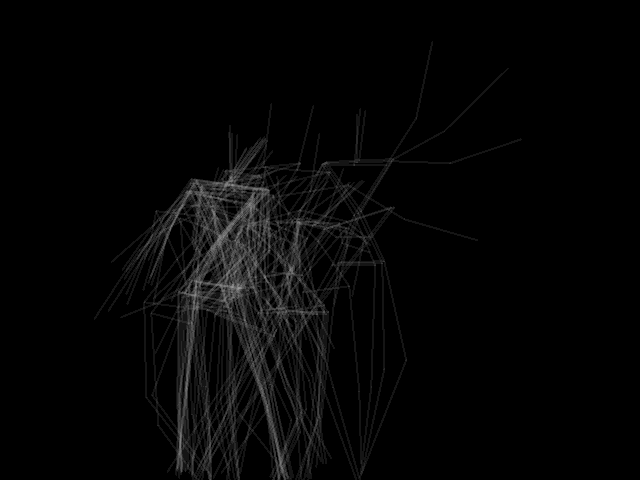
I did these a little while ago in Processing but I love them. It’s just a grid of circles and splines that connect the centers at random. (These are Catmull-Rom splines, to be precise. They’re the same thing that I used for the projections in “Hello World.”)
Viewing entries in
Processing
- Chapter 1: No real information
- Chapter 2: A tiny bit of information but no practical work
- Chapter 3: A tiny bit more information but still no practical work
- Chapter 4: A tiny bit of practical work
- Chapter 5: A little bit more practical work
- Chapter 6 (this chapter): About 1000% more complicated than all the rest of the book put together
- Chapter 7: A tiny bit of information to wrap things up
It really felt like getting thrown into the deep end. However, I finally got it to work. Here is the chronicle of my adventure:
- Copy and paste code into Arduino and Processing IDEs (because this one uses both).
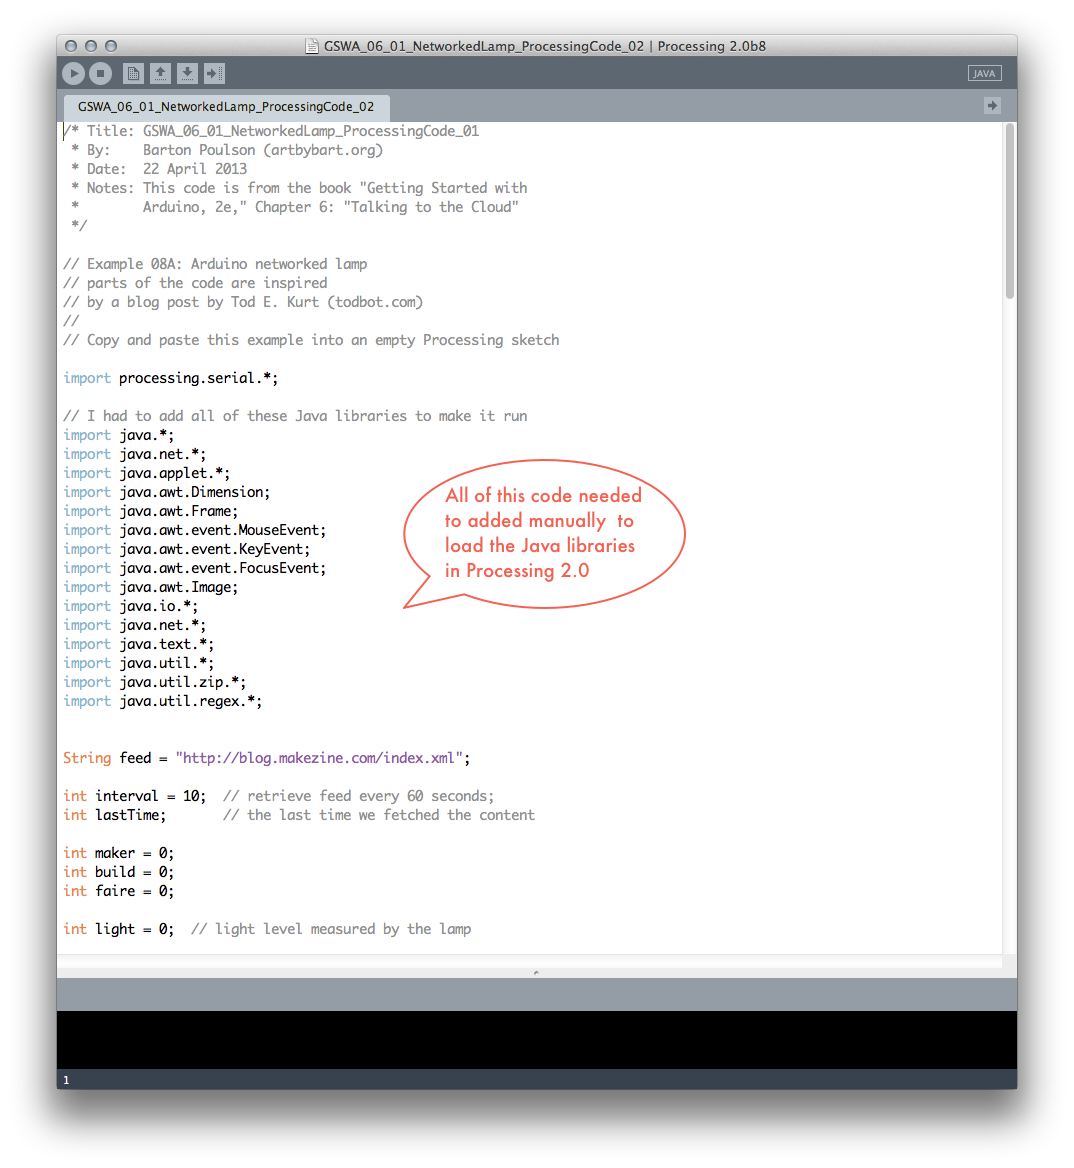
- Get intractable errors in Processing because the code was written for v. 1 and we're now in v. 2
- Spend much time searching the web, determine that all of the Java libraries must be installed manually
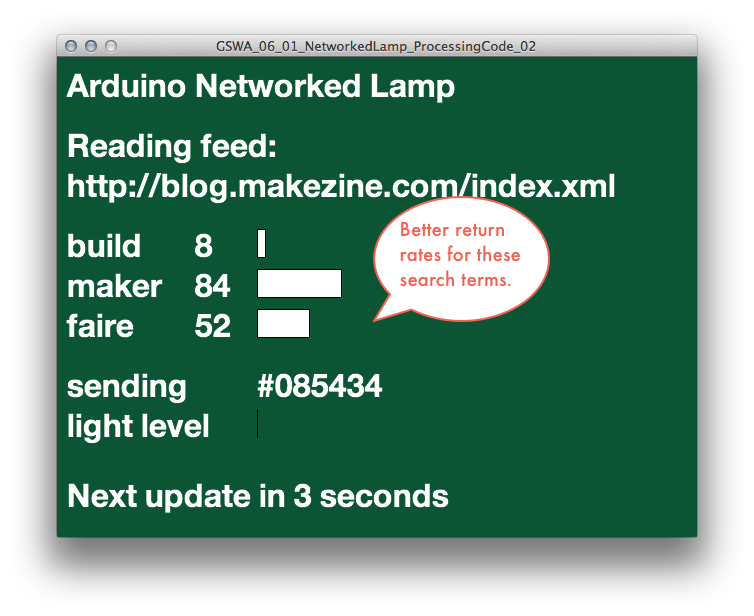
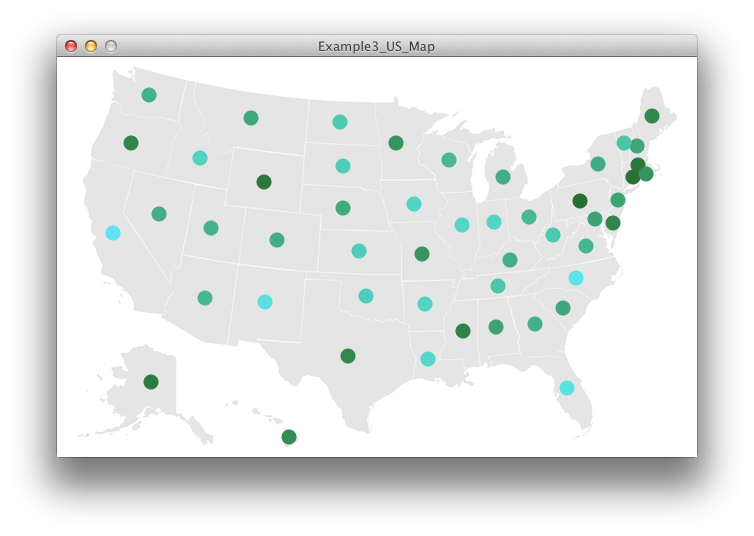
- Get the Processing code running (see first photo above) but get such miserably low numbers for output that no light would be detectable
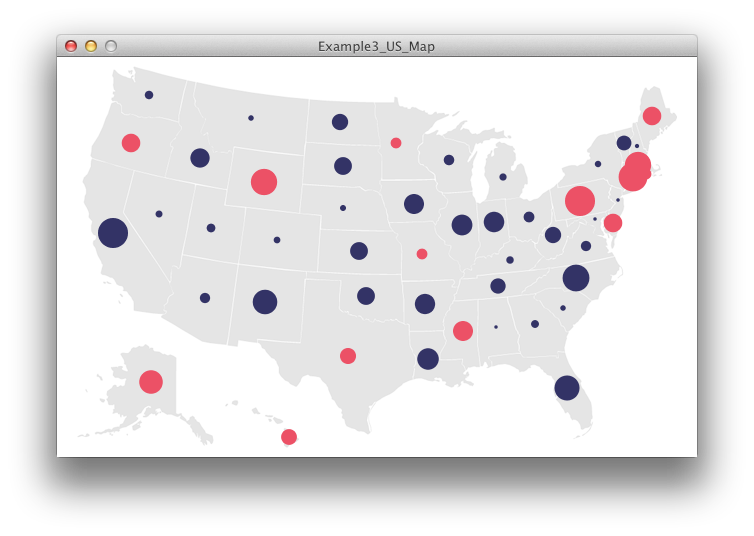
- Revise Processing code to search for more common terms with the hope to being able to see things (see second photo)
- With Processing apparently working right, turn to physical components of Arduino
- Reconstruct the physical circuit because I took it apart after three weeks (having even schlepped it around with me in a box on the bus and train from Salt Lake City to Orem)
- Plug the Arduino board in to my computer
- Have the Arduino shut off and get alarming error message from computer (see third photo)
- Spend much time fiddling with USB connection, pull out brand new, back-up Arduino board, plug it in and see that it works, recreate circuit on new board, get same problems, notice lots of heat on bottom of first board, think that I have destroyed things, fret much
- Search web for help and learn that there may be a short-circuit (without even really knowing what this would mean)
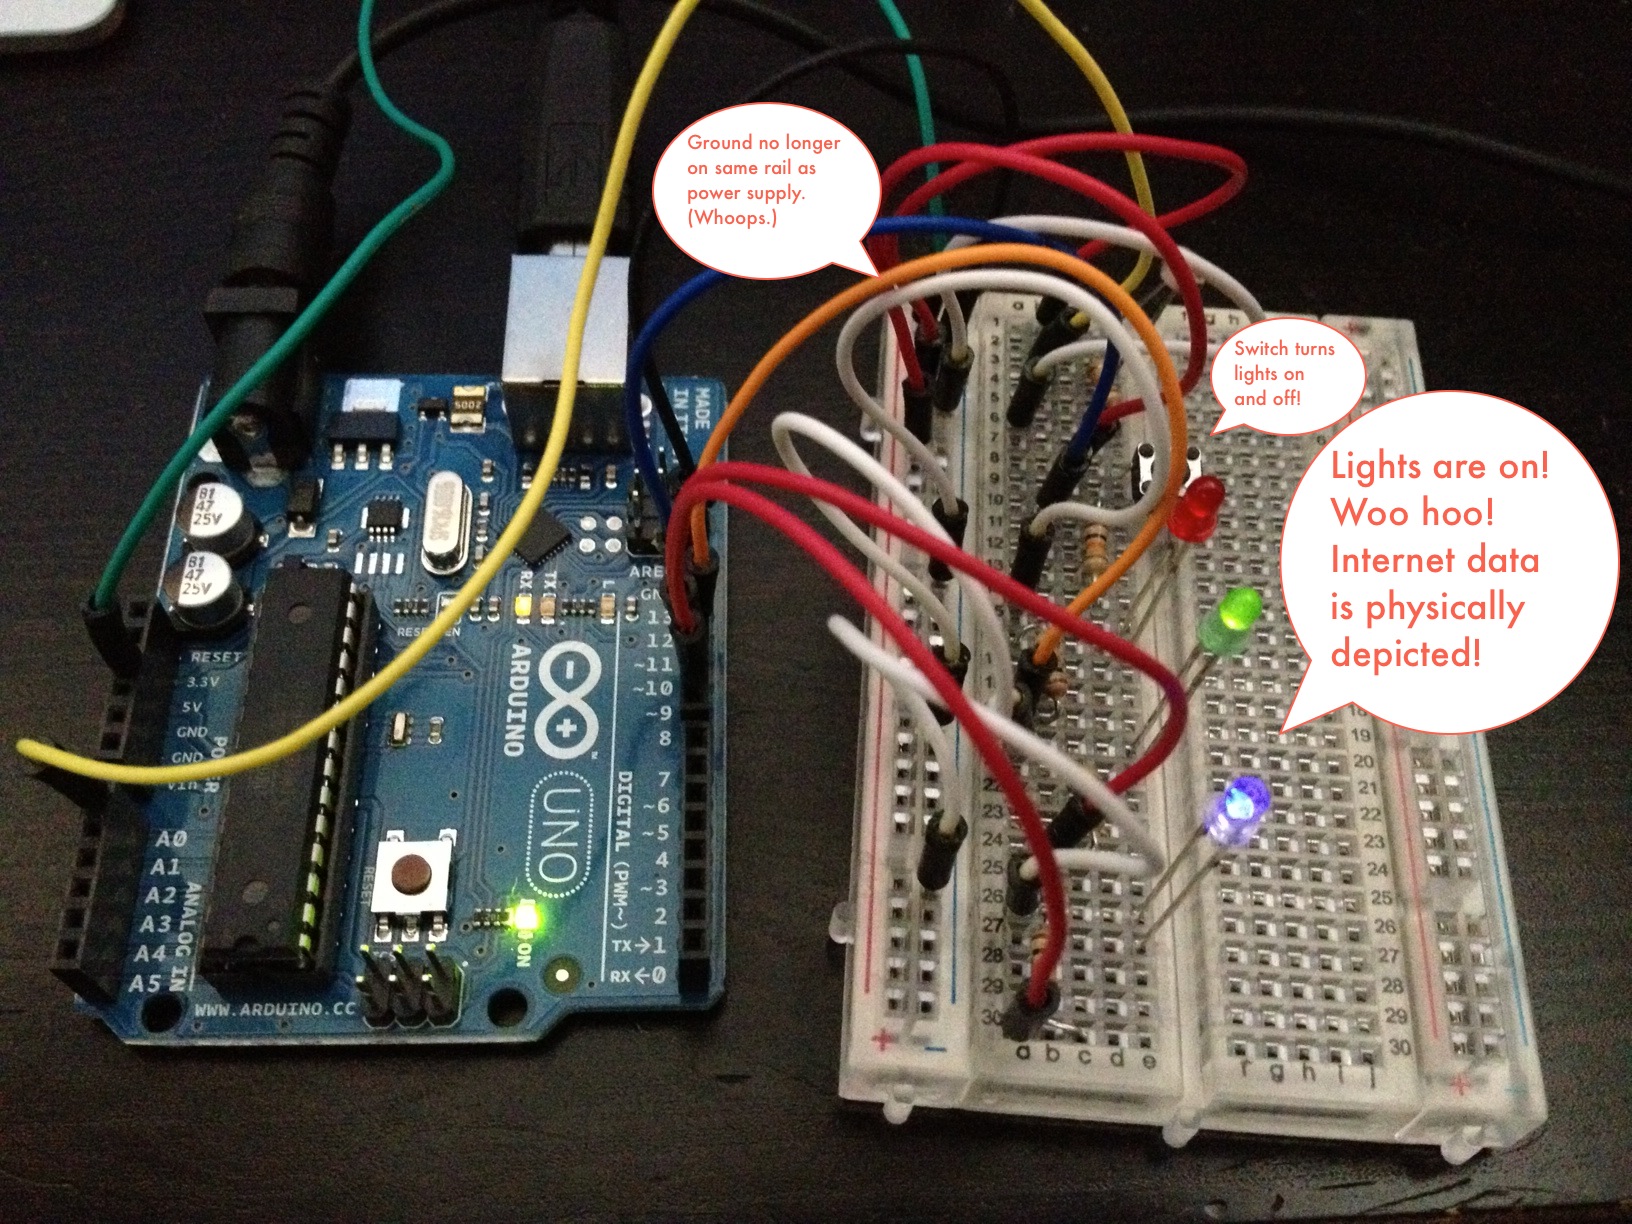
- Eventually discover that I put the ground wire on the same positive rail of the breadboard as the power. Oops.
- Put the ground wire on the negative rail (the way the illustration told me to do it in the first place), board powers up, problem solved.
- Back to Arduino IDE, compile and upload sketch, have lights blink to indicate successful upload, but see nothing happening with LEDs
- Mess around with light sensor and the button on the breadboard to no effect
- Check the serial monitor in Arduino and see a steady stream of strange data that is absolutely not in the right format
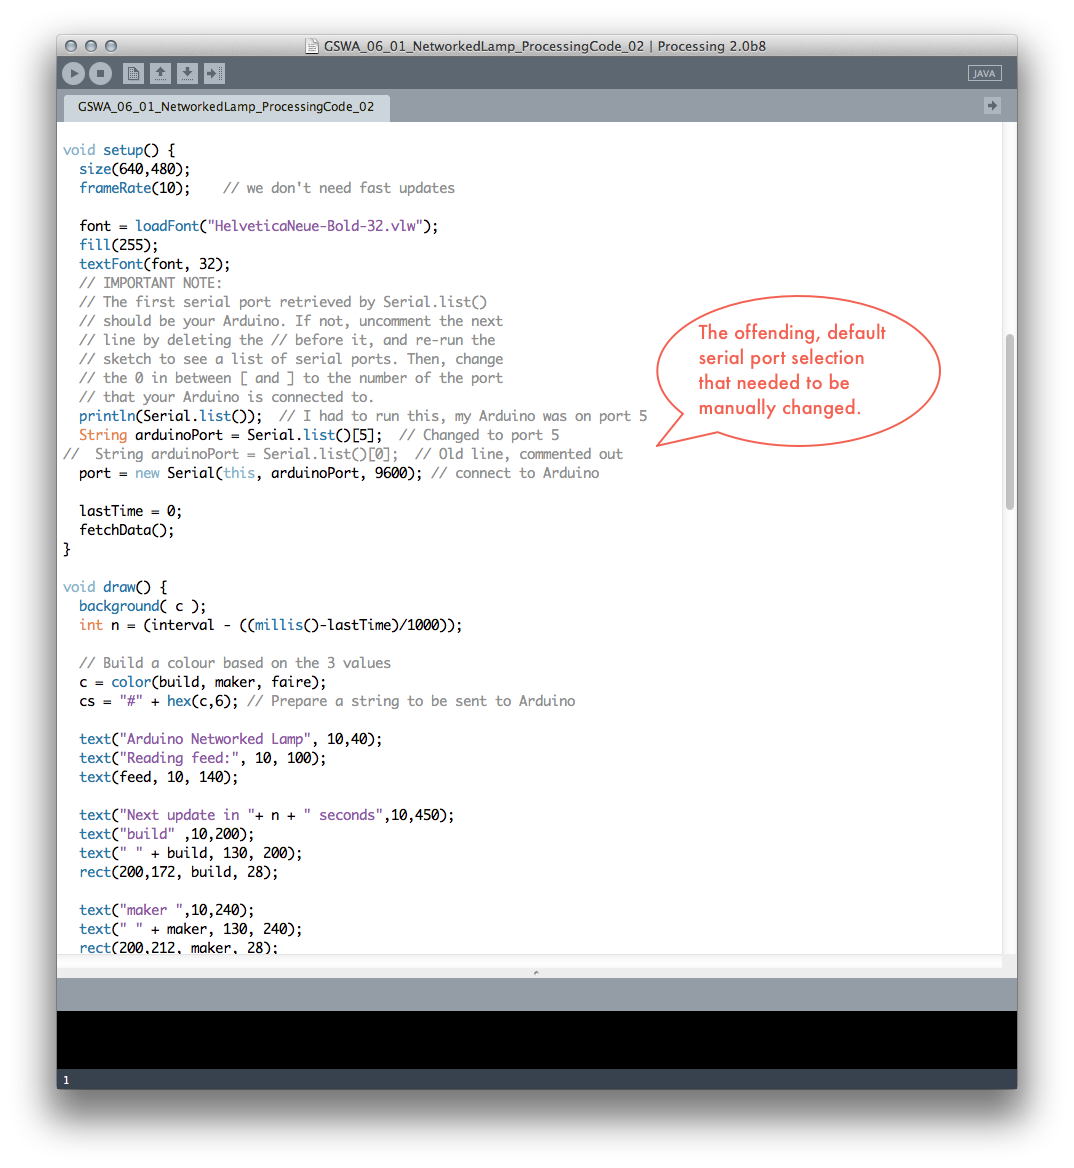
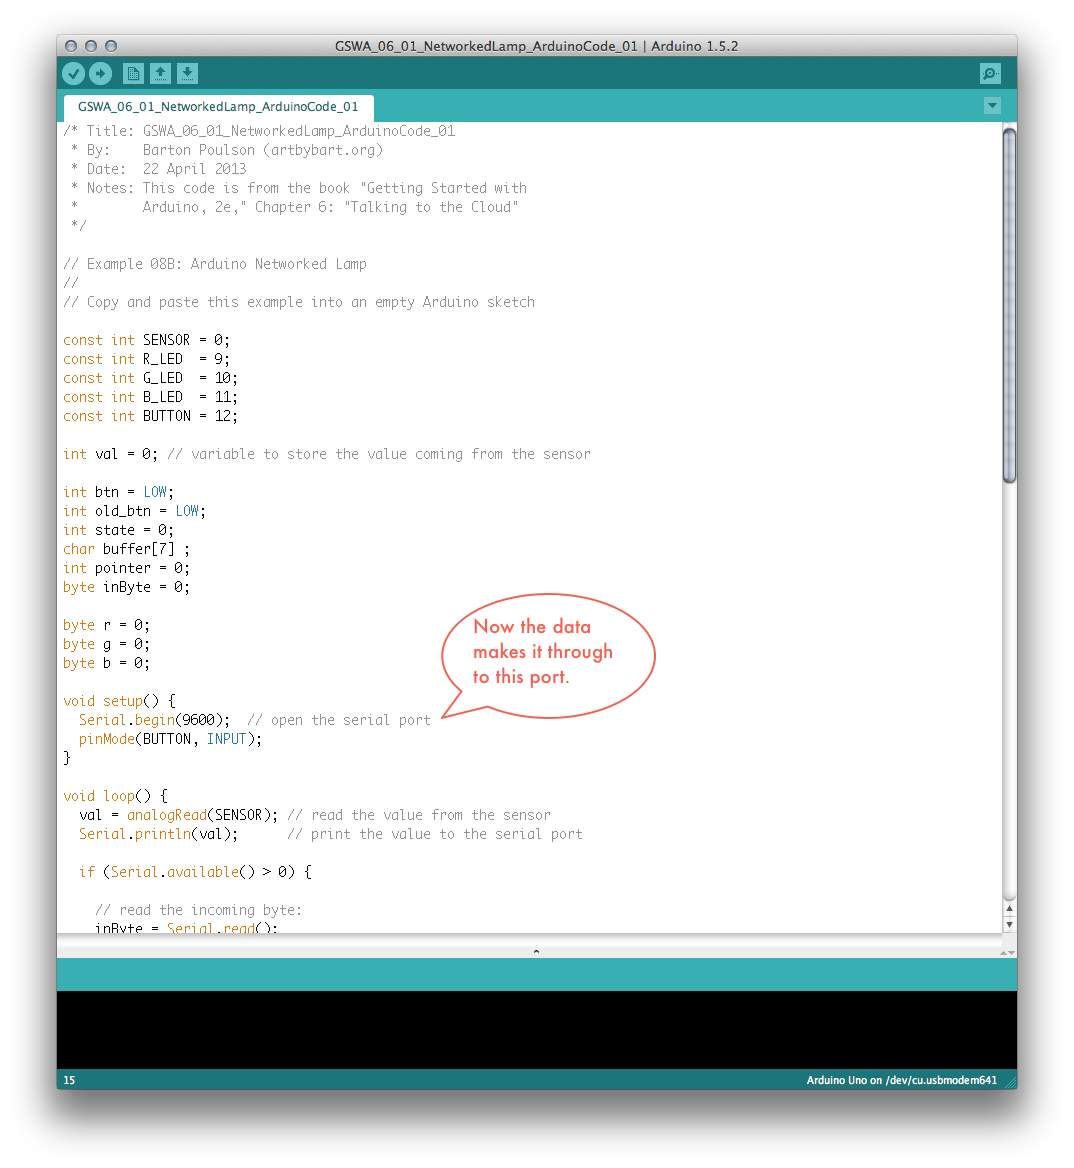
- Read book again, see "important message" about serial port selection
- Go back to Processing, uncomment code that lists serial port connects and find that my Arduino is connected to port 5 and not the expected port 0
- Change port in Processing, rerun sketch, and suddenly see much blinking on Arduino board
- LEDs light up! Button turns them on and off! Success! (See last, triumphant photo above)
Okay, that was not fun but I was convinced that I would never make it work so I feel very, very happy now. And I already finished chapter 7 (although I haven't yet posted it to this web page because I'm an extremely linear guy), so I'll post this chapter, post that one, and then try to do a small, creative project (which I have been planning – more or less – for a few weeks), and call it quits. But here we go for now!
Completed:
- Getting Started with Arduino, 2e, Ch. 6: Talking to the Cloud (1 exercise – but a really, really big one)
- Sketches (i.e., code) can be downloaded from http://db.tt/f6x9Q4NA
Related articles
- Getting Online with Arduino: Round Up of Devices (hackthings.com)
- Facebook counter - How many Likes to your facebook fanpage? (open-electronics.org)
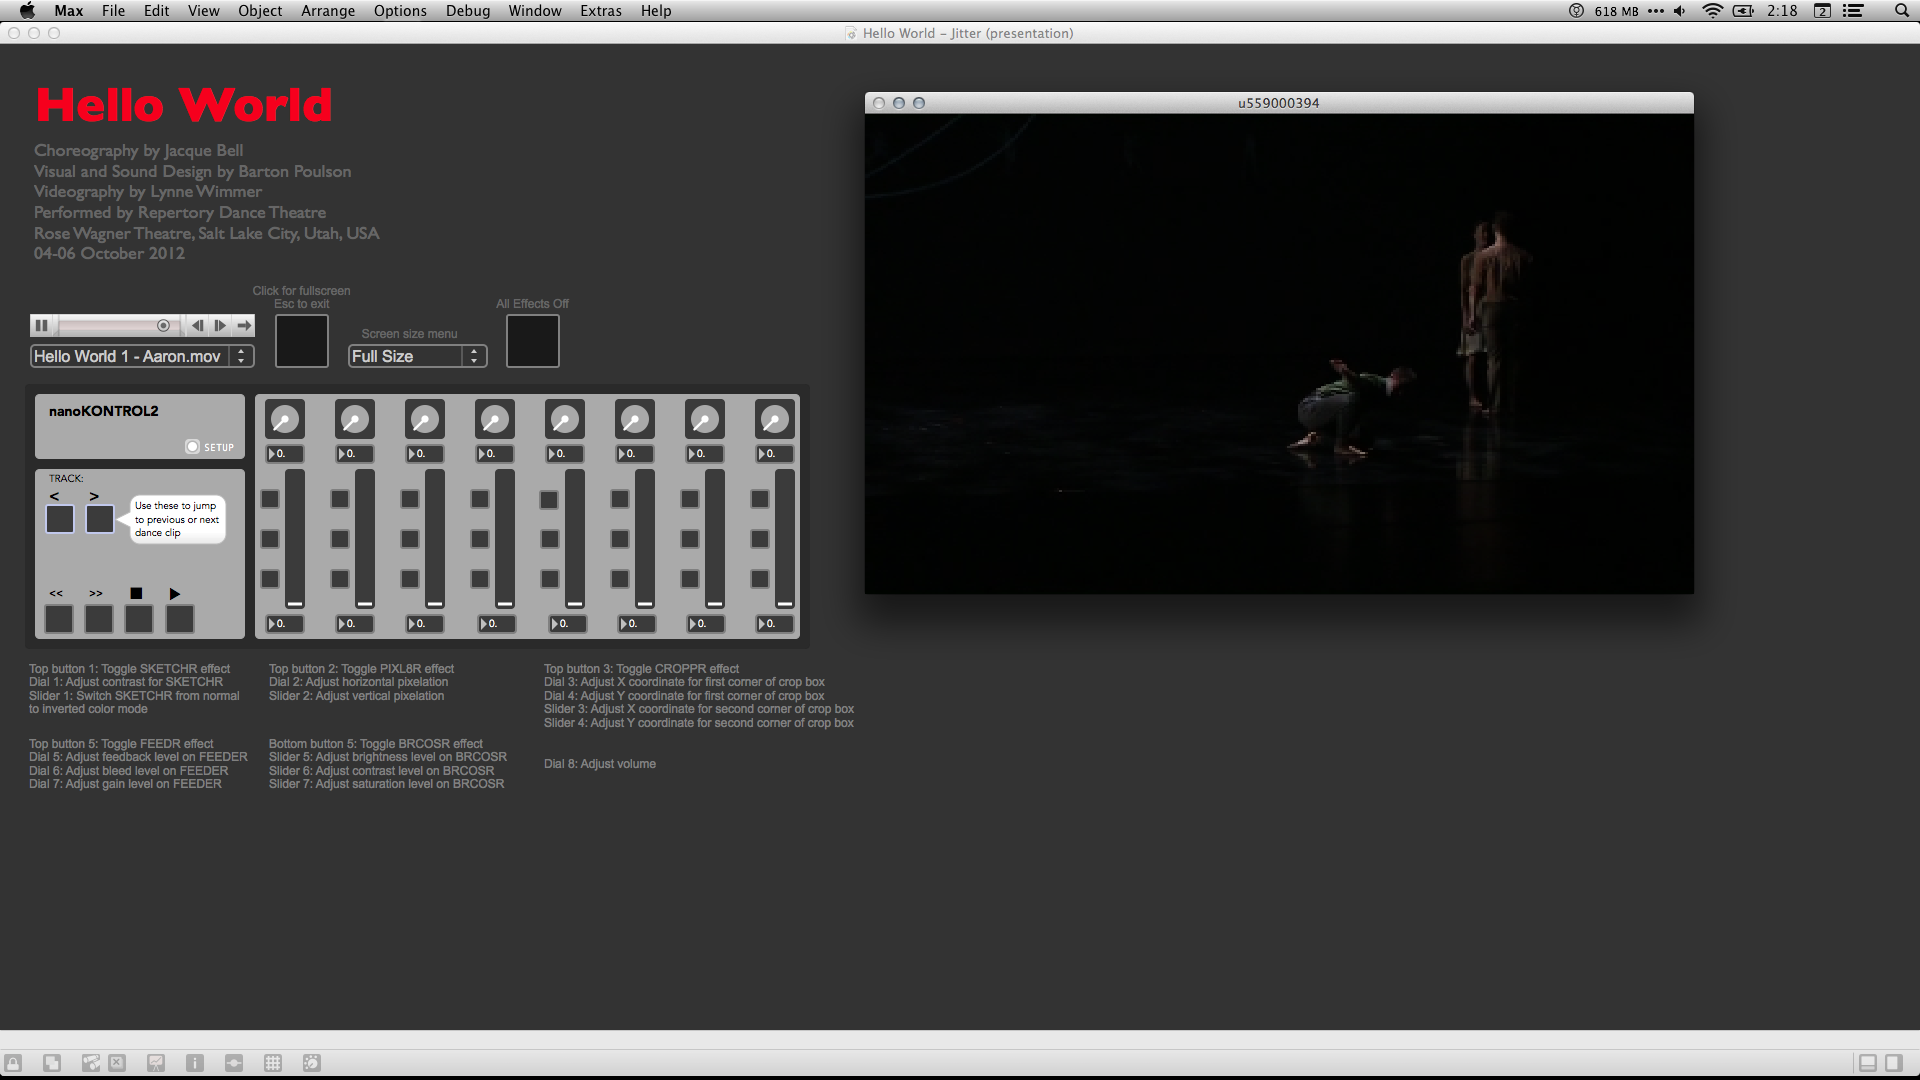
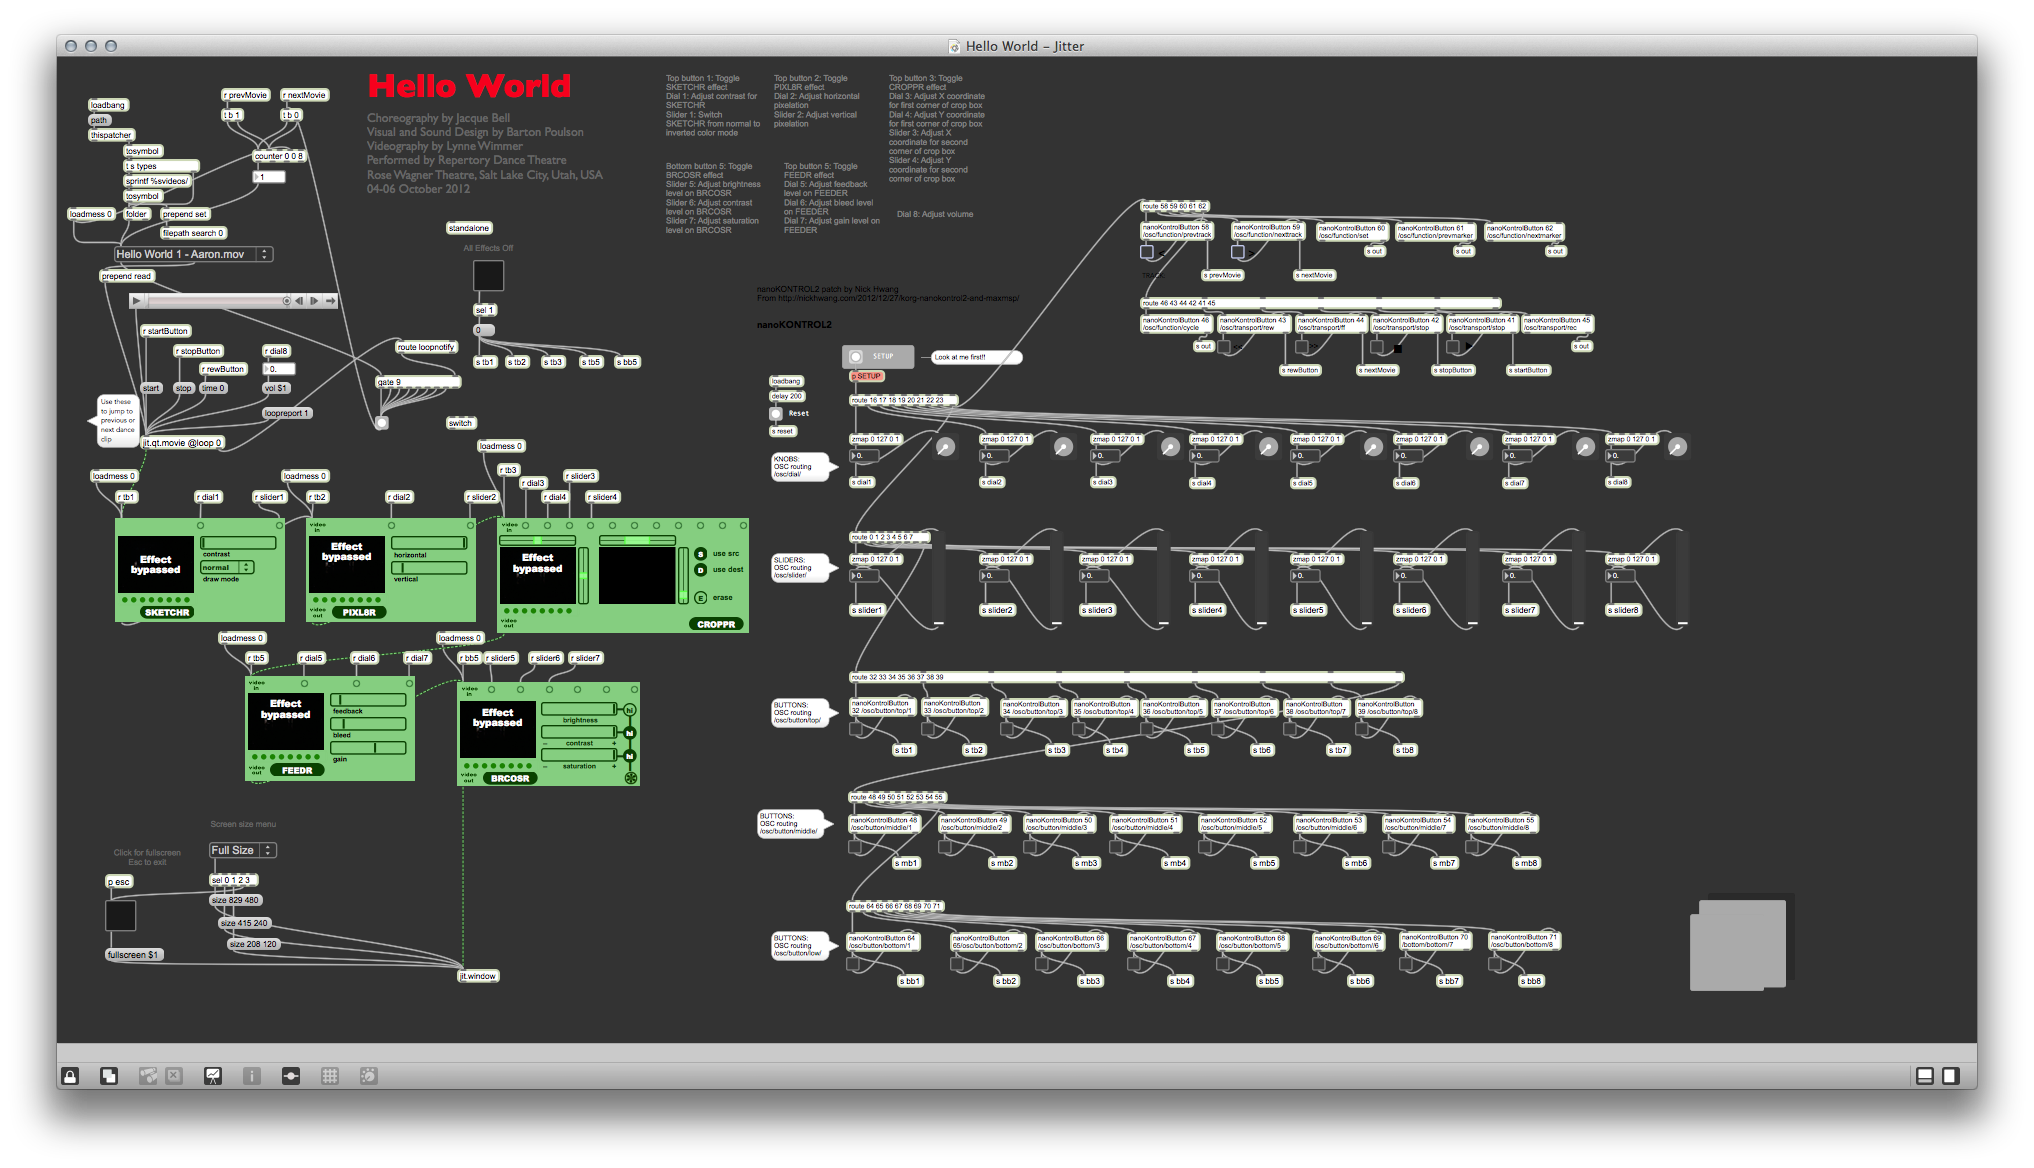
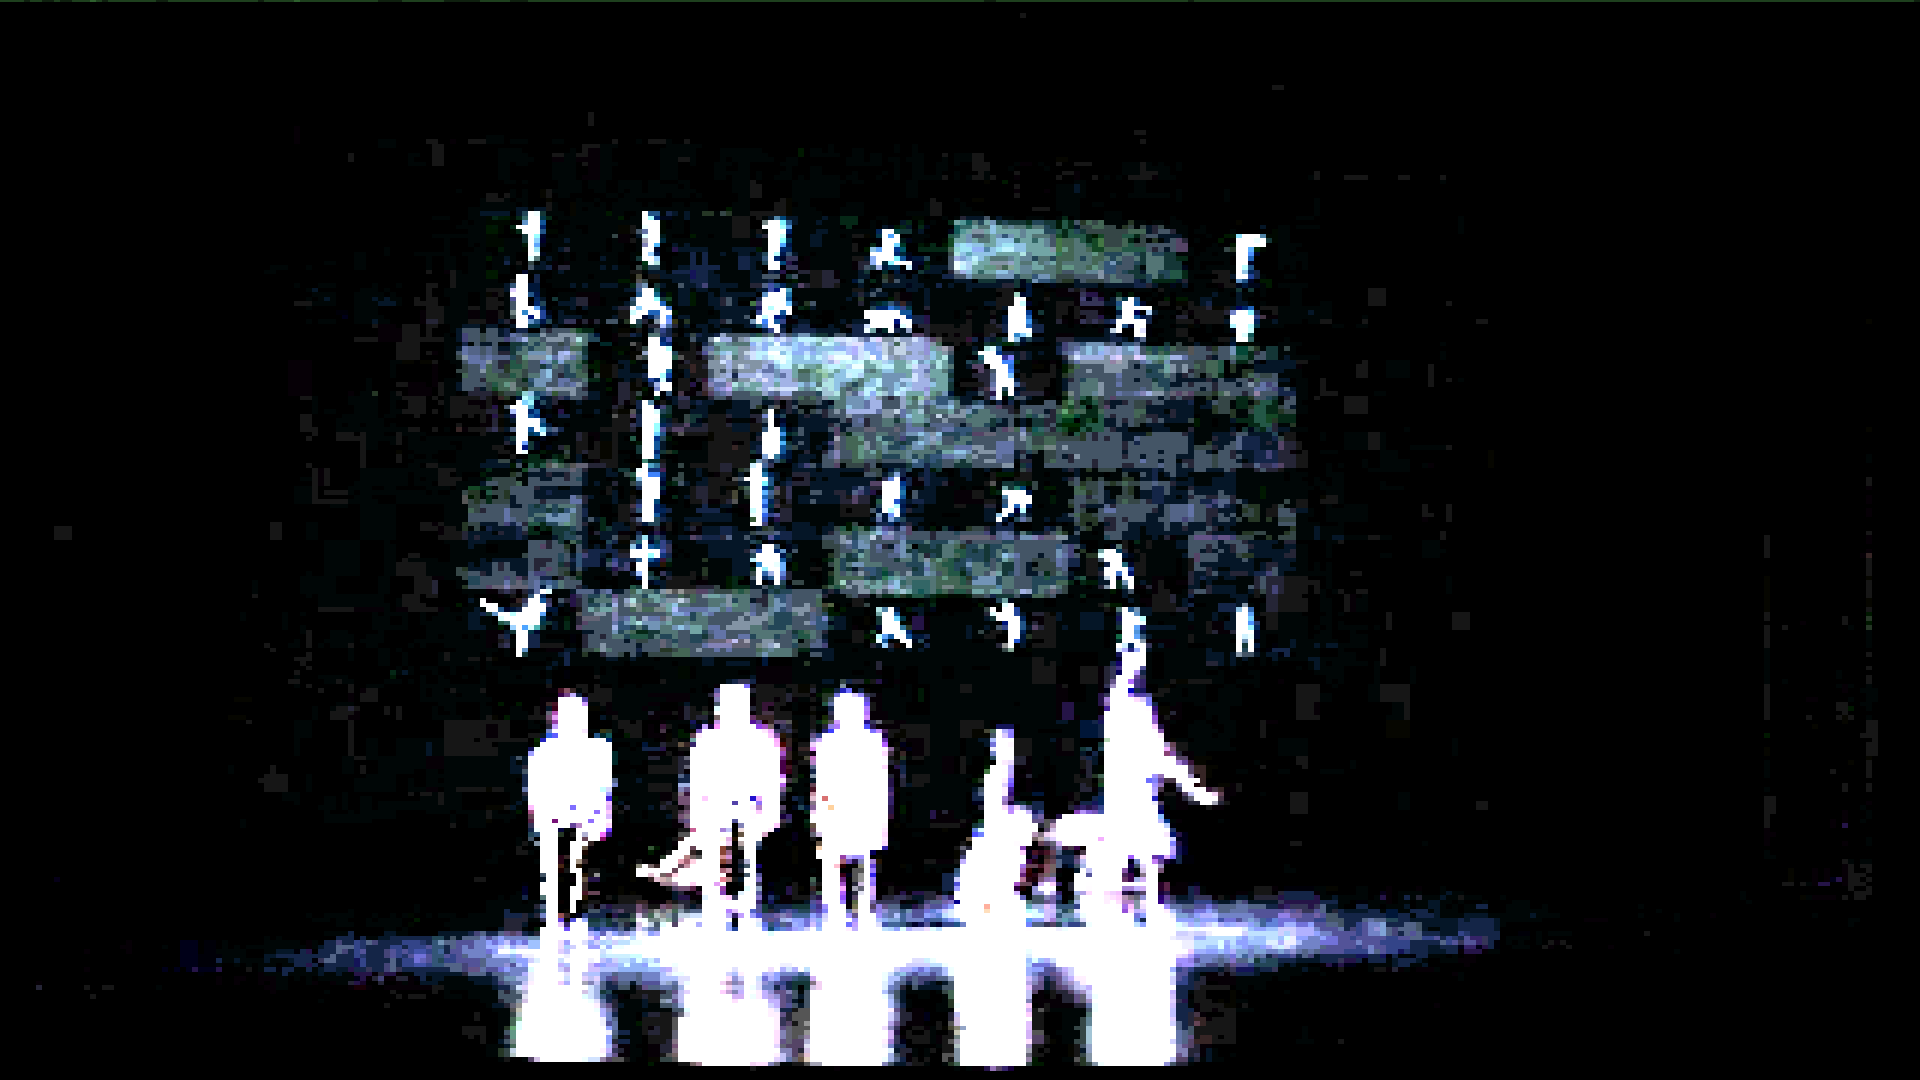
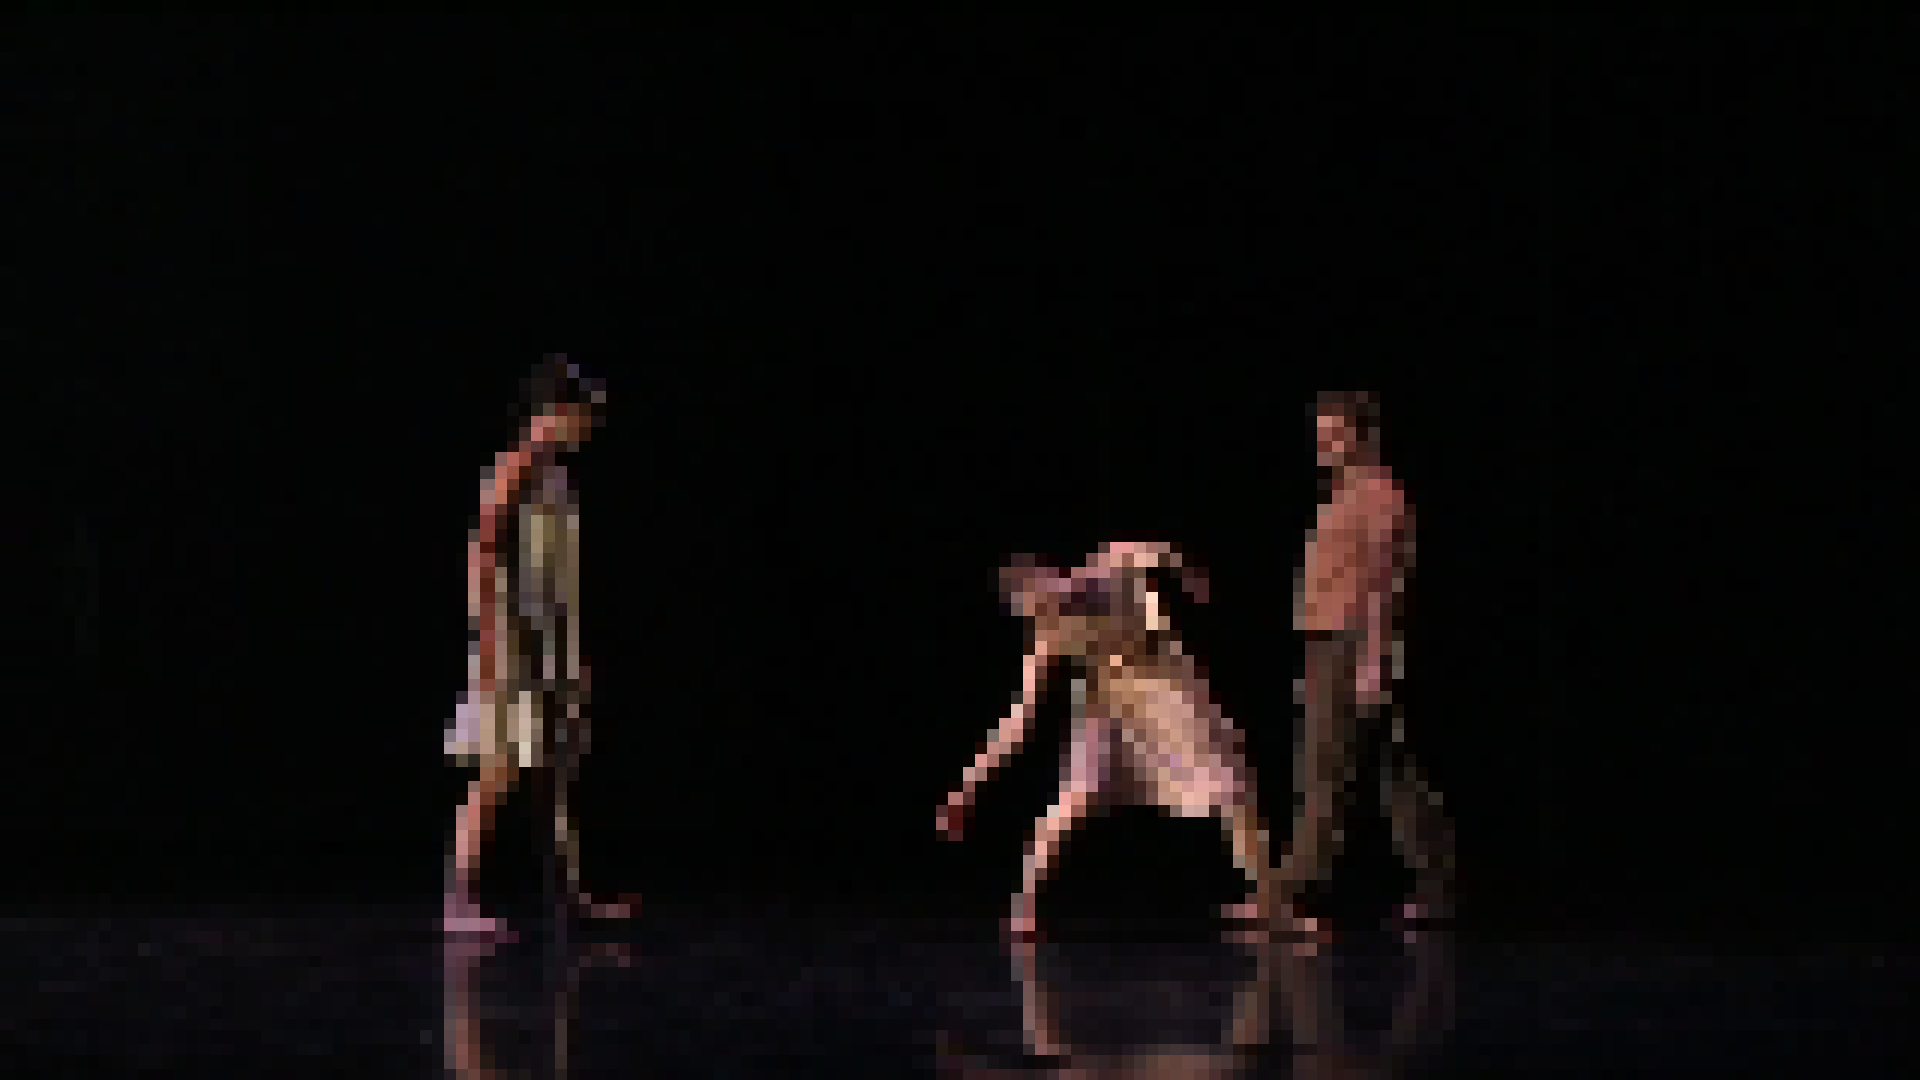
I did two major things for this Jitter project:
- Worked with several different visual effects within Jitter (as facilitated by the Vizzie modules); and
- Experimented with using a hardware controller – a Korg nanoKONTROL2, in this case – to manipulate video in real time.
Overall, it was a lot of fun and I think there's a lot of potential there. I'll spend the next several months learning ways to work out the kinks in the patch, as not everything worked reliably, and learning how to use other hardware, such as my Kinects, Novation Launchpads, Akai APC40 and 20, KMI Softstep and QuNeo, as well as the projectors, etc. (That's the nice thing about grant money – you can get some excellent gear!)
The major lesson is that it is much, much, much easier to do a lot of this in Max/MSP/Jitter than it is in Processing, which is what I have been using for the last two or three years. The programming is easier, the performance seems to be much smoother, and the hardware integration is way, way easier. (I find it curious, though, that there are hardly any books written about Max/MSP/Jitter, while there are at least a dozen fabulous books about Processing. Go figure.)
I've included a few still shots at the top of this post and a rather lengthy walk-through of the patch (where not much seems to be working right at the moment...) below.
[youtube=http://youtu.be/NR_mlAQUipM]
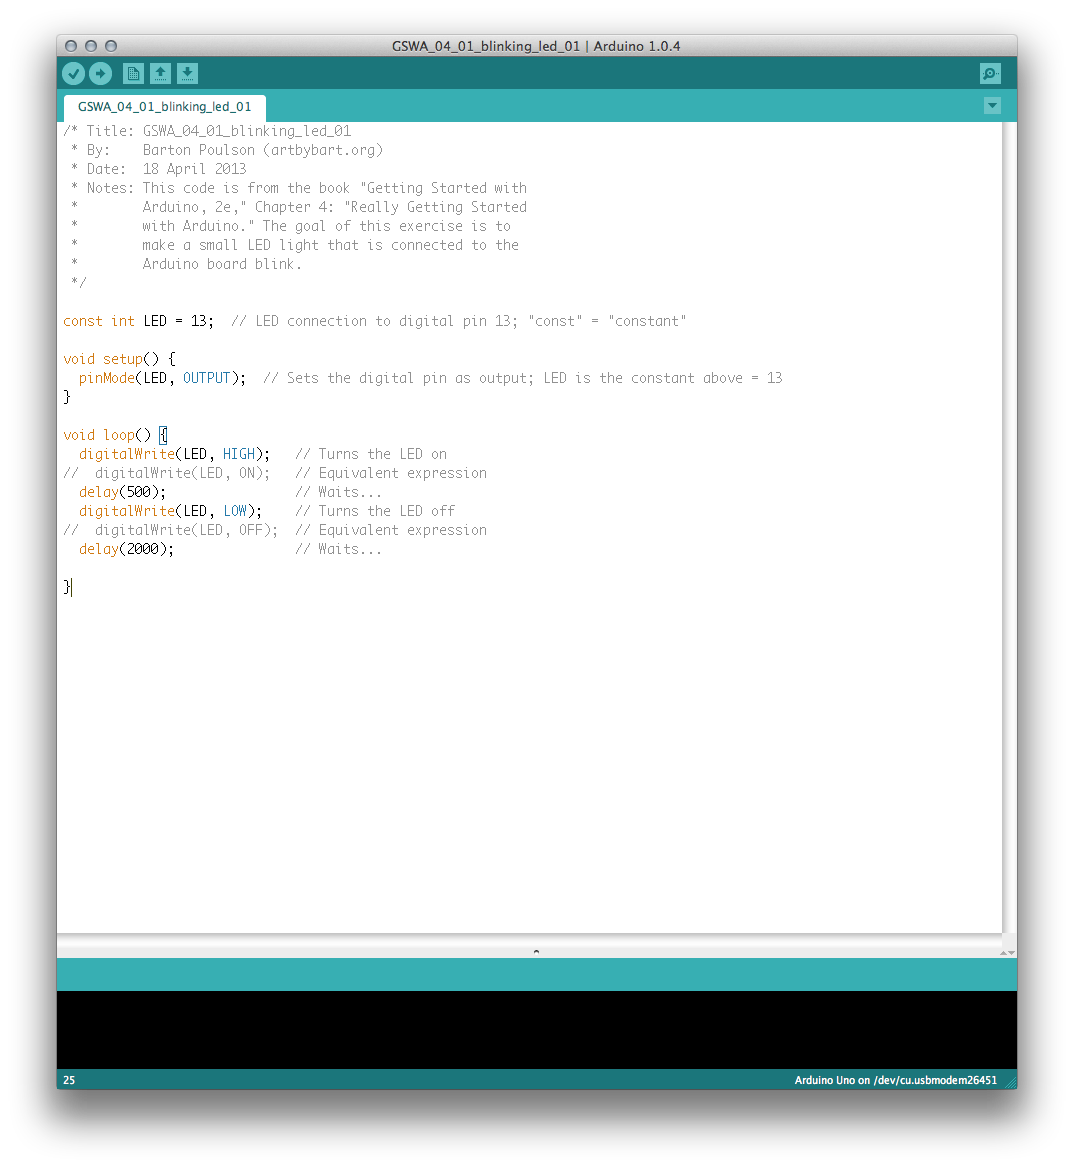
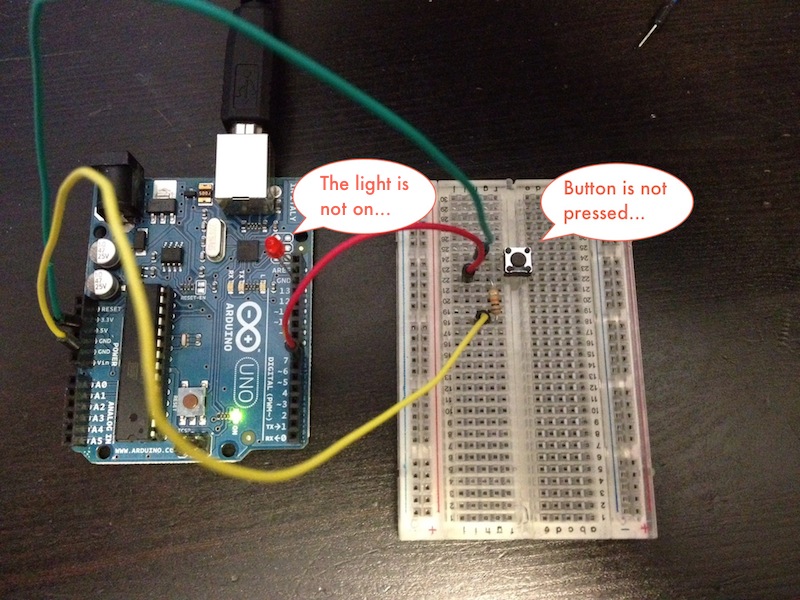
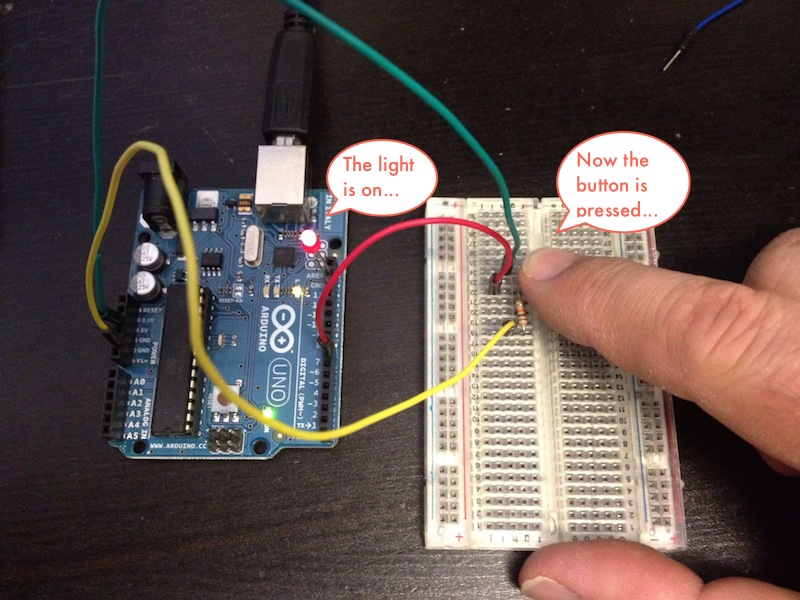
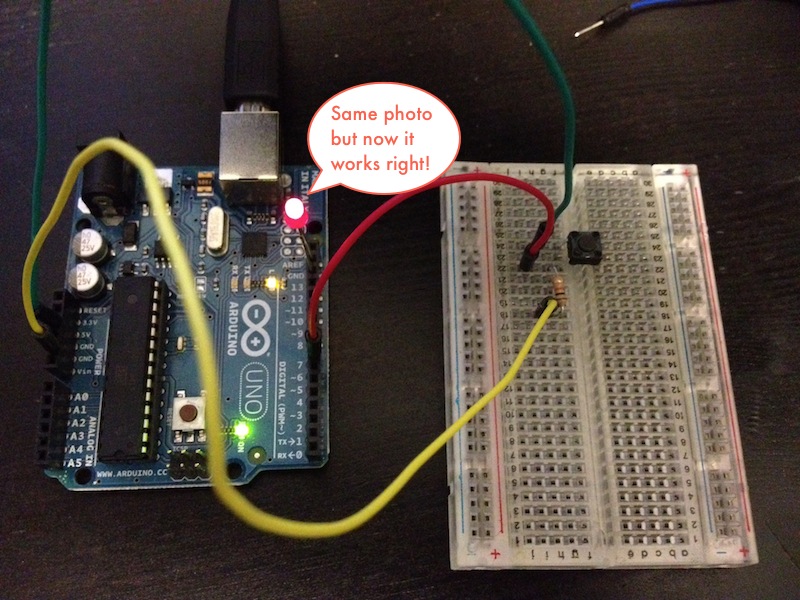
- Hook up an LED to the Arduino
- Put a pushbutton on the breadboard
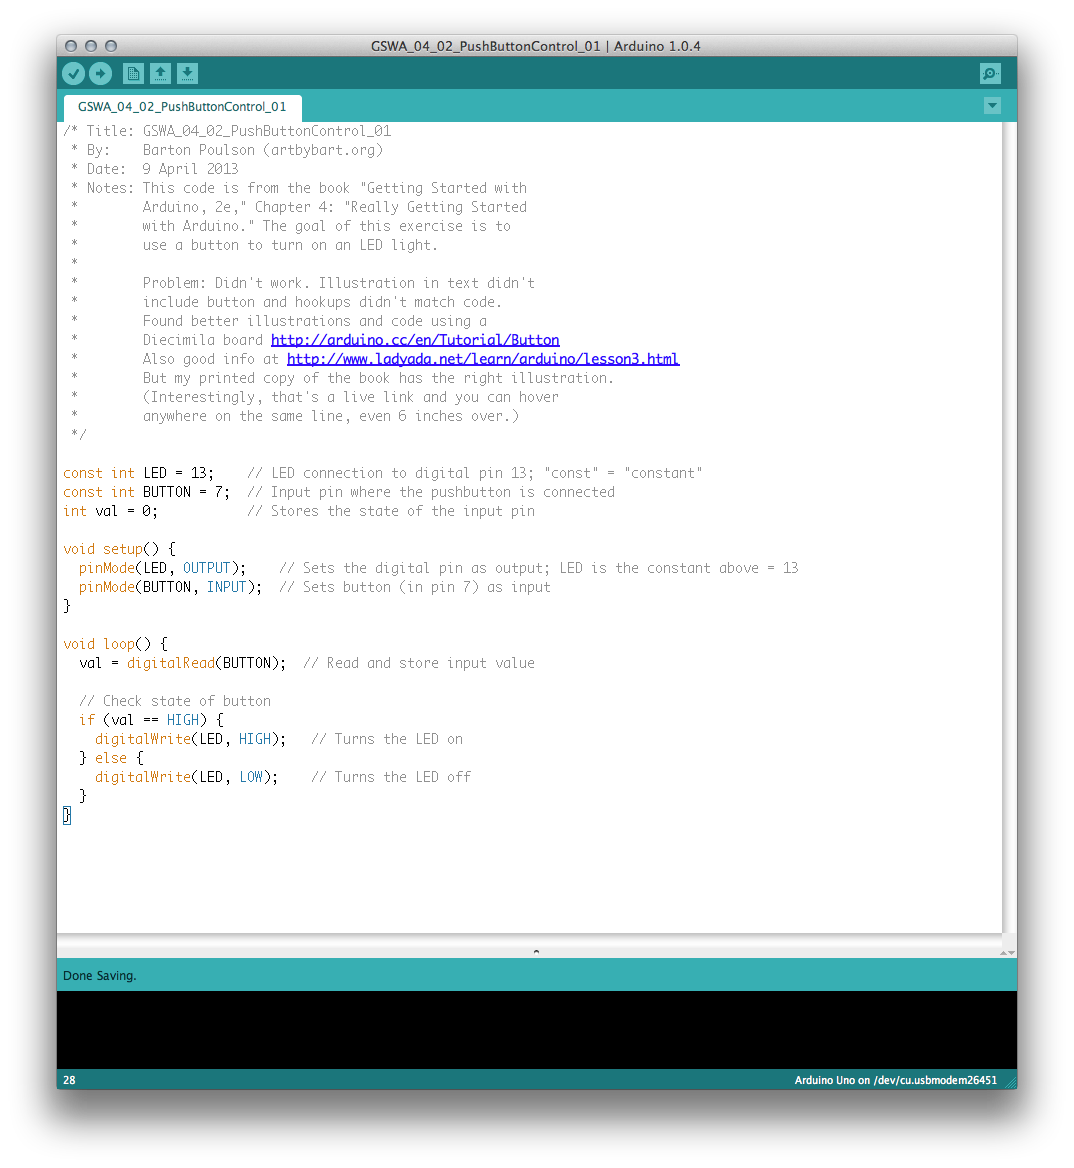
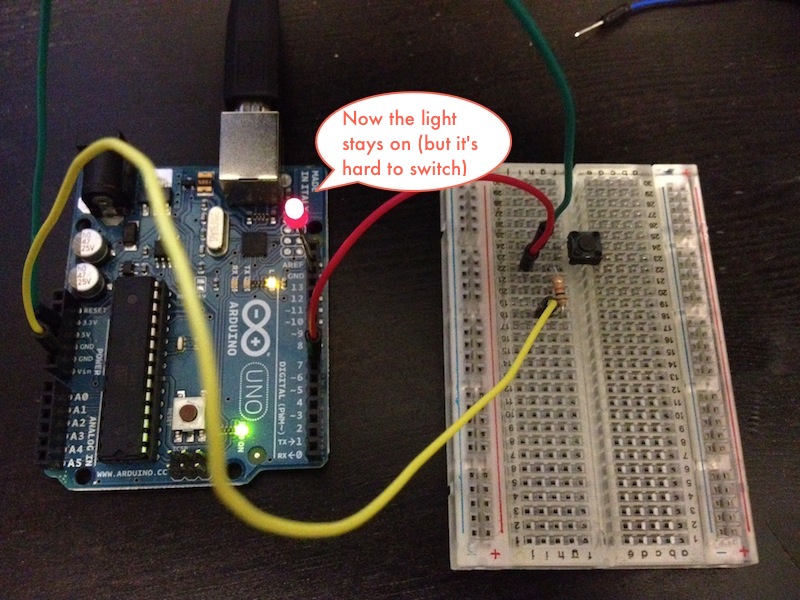
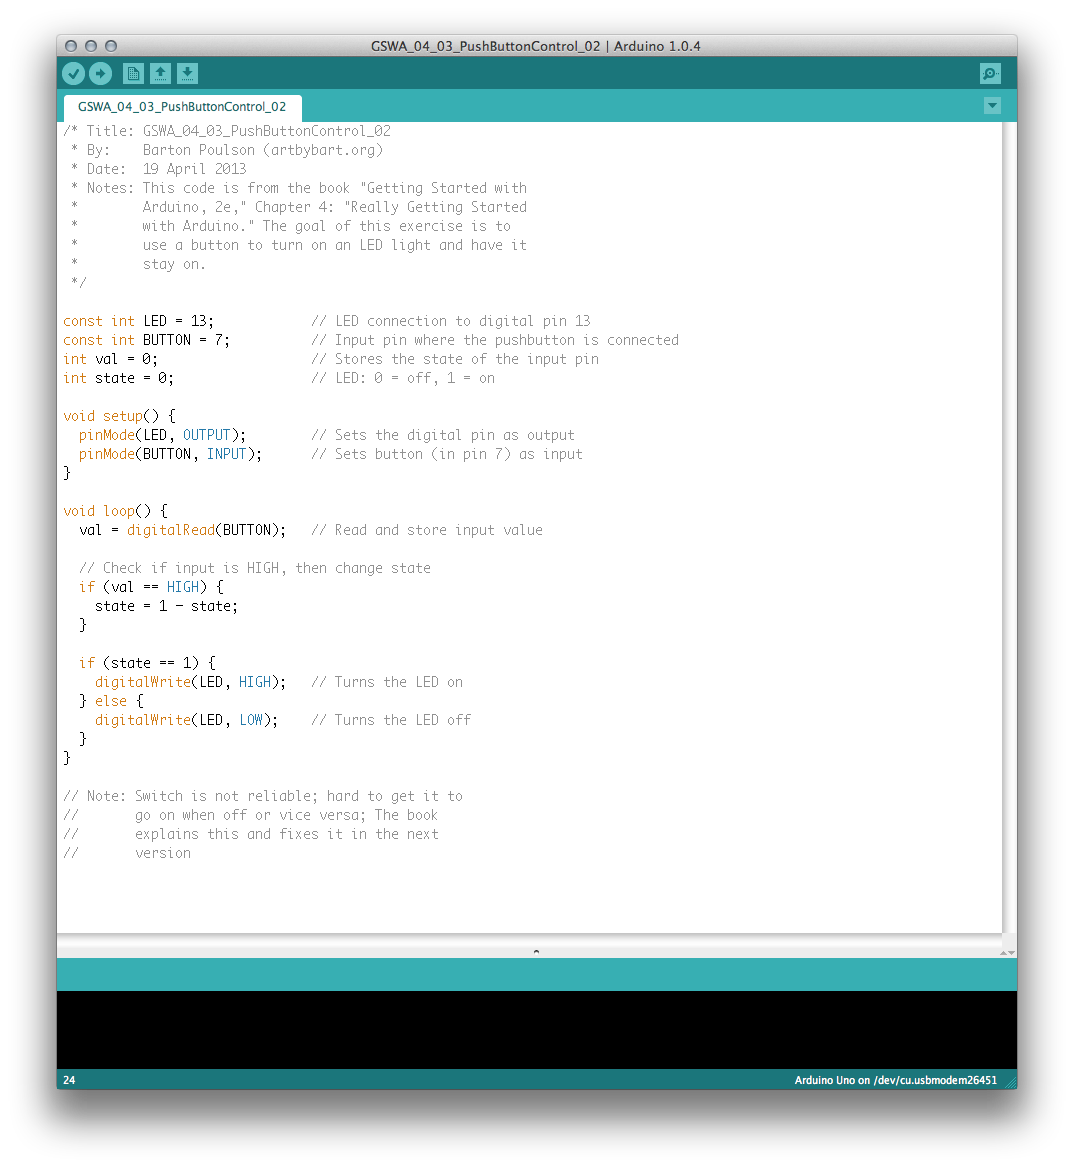
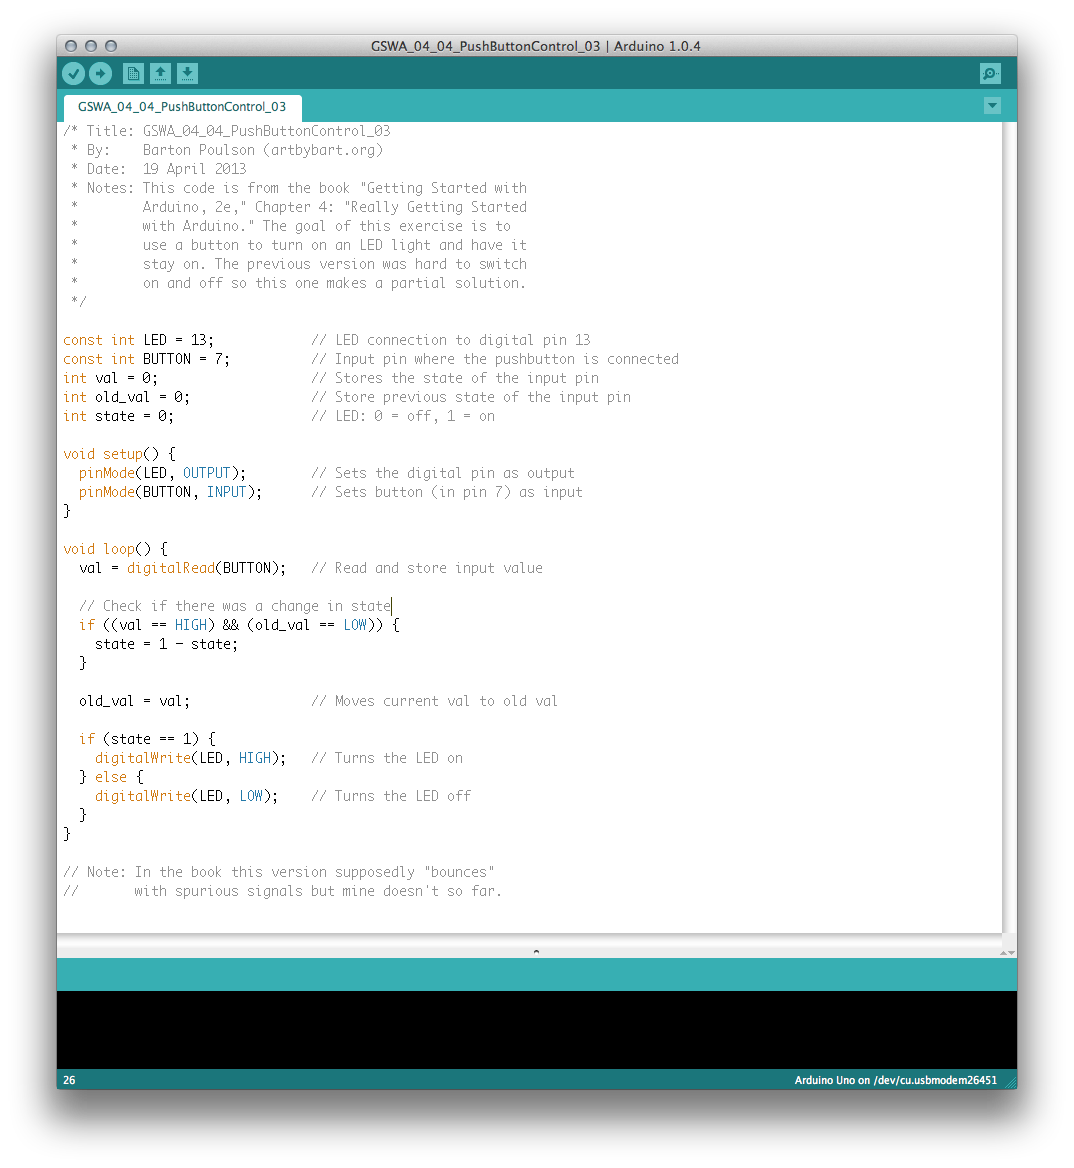
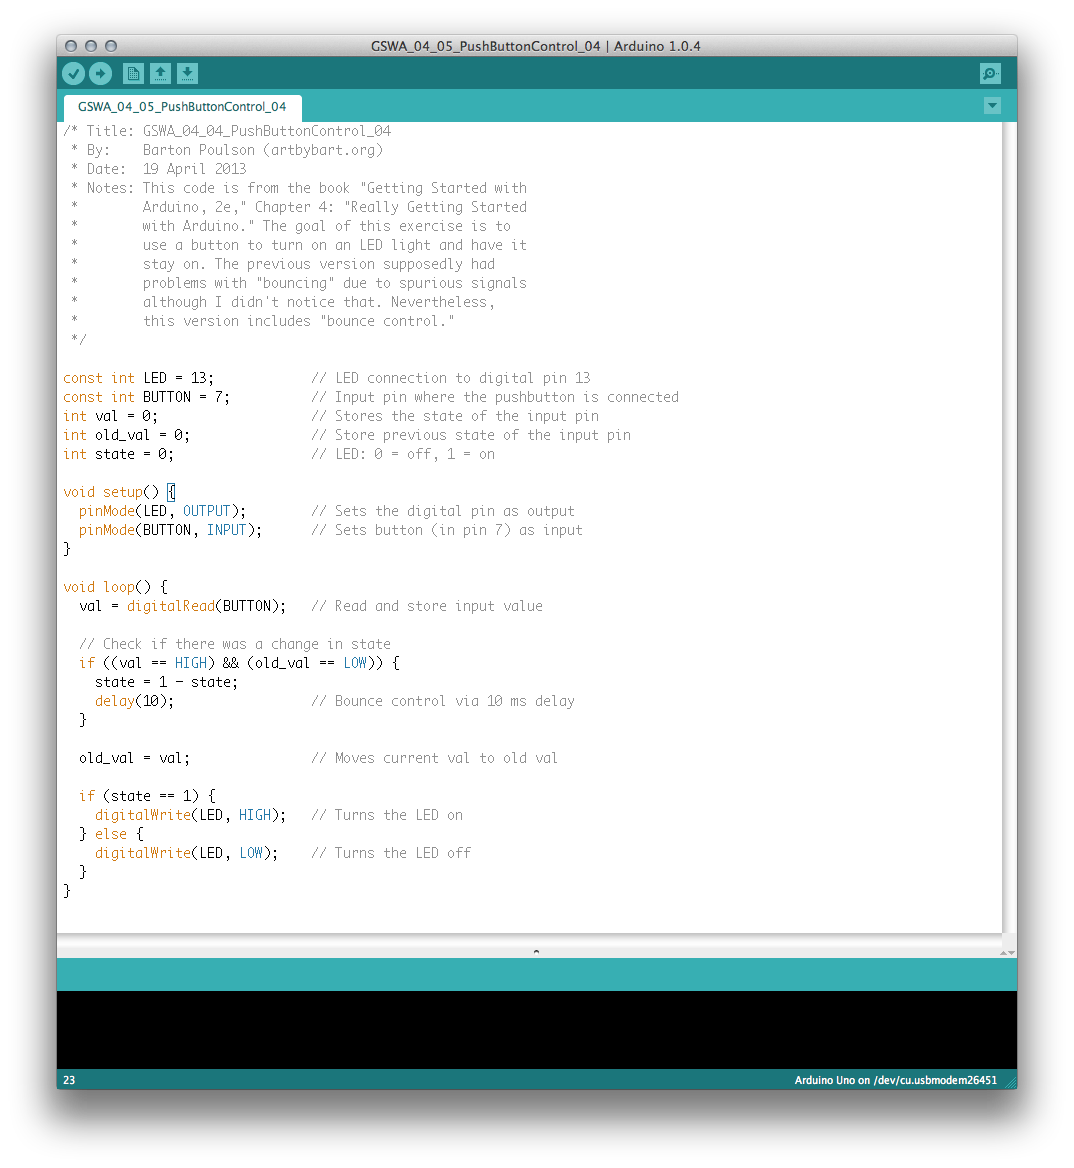
- Connect the wires and write the code so the pushbutton can turn on the LED, first as a momentary switch (i.e., the LED only lights up as long as you hold the button) and then as a toggle switch (i.e., click it once to have the LED turn on and stay on, then click it again to have it turn off and stay off)
Simple concept and an excellent introduction to the entire system. I'm much more accustomed to working with Processing and, while the two are very closely related, they're not identical and the differences are acutely obvious to me. Still, I'm trying to adapt. Some of the differences include:
- Explicitly declaring constants
- Setting pins as input or output (obviously, this doesn't happen in the software-only world of Processing)
- "digitalRead" and "digitalWrite" as functions (again, because this is hardware now)
- The use of "HIGH" and "LOW" as "ON" and "OFF" (I know the latter work but there is a strong institutional preference for the former)
On the other hand, much of the building and troubleshooting procedure is the same: go one tiny step at a time, when something goes wrong, take a closer look at how the machine is making sense of your code, and working through possible solutions one at a time, perhaps through commenting lines in and out. And save versions of your sketch!
So, the fact that I am now able to turn a small light on and off may not seem like much to most people, but it's a significant journey from the virtual to the physical world for me. Onward and upward!
Completed:
- Getting Started with Arduino, 2e, Ch. 4: Really Getting Started with Arduino (5 exercises)
- Sketches (i.e., code) can be downloaded from http://db.tt/f6x9Q4NA
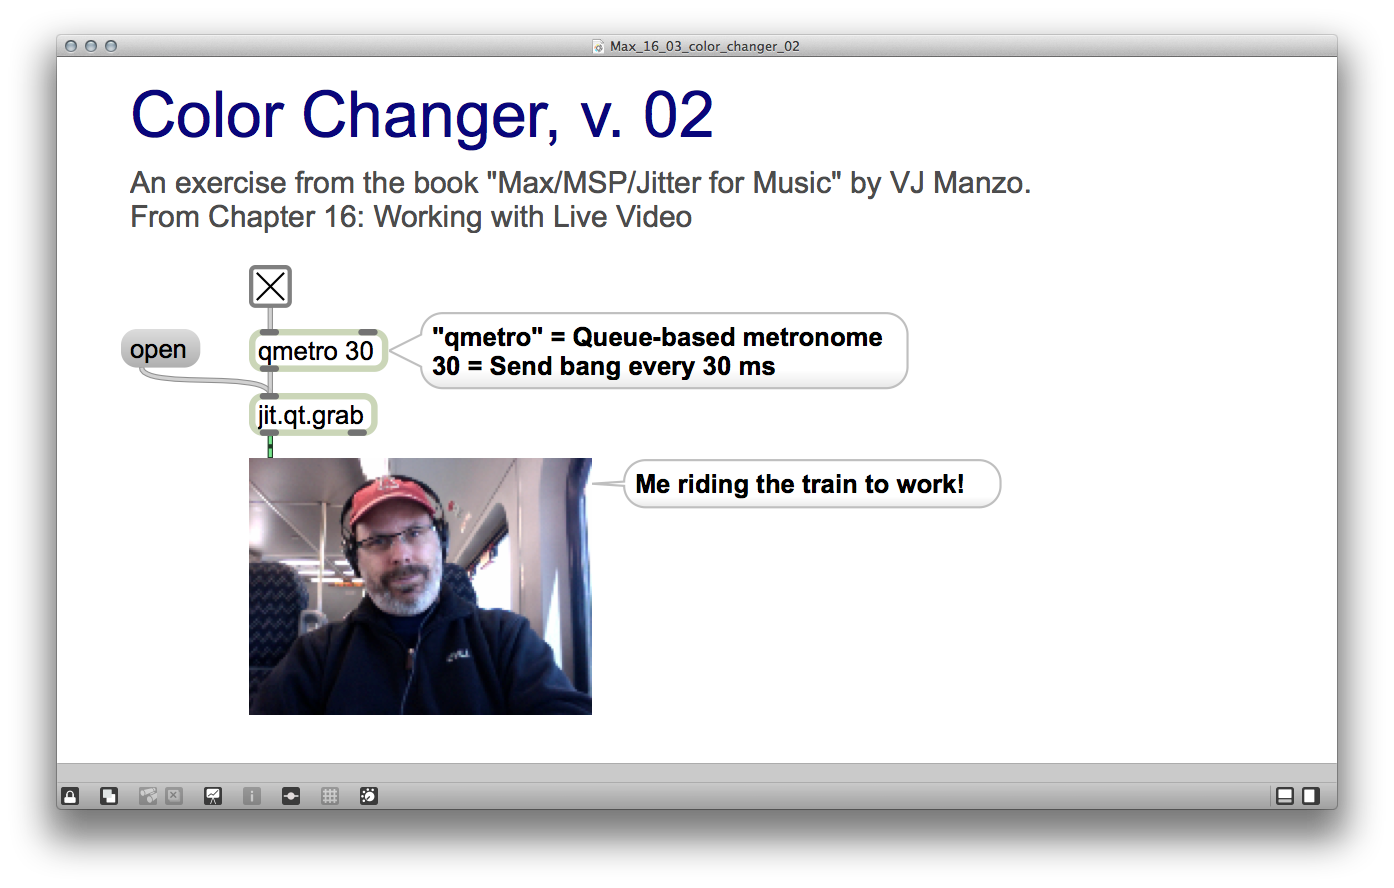
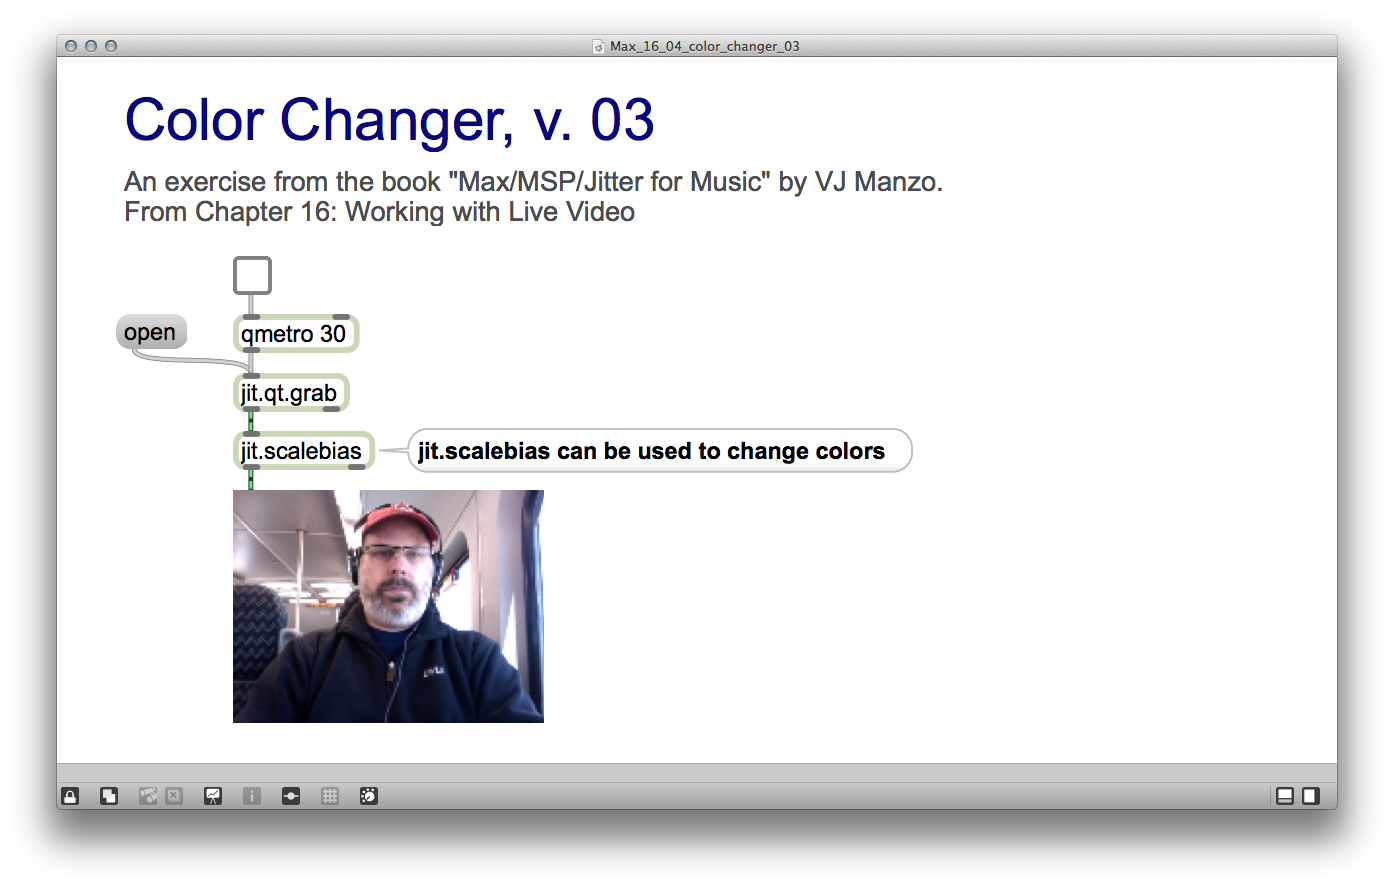
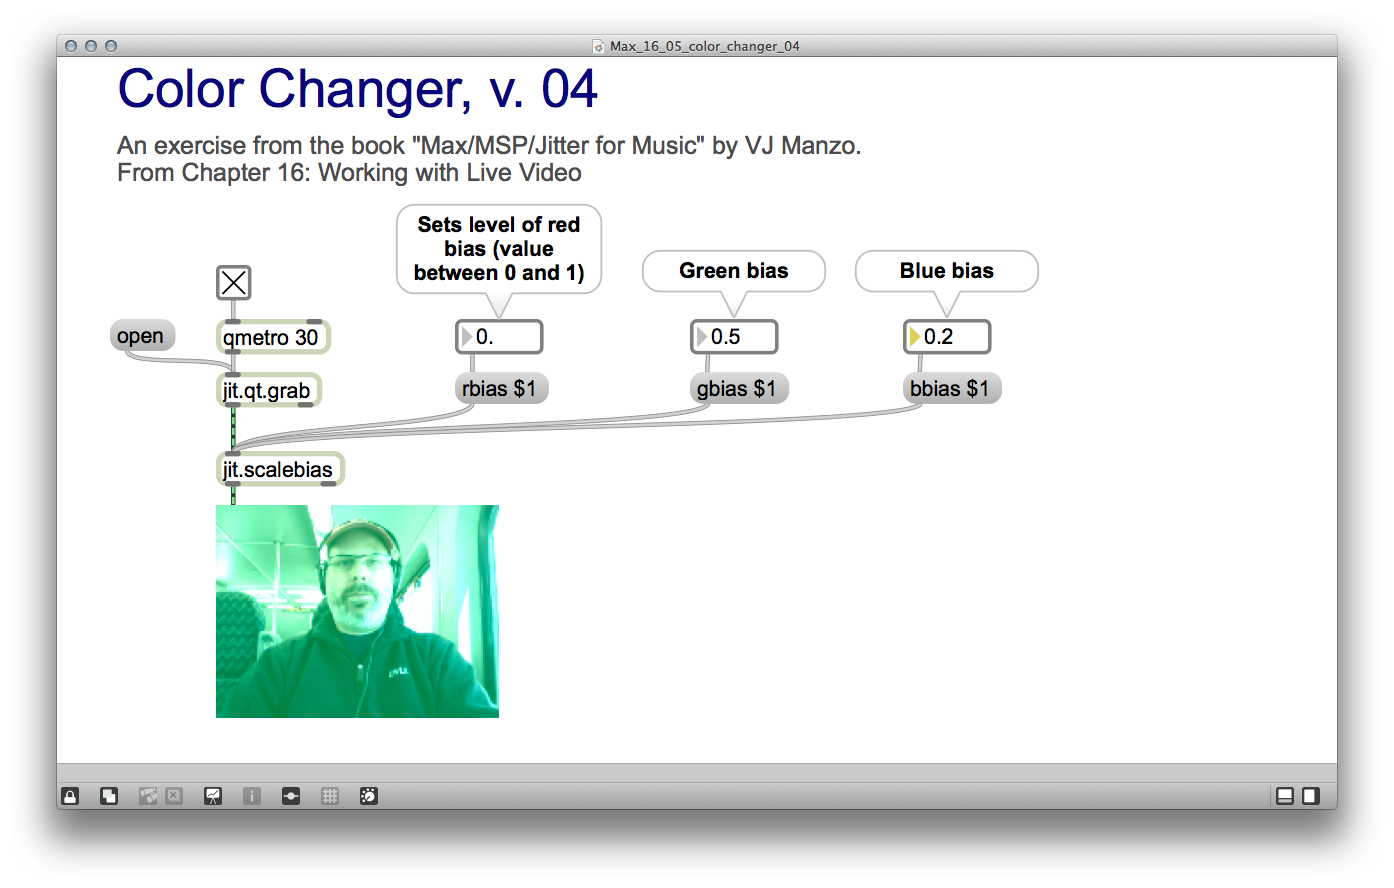
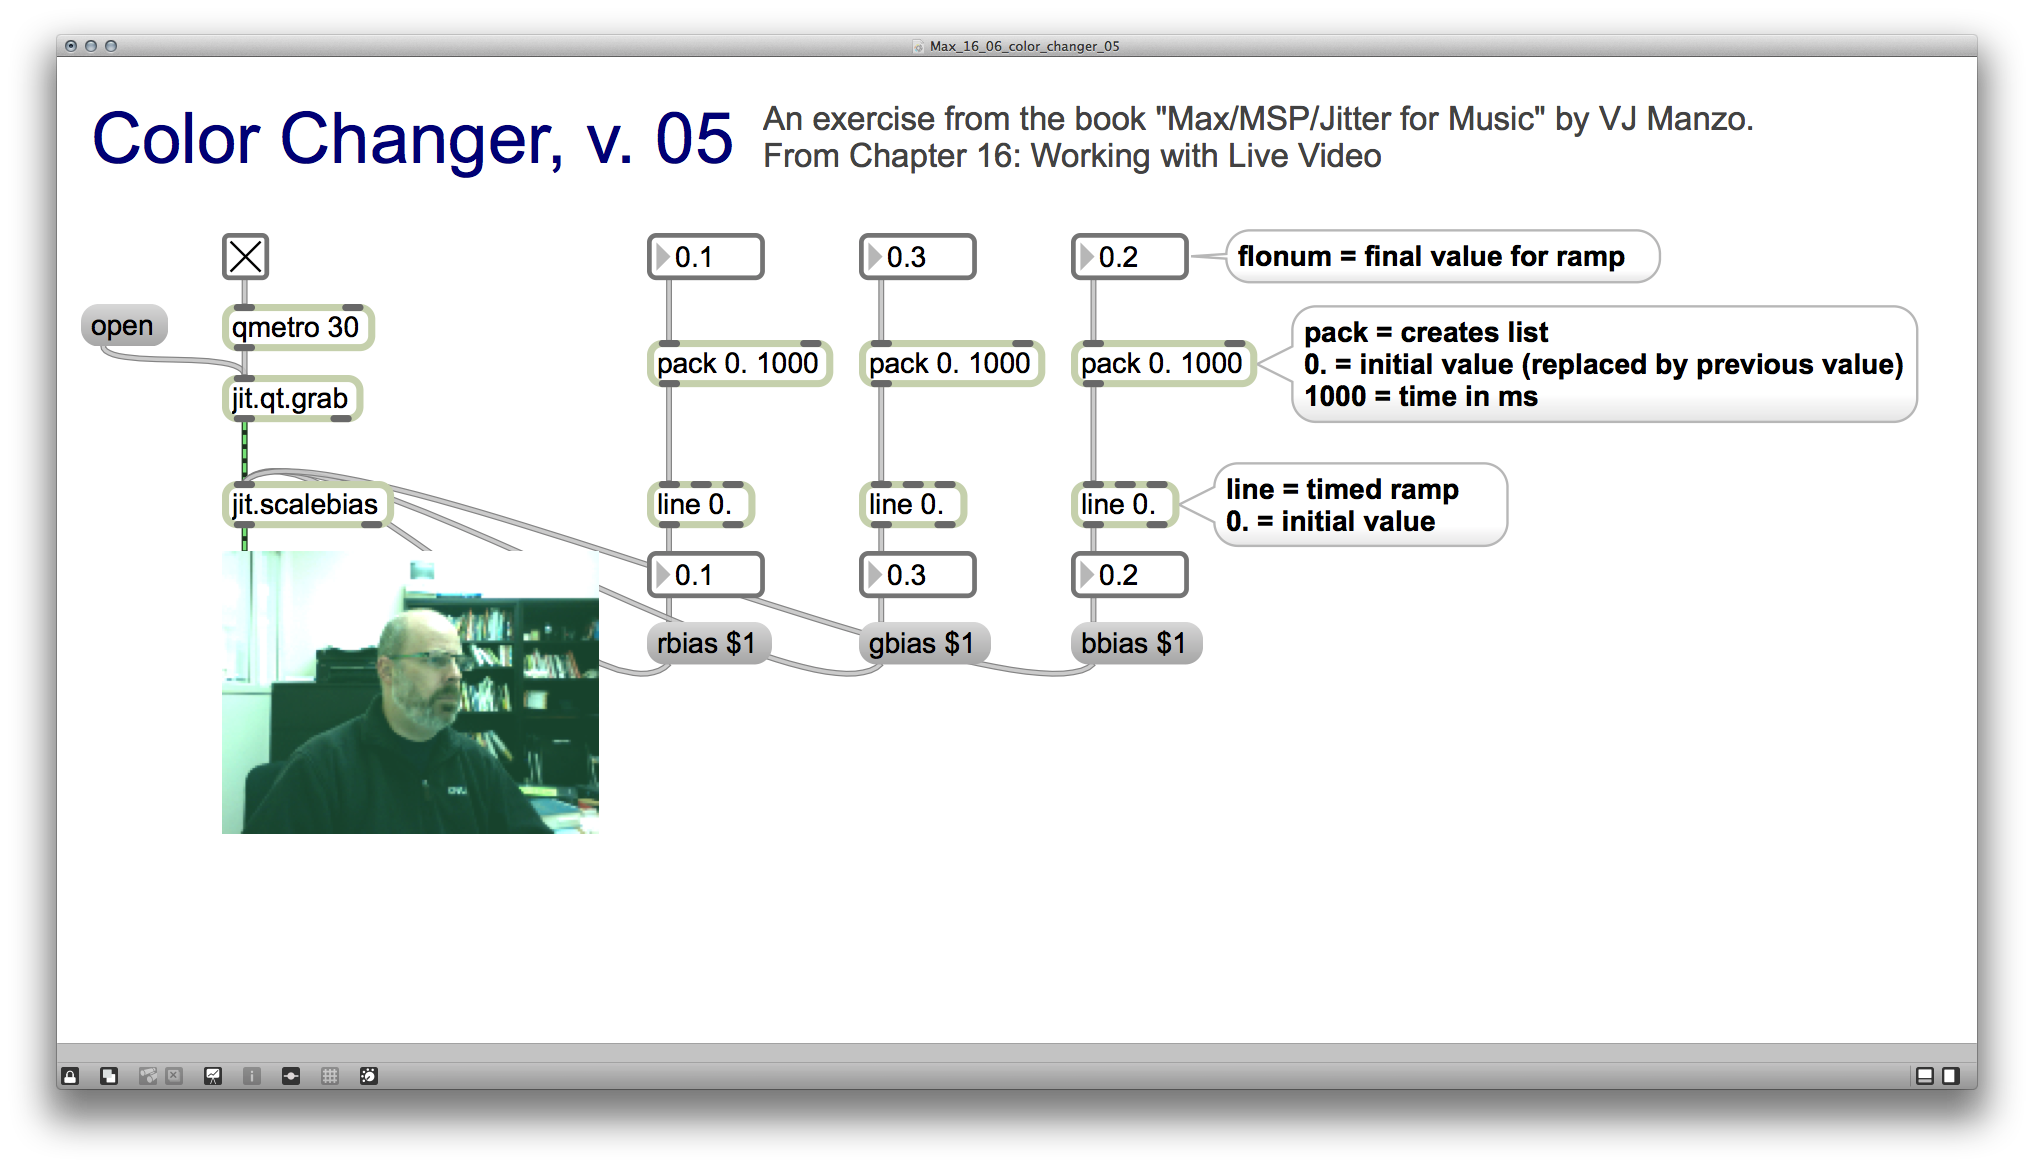
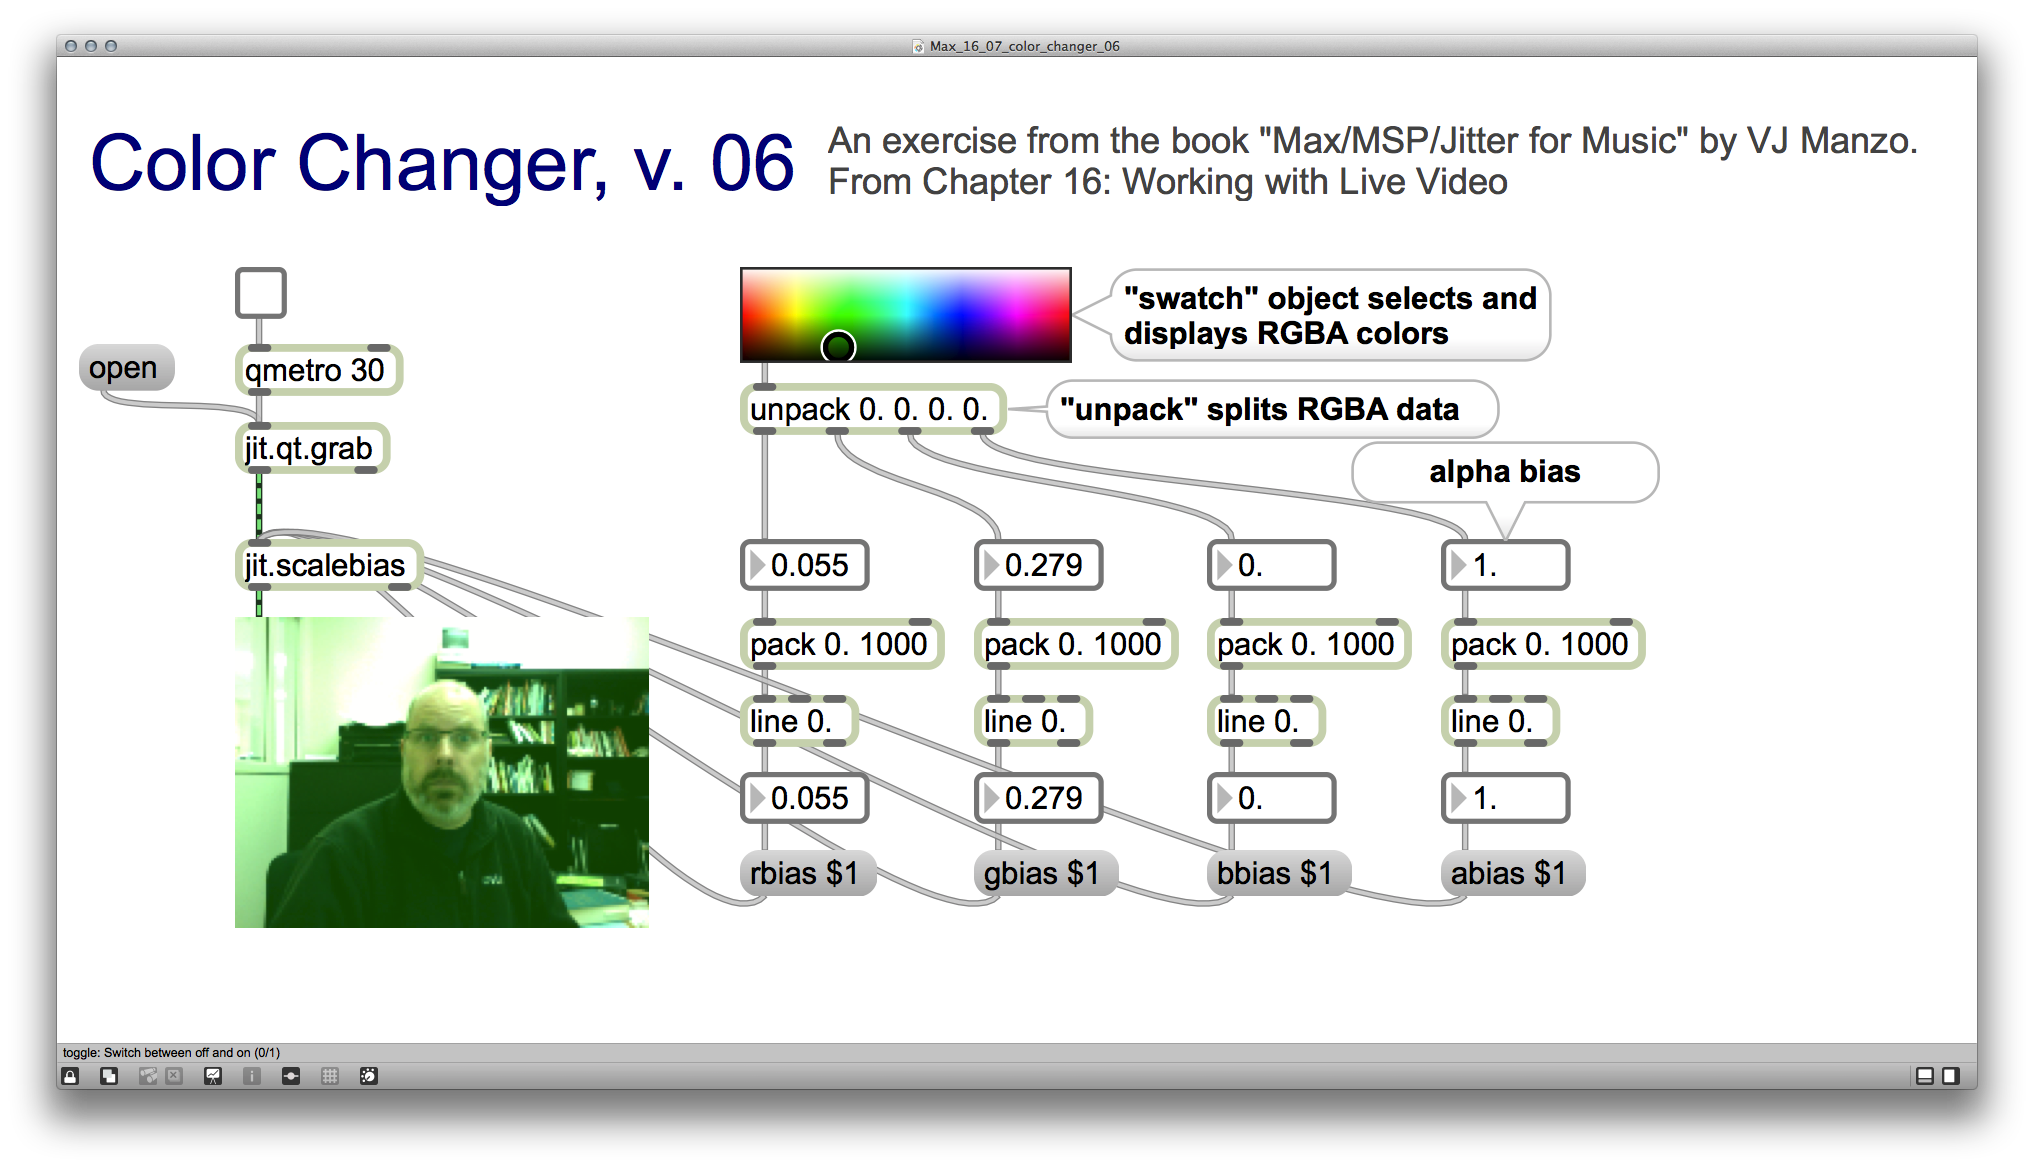
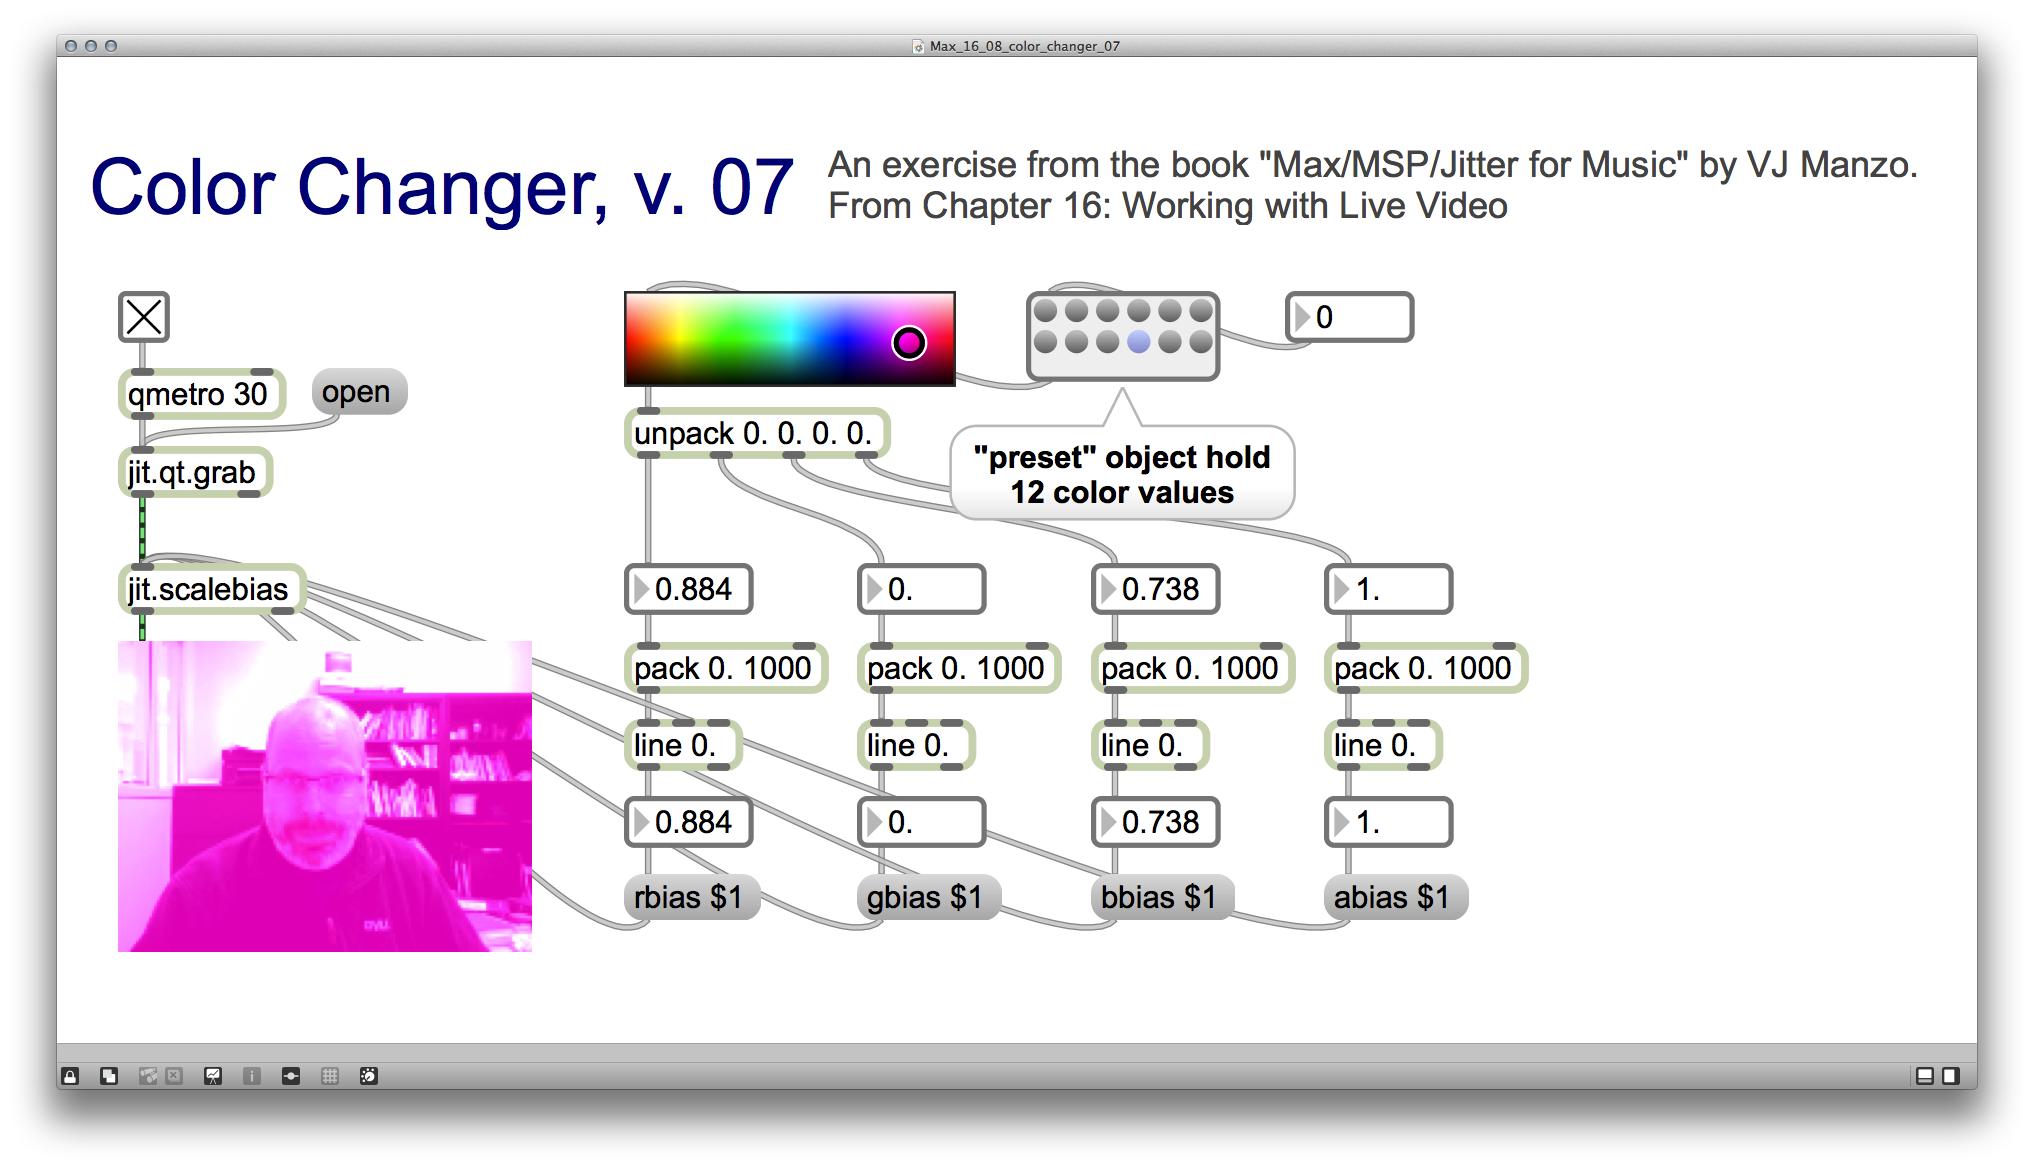
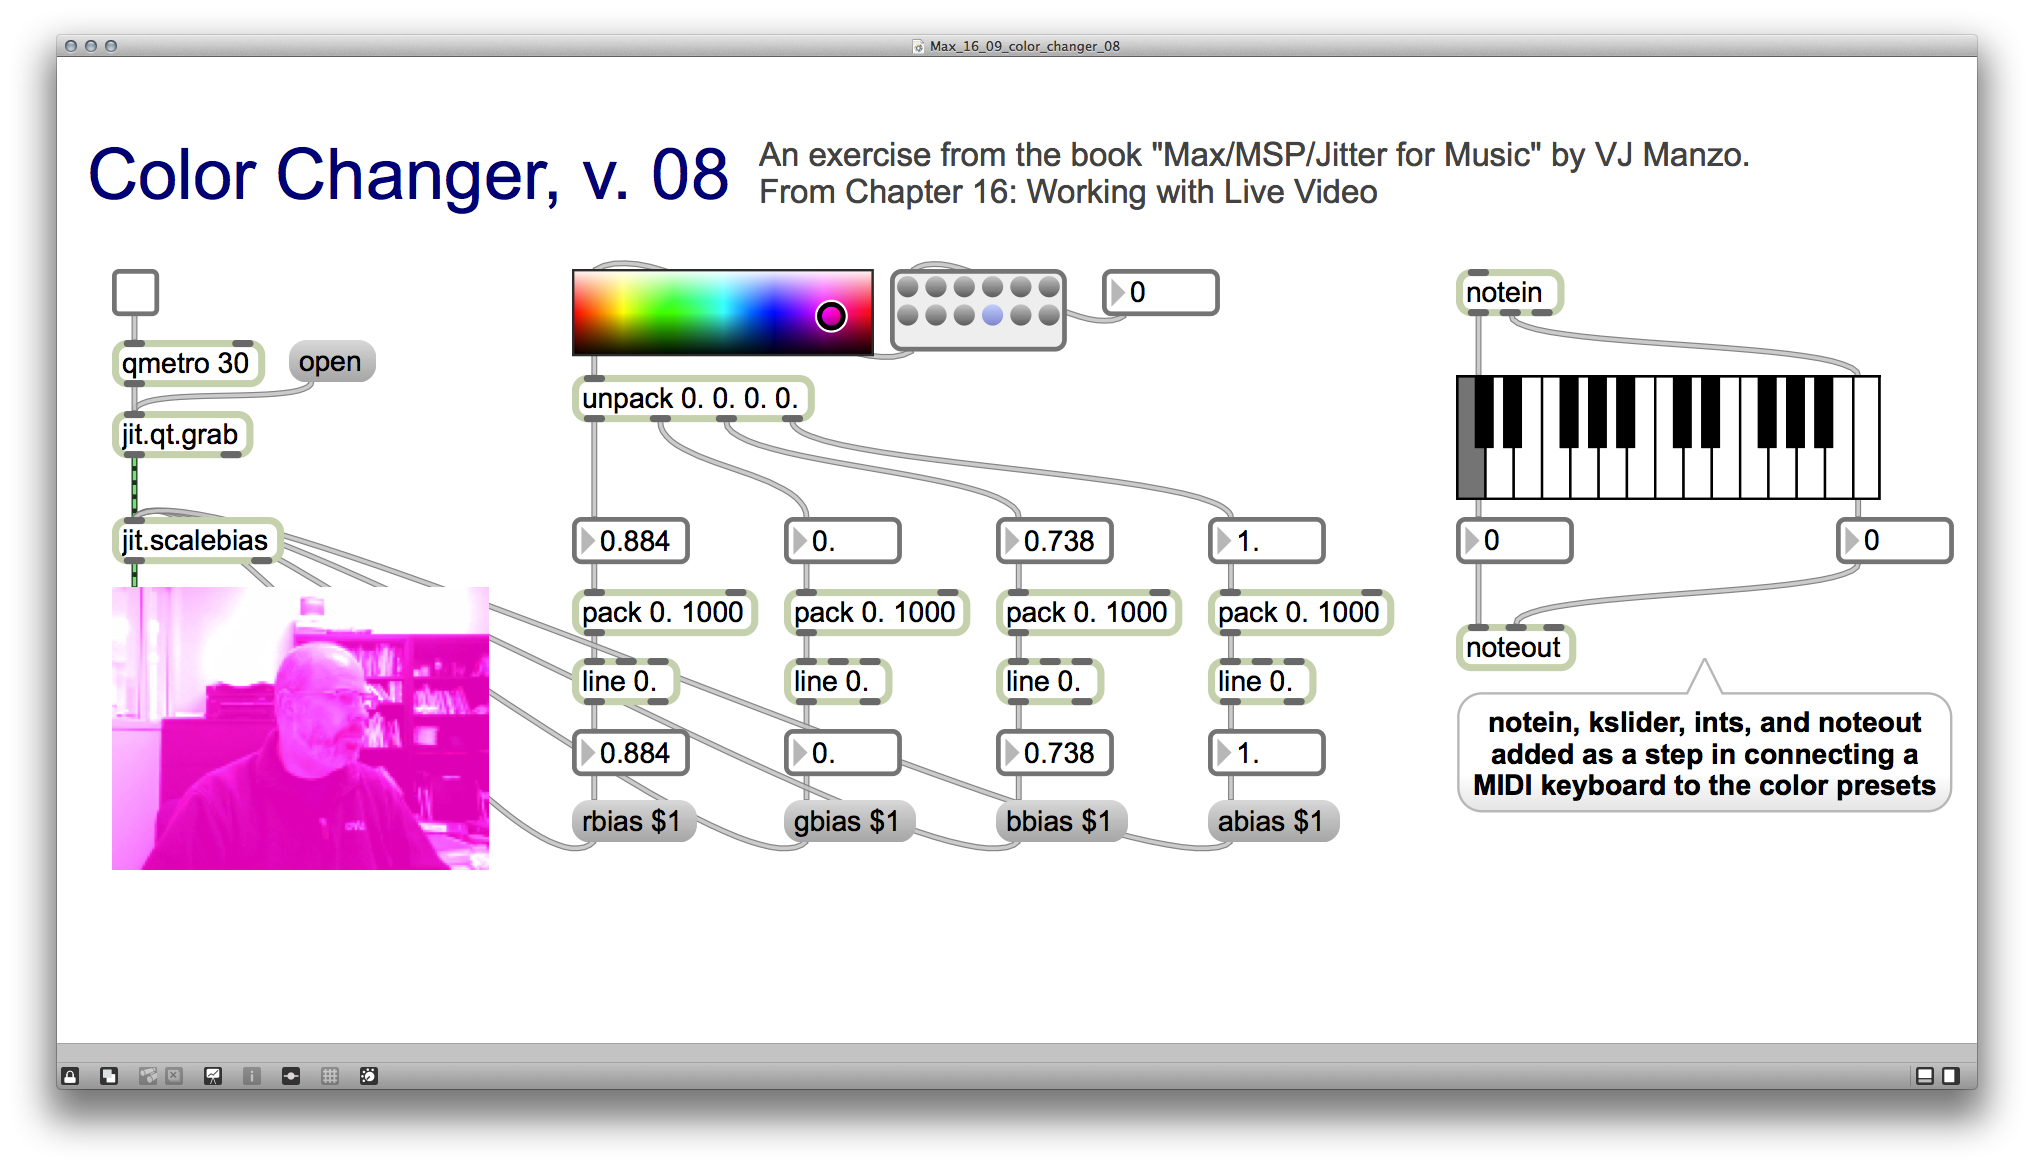
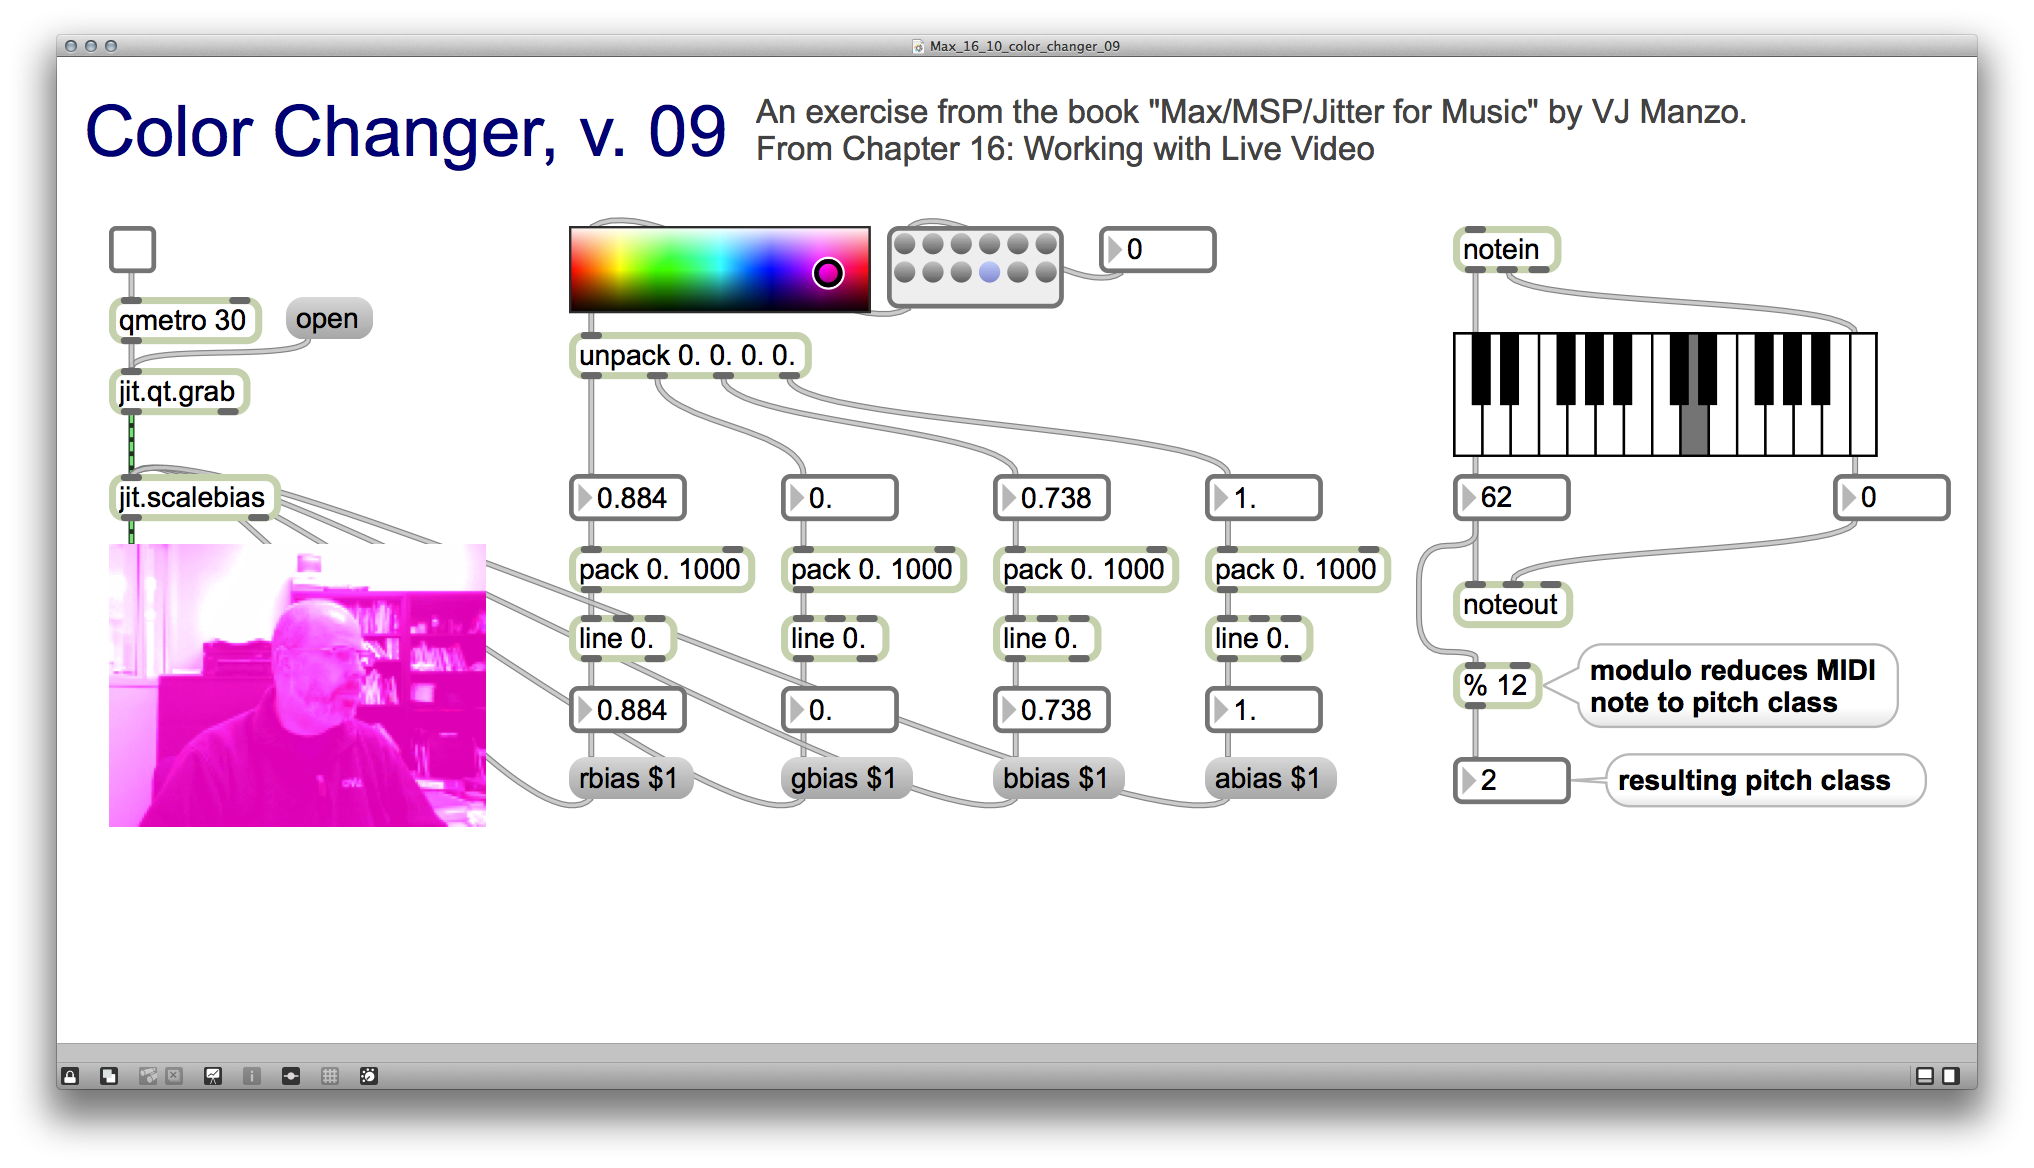
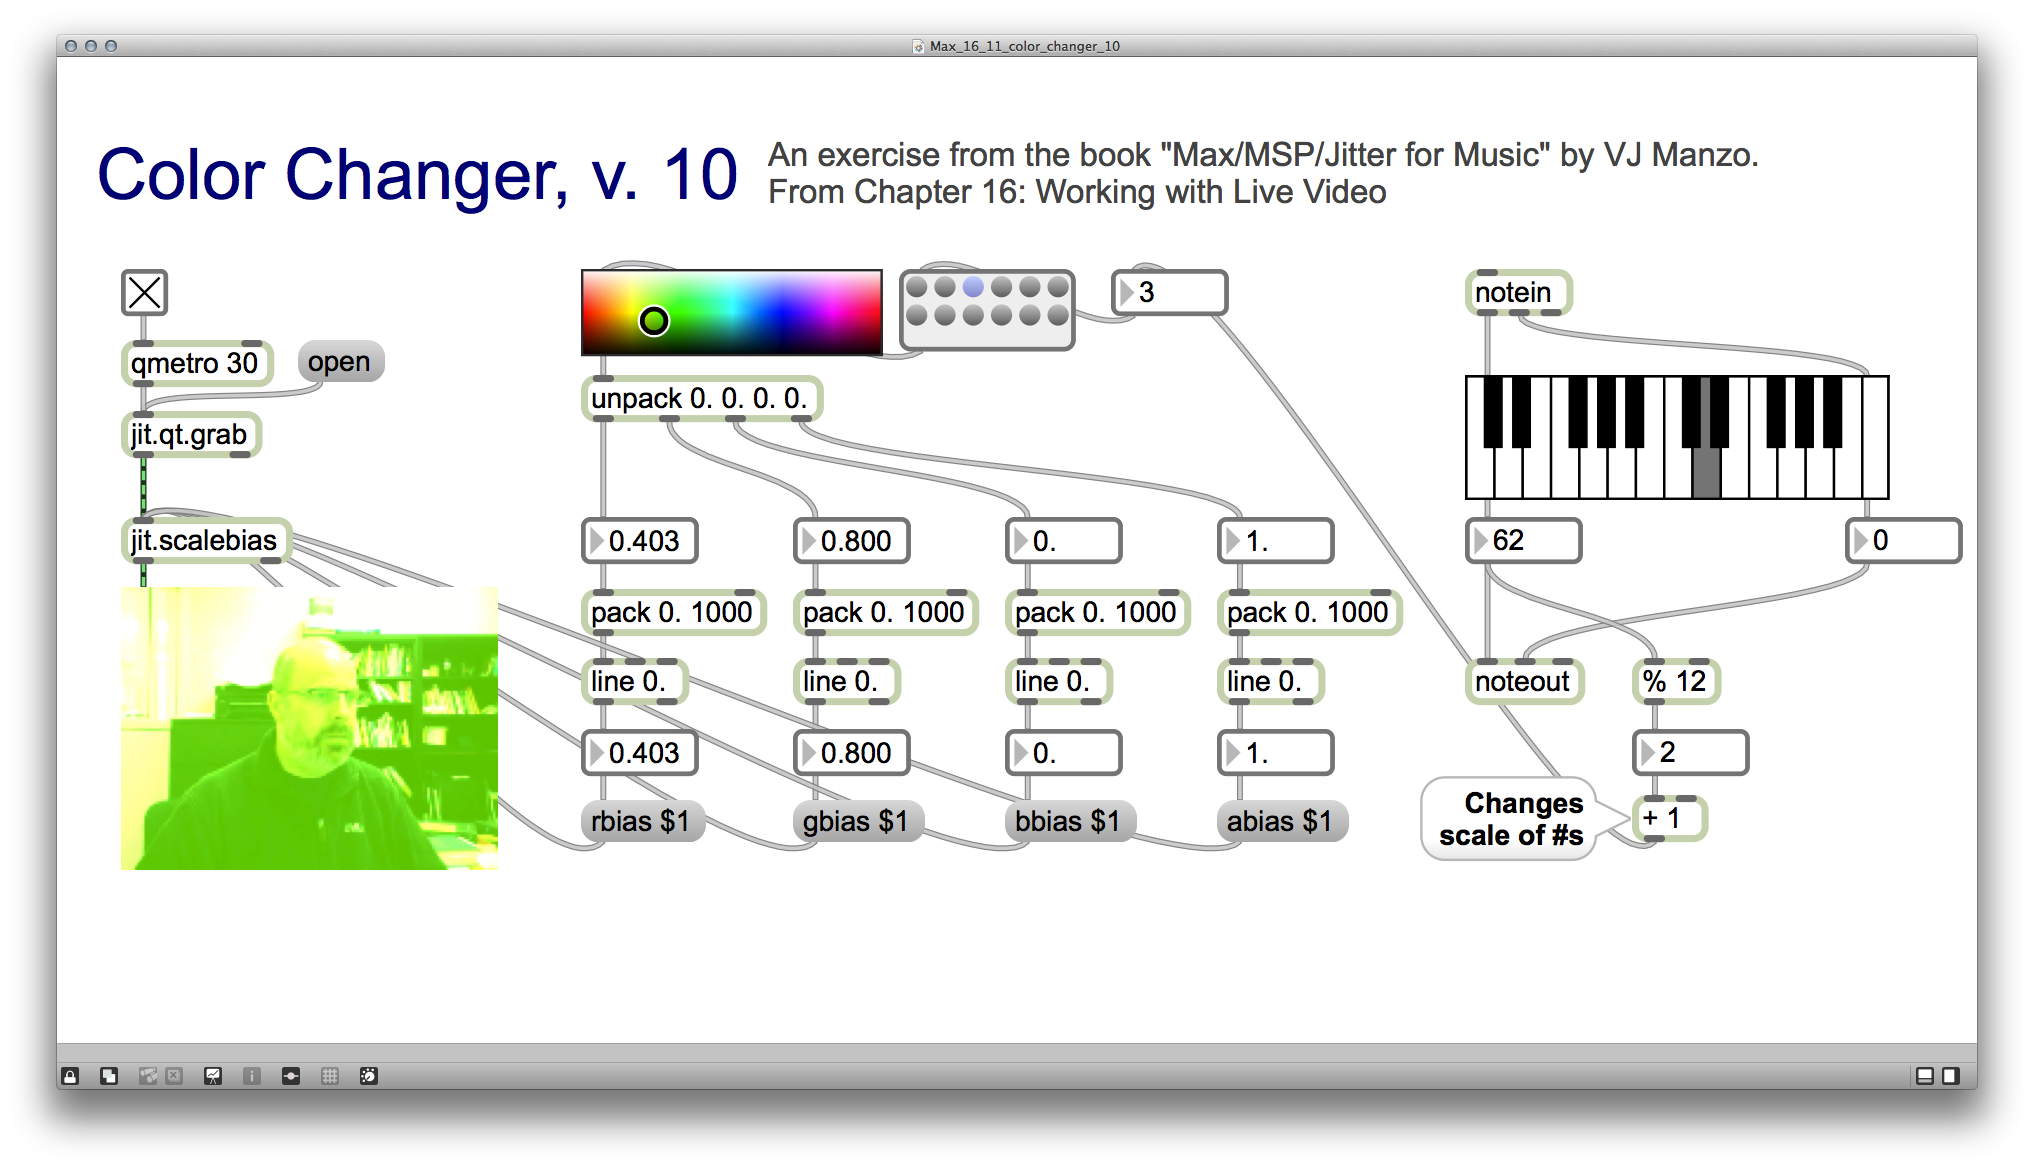
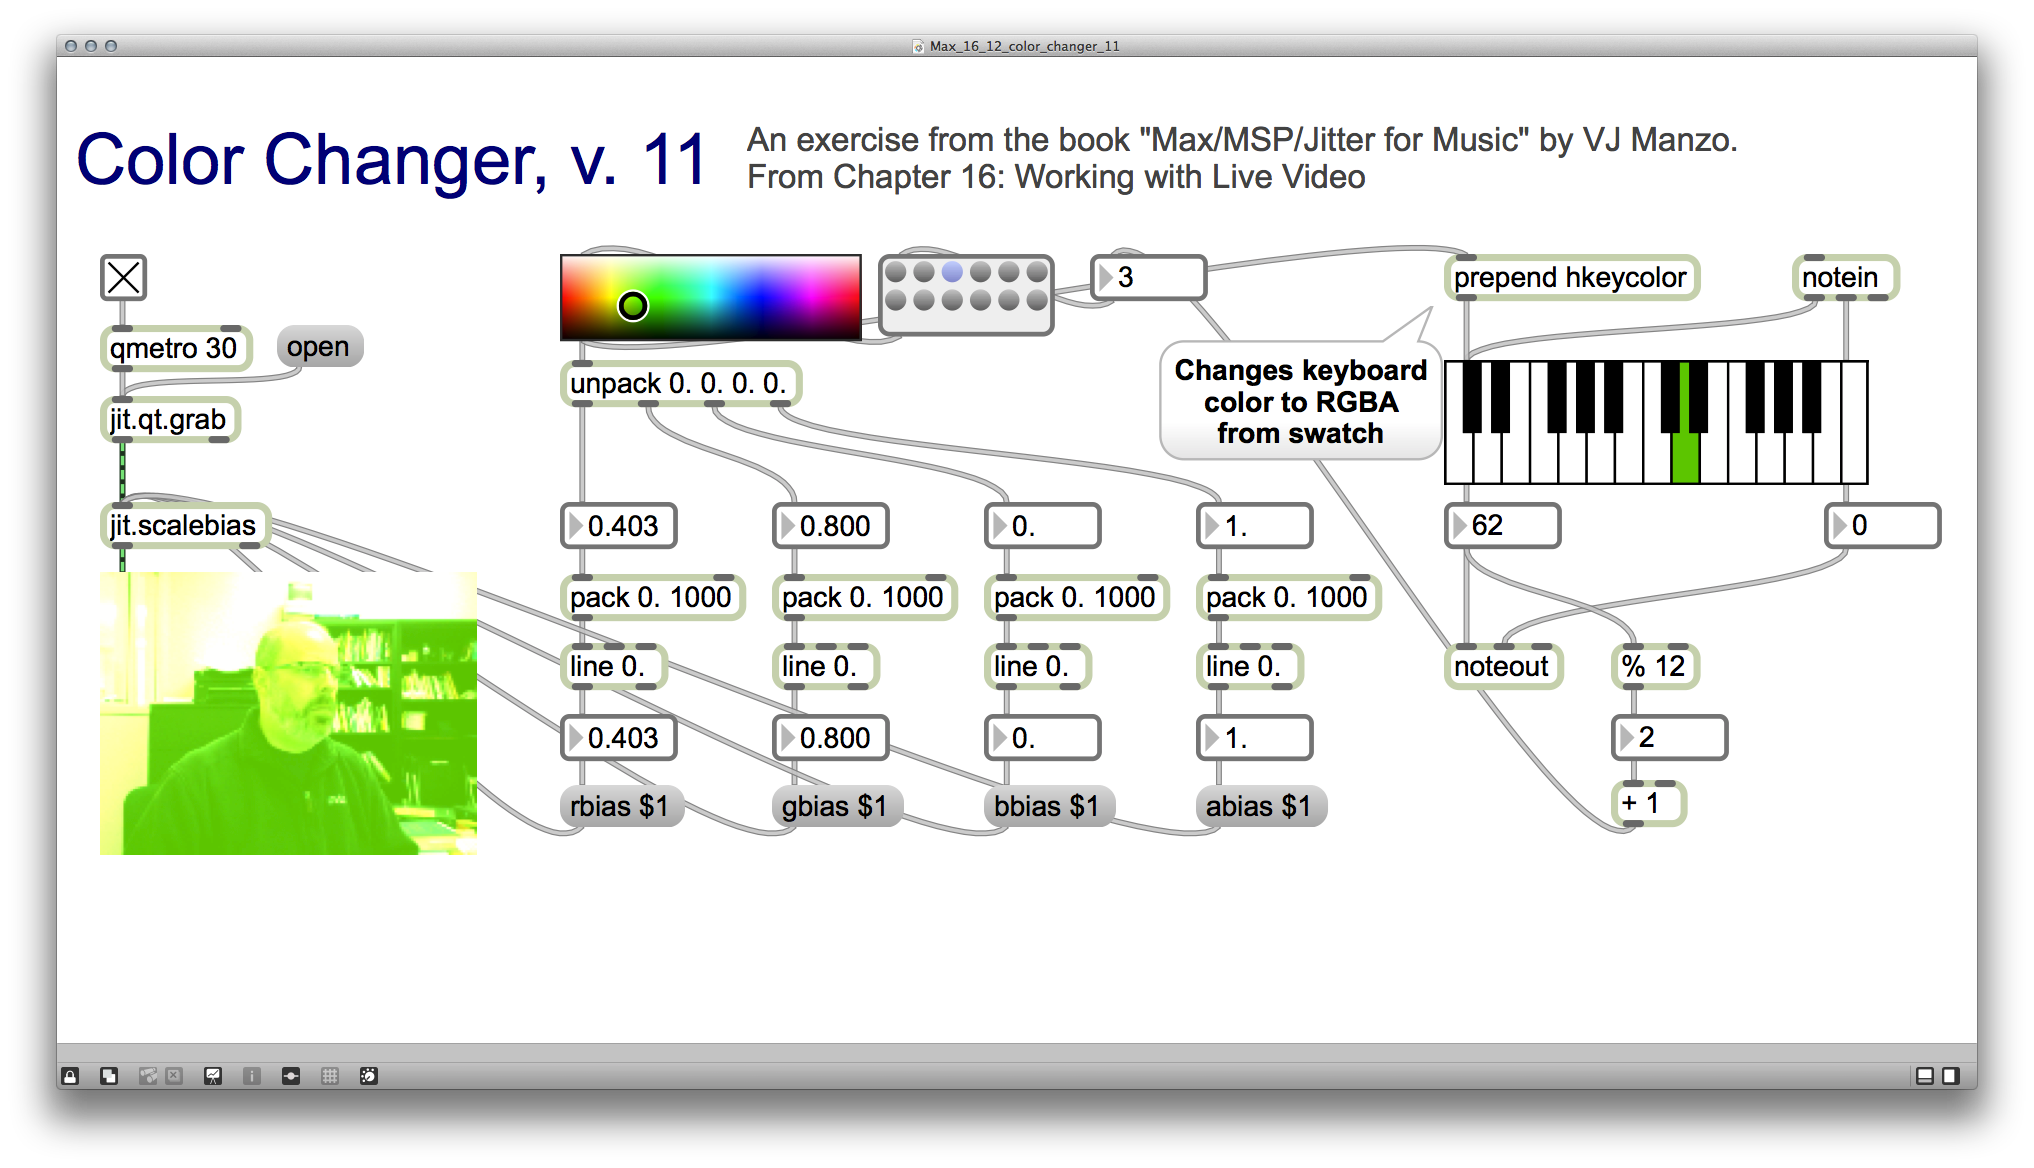
The exercises in this chapter all involved grabbing a live video stream from my computer's camera and then performing a series of color transformations on it, culminating with the use of a MIDI keyboard to do so. Fascinating!
Completed:
- Max/MSP/Jitter for Music, Ch. 16: Working with Live Video (11 exercises)
Patches can be downloaded from http://db.tt/GBYLb0vY(Dead Link)- UPDATED LINK: Patches can now be downloaded from http://j.mp/1iy19Xl
 Chapter 1 of Getting Started with Arduino (GSWA) is a very, very brief introduction. Basically, it contains the following:
- The URLs for Processing (processing.org) and Arduino (arduino.cc).
- A slightly tautological definition of interaction design: "Interaction Design is the design of any interactive experience."
- An explanation of the term "physical computing": "[Physical computing] involves the design of interactive objects that can communicate with humans using sensors and actuators controlled by a behavior implemented as software running inside a microcontroller (a small computer on a single chip)."
And so, on to chapter 2!
Completed:
- Getting Started with Arduino, 2e, Ch. 1: Introduction (0 exercises)
- Sketches (i.e., code) can be downloaded from http://db.tt/f6x9Q4NA
Related articles
- An Introduction to the Arduino (makezine.com)
- How To Get Started with Arduino (tested.com)
- The Arduino Basic Connects Chart Is a Handy Reference Guide for All Your Arduino Projects (lifehacker.com)
- Arduino Uno vs BeagleBone vs Raspberry Pi (adafruit.com)
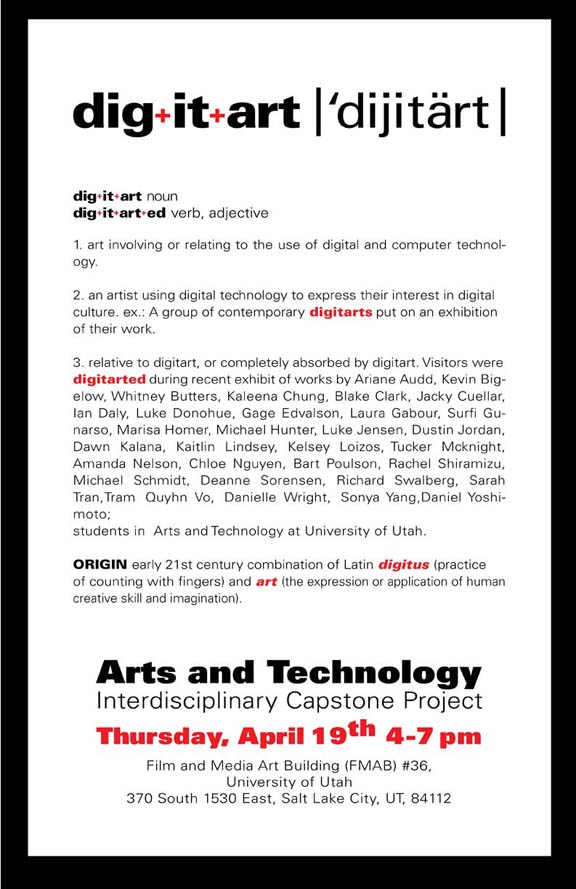
Tonight was "dig+it+art," otherwise known as the Capstone Showing for the Arts Technology Certificate Program at the University of Utah. As I have been participating in this program all year for my sabbatical, I got to show a piece as well. My piece was entitled "Dots and Lines and Dance and All of Us."
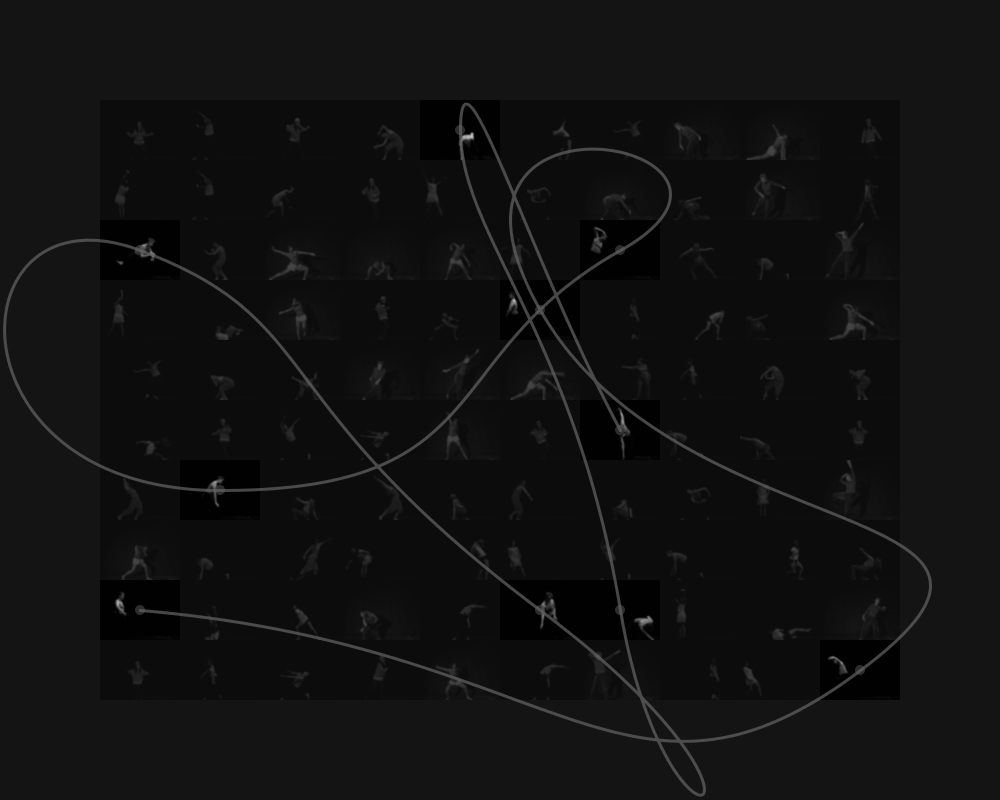
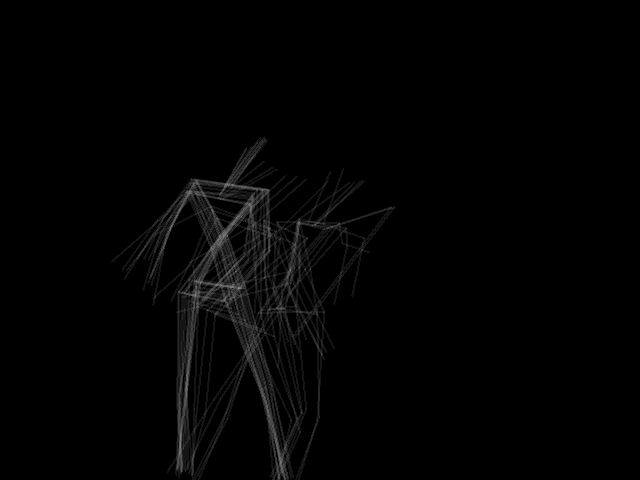
To create it, I recruited a group of dancers (mostly freshman modern dance students at the University of Utah but also my wife, Jacque, who is a professional modern dance choreographer) and had each of them improvise a 10-second sequence that I filmed with a Kinect hooked up to my MacBook and running through Processing. From there, I took the RGB video at 1 FPS and ran it through a nice, blurry B&W filter, placed the 100 resulting images on a grid in random order, and made it possible to connect the images from a dance with a Catmull-Rom spline. (Of course....) I also created videos of the point clouds and skeletons, also at 1 FPS. Each of the three parts – clouds, grid, and skeletons – was projected on a large wall. Lots of fun!
[youtube=http://www.youtube.com/watch?v=0N1TbVZd8Zw]
[youtube=http://www.youtube.com/watch?v=t72Hpgu61aY]
[youtube=http://www.youtube.com/watch?v=GUJRu0Yawng]
[youtube=http://www.youtube.com/watch?v=oCeRsObSiDU]
[youtube=http://www.youtube.com/watch?v=IIss4Fn9YPc]
[youtube=http://www.youtube.com/watch?v=LGl0-qDx4X0]
Completed:
- Learning Processing, Ch. 05: Conditionals (6 exercises)
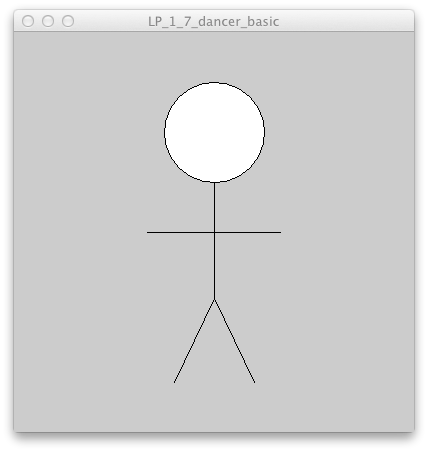
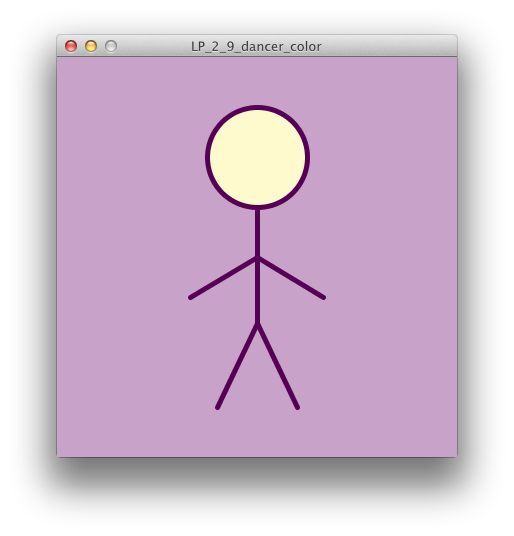
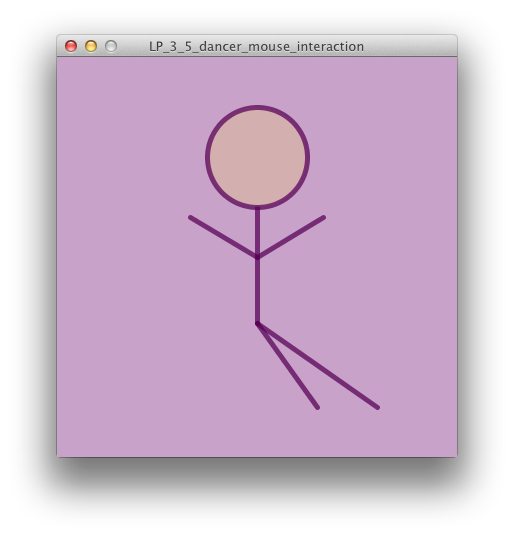
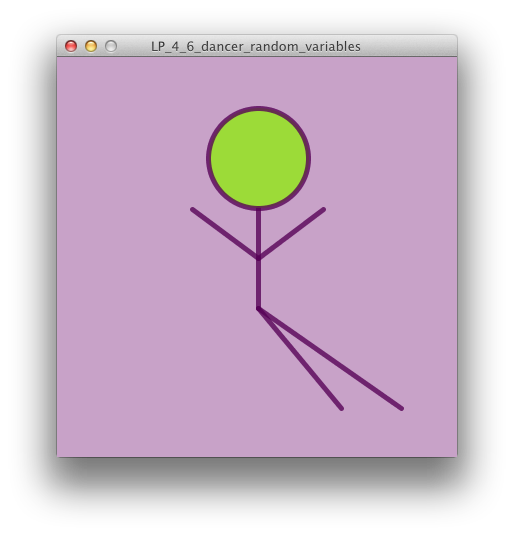
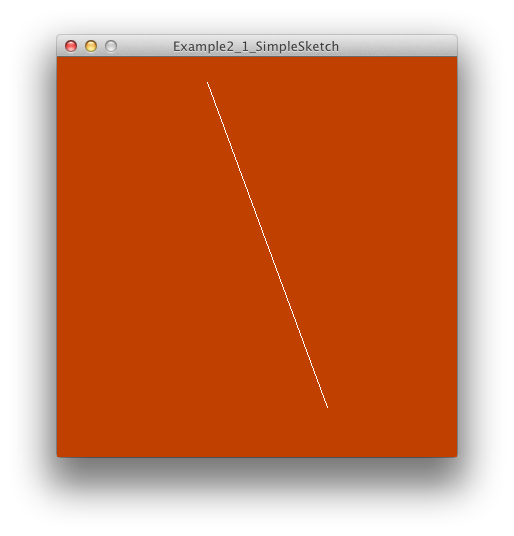
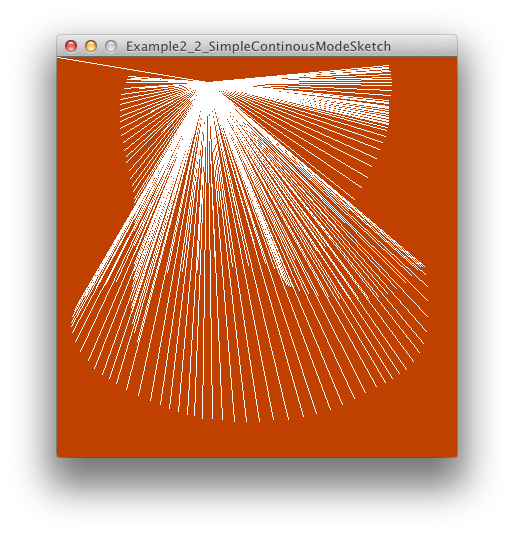
So, here's the first batch of sketches. In the book, Shiffman recommends that one create a basic shape to elaborate upon as one learns new material. He made a simple alien that he calls Zoog. I decided to make a stick-figure dancer. (In Getting Started with Processing by Casey Reas and Ben Fry, they use P5, the Processing Robot as the running example.) I have still images in the gallery above. The first two are inherently static, the second two are screenshots from a dynamic sketch. Videos of the sketches in action are below.
[youtube=http://www.youtube.com/watch?v=tIL4OBD74mo]
[youtube=http://www.youtube.com/watch?v=Ez7iKklydgY]
Completed:
- Learning Processing, Ch. 00: Preface (0 exercises)
- Learning Processing, Ch. 01: Pixels (1 exercise)
- Learning Processing, Ch. 02: Processing (1 exercise)
- Learning Processing, Ch. 03: Interaction (2 exercises)
- Learning Processing, Ch. 04: Variables (1 exercise)
Related articles
- "Visualizing Data" for Real Now (bartdoesart.com)
 I'm planning on creating a whole bunch of things on my computer that can't be adequately represented with screenshots. (I will, however, still include those as often as possible.) As such, I thought it would be nice to upload some small videos so my professors could see what I'm up to. I already have a YouTube channel at youtube.com/bartonpoulson but that functions primarily for my statistics tutorials (which are doing very nicely, thank you) and I didn't want to mix these up with those.
At first I thought I'd try posting my artsy videos on the extra artsy Vimeo service. But then everything got very, very complicated. Vimeo wanted money, they wanted me to wait 30 minutes to see my 30 second clip, and so on. Then I thought I would try WordPress' own service, VideoPress. But that, too, looked like it would be expensive and cumbersome.
Then I found out that I could simply embed the URLs from YouTube. Quick, easy, and free. As Yul Brenner, as Pharoah, was wont to say: "So let it be written, so let it be done."
[youtube=http://www.youtube.com/watch?v=_Bm6nhZYW1o]
In the meantime, I think I need to go back to Daniel Shiffman's fabulous book Learning Processing to get up to speed on some of the intermediate stuff first.
Completed:
- Visualizing Data, Ch. 3: Mapping (17 exercises)
With that said, my first project centers on the wonderful programming environment Processing and the equally wonderful book Visualizing Data by Processing co-creator Ben Fry. (I bought this book a year and a half ago so it's time I actually did something with it....) This book and course of study are follow-ups to the introductory course on Processing that I taught last semester at the University of Utah using the much shorter book Getting Started with Processing, also by Ben Fry and the other Processing co-founder, Casey Reas.
(As an interesting note, part of what has finally gotten me around to doing this is the fact that I now have the book not only in print but in ebook format, which I read on my wonderful new Kindle Touch and on the Kindle software on my Mac. It beats Apple's iBook hands down. Also, I can have the book open on my MacBook's monitor and have all of the working material open on my big external monitor at the same time. I'm in paradise.)
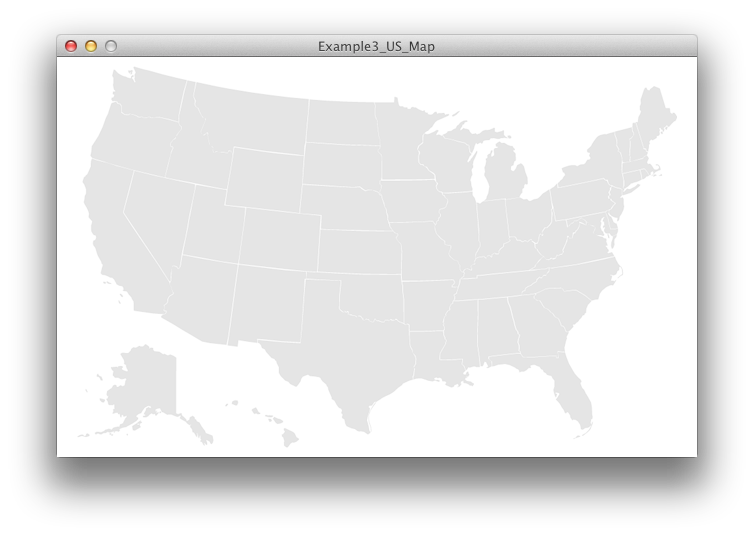
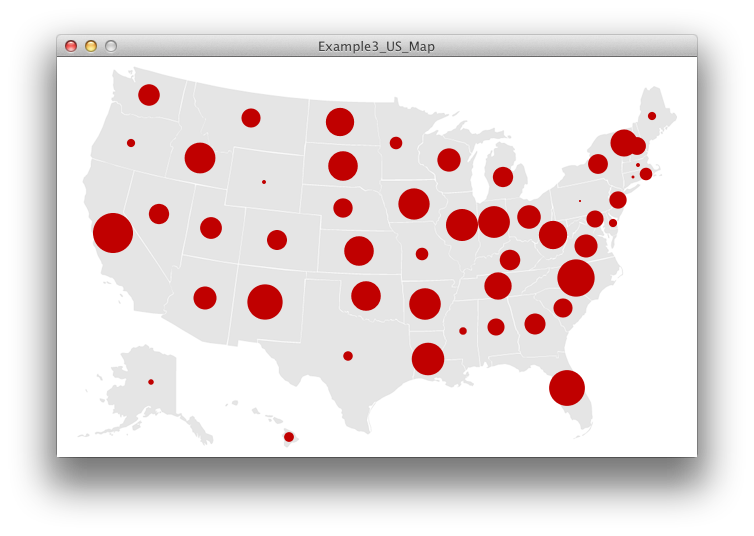
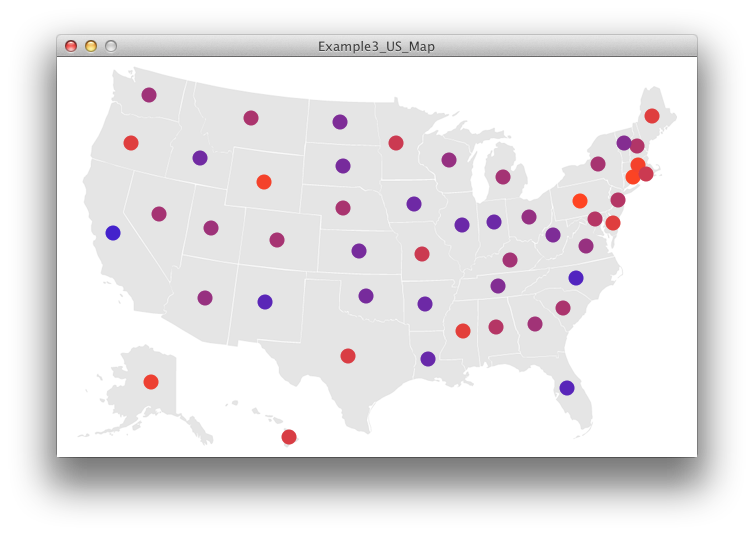
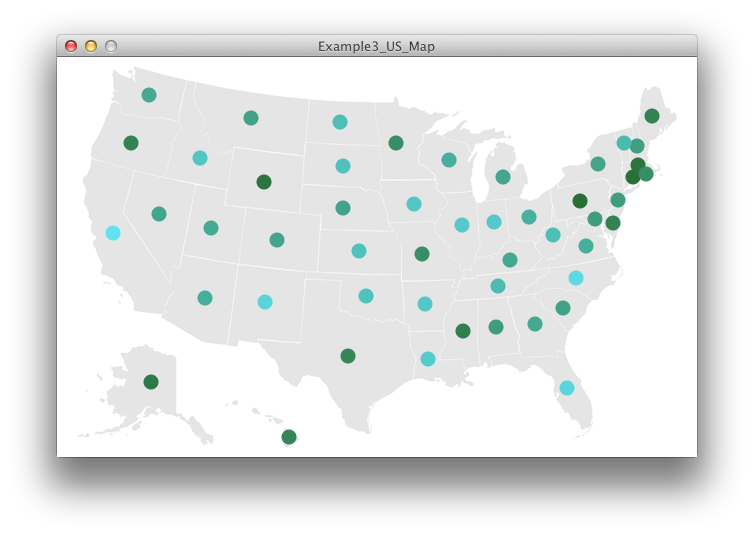
Sooooo, for today, I went through the Preface and the first two chapters (for about the fourth time) and, to prove it, I've included screenshots of the two numbered examples in those chapters, which I've recreated by hand. Extremely basic but always so rewarding. I've also included a short video clip of the second one in action:
[youtube=http://www.youtube.com/watch?v=JCCAjVb6nEg]
Completed:
- Visualizing Data, Ch. 0: Preface (0 exercises)
- Visualizing Data, Ch. 1: The Seven Stages of Visualizing Data (2 exercises)
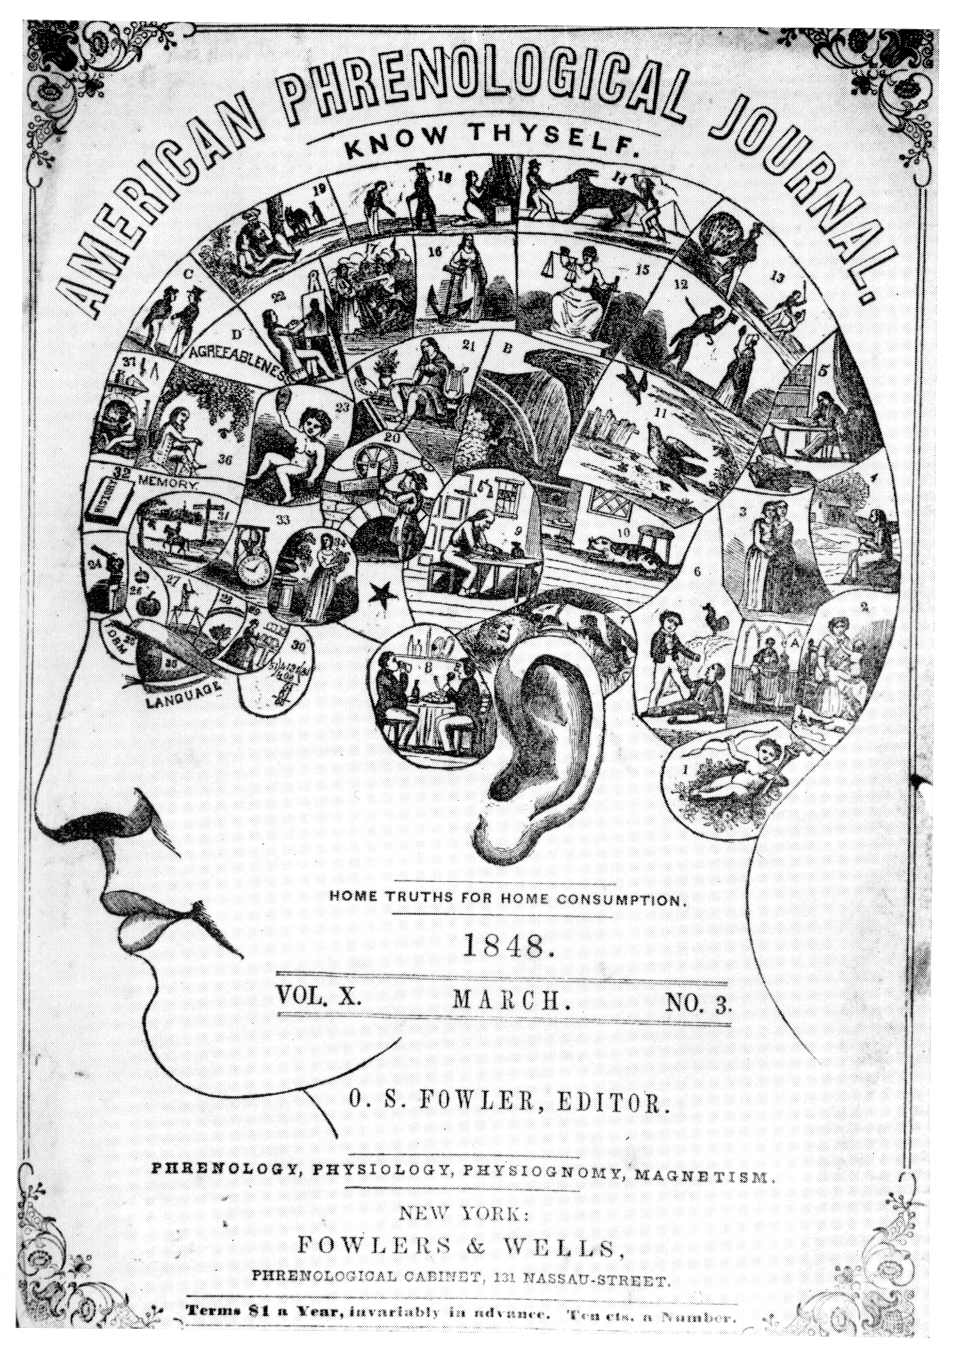 I gave a talk yesterday to the Cognition and Neural Science PhD students in the Psychology Department at the University of Utah. My title was “Art and the Psychological Scientist” (PDF available here). I talked about data art, information visualization, and Processing, among other things. It was very nice to finally connect with the Psych department there. (I am, after all, a psychology professor.) A few of the students are developing a course on art and psychology and I’m excited to see what comes of that. (And, Martin, that’s why I left class after the quiz; I had to get ready!)
Next semester I have some free space in my schedule that I need to fill up with Fine Arts credits if I want to get my Arts Technology Certificate this year. I felt rather clever this semester for designing my own 4-credit class in Processing, which I taught myself (although I am not the teacher of record). I decided to do a similar thing next semester, where I will work on the most logical extension of the Processing class: Arduino, the physical world analogue of Processing. There's a tiny little book on it called Getting Started with Arduino (now in its second edition):

I think I'll just go through it from start to finish. That shouldn't take long, although it will take some supplies, so I've already ordered the complete set of materials from Maker Shed. (I think I'll get to know these guys awfully well.)
However, that book will be quick. As a way of making a full course, I'm considering trying to go through Tom Igoe's charming but substantial book Making Things Talk (also in its second edition), which also serves as great introduction to the field of physical computing:
I'm still trying to figure out exactly how much of that book I would be able to do (and how much it would cost!). But in a happy turn of events, I just came across a blog called Doing the Projects in Making Things Talk, where the author chronicles his journey through the first edition fo the book:
Anyhow, this should be an excellent guide. I'll have to read through it before I undertake my own adventure.
And, finally, I think that I'm going to send out an invitation to see if there are any other students who would like to join me in this "class" (or in another one I'm planning on using Max/MSP, but more on that another time). It would be nice to have company, wouldn't it?
This sketch uses a custom "babaHouse" function to draw the house. (You can try it here at OpenProcessing.org.) Here are shots of the original code and the function:

And two versions of the output:
It may not look so different from earlier version, but the mechanics are different. Whee!
This time, the chicken legs move if you use the live version in OpenProcessing.org: a, s, d control the left leg; j, k, l control the right. Here's a picture of part of the code:

And here are two versions of the result:
And there you have it. Baba's hut is doing The Chicken Dance.
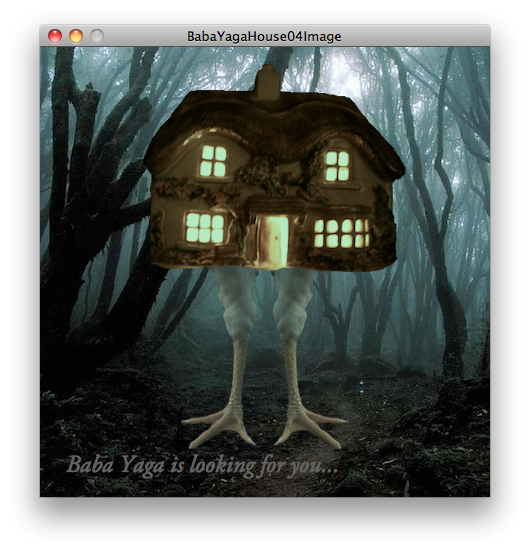
Okay, part four of our Processing saga may seem a little funny, because it's all about using images and text in Processing. This, of course, is the sort of thing that one would normally do in Photoshop. However, we did it in our Processing class because:
- It was the next chapter in the book Getting Started with Processing
- Although these sketches are static, it is also possible to make them dynamic and interactive (which we will demonstrate shortly), as well as data-driven (which we also hope to do at a later date)
- Really, we did it because we could
The third installment in the Baba Yaga series involves interaction. That is, the hut follows the mouse (with some delay built in), it gets taller if the left mouse button is pressed, shorter if the right button is pressed, and, if any key on the keyboard is pressed, there's a special, secret surprise! (Well, not so secret because I'll show it to you below.) I also think it has much cuter graphics. You can try the interactive version at OpenProcessing.org by clicking here. Here's the code:
And here's a still shot of the Nickelodeon-style house:
And the special, secret surprise that you get when you press a key:
Whee!! Fun!!
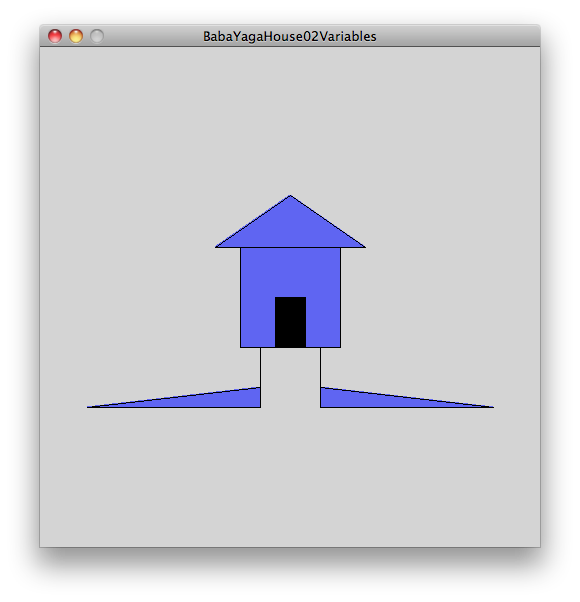
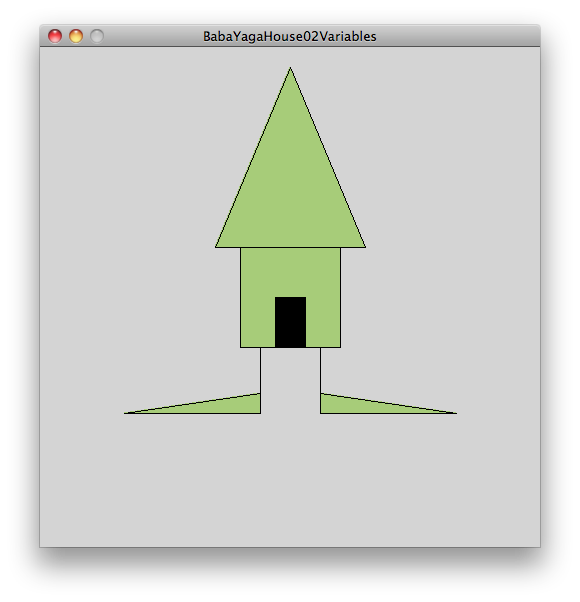
In an earlier post I showed my first, primitive, stick-figure drawing of Baba Yaga's hut on chicken legs. That version was what we called a "static" drawing, in that everything was spelled out exactly how it was to appear and nothing changed. This version is still static but it uses global variables with random arguments for some of the elements of the drawing. (I chose to vary the color, the height of the roof , the length of the legs, and the width of the feet.) Consequently, the picture is a little different every time that it's drawn. (You can try it out at OpenProcessing.org by clicking here.) Here's the code:

And here are three different iterations of the drawing, each using different random values:
Aren't they just the cutest little huts (for cannibalistic Russian witches)?
The first real assignment in my Processing class is for each person to create a simple sketch of an object that they will then use for variations and elaborations as the class progresses. The students chose flowers, aliens, dogs, Jedi, and squids (as there are only five students now). I chose something from a book of Russian fairy tales that I read when I was little: Baba Yaga, the child-eating witch who lived in a hut with chicken legs. (Although I am a psychologist, I choose not to pursue any Freudian investigations for my choice. For now, let's just say the hut sounded like fun.) In case you're not familiar with Baba Yaga, here's her Wikipedia entry and here's one illustration of her hut (notice the skulls on the fence posts!):

So, here is my most basic version of Baba Yaga's hut. First, the code:
And then the resulting stick-figure house:
A thing of beauty, is it not? Anyhow, it's a beginning. More to come later.

